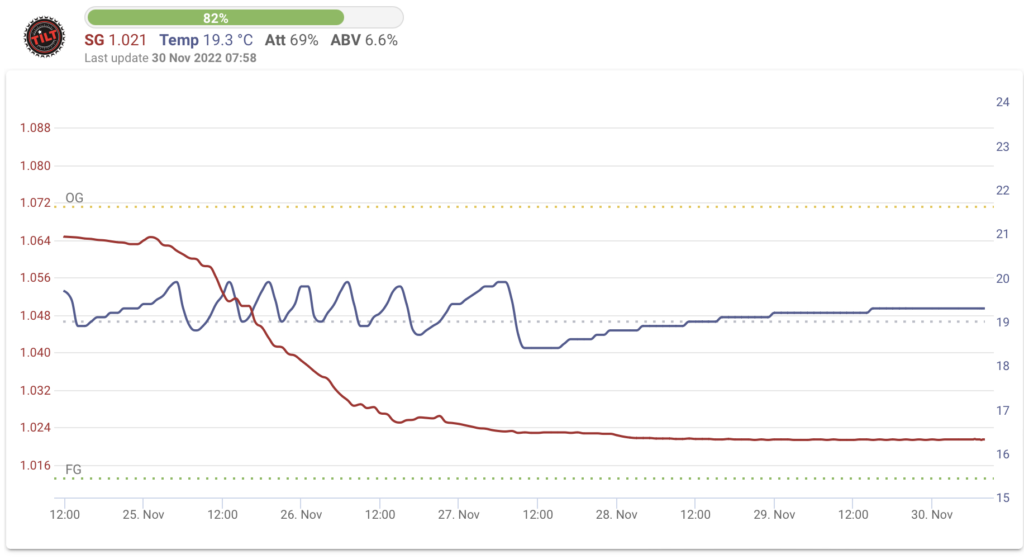
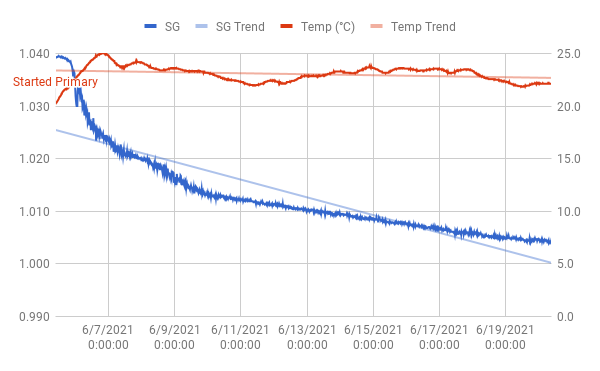
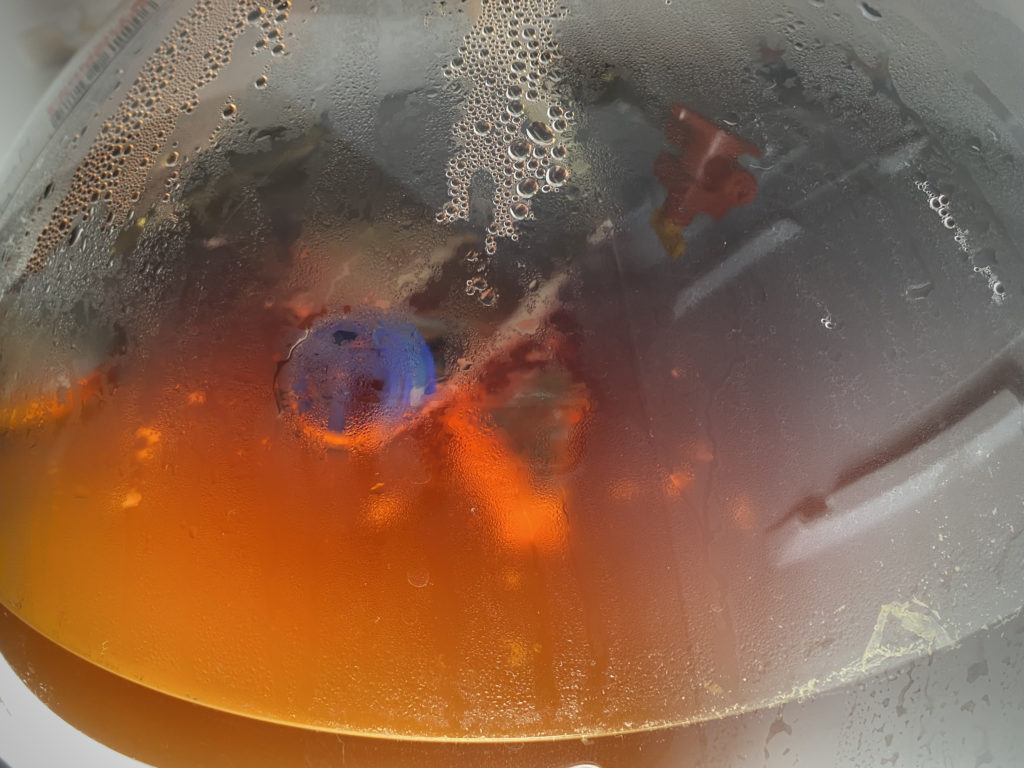
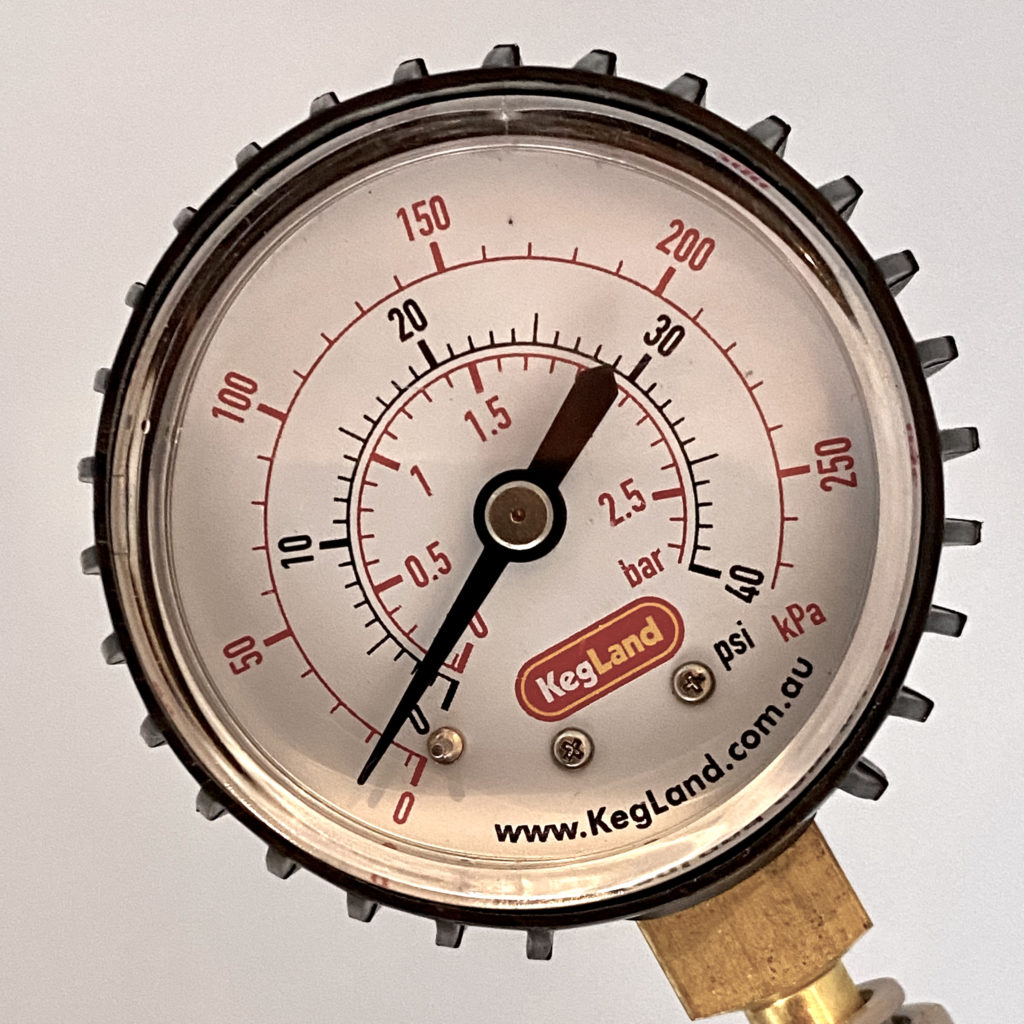
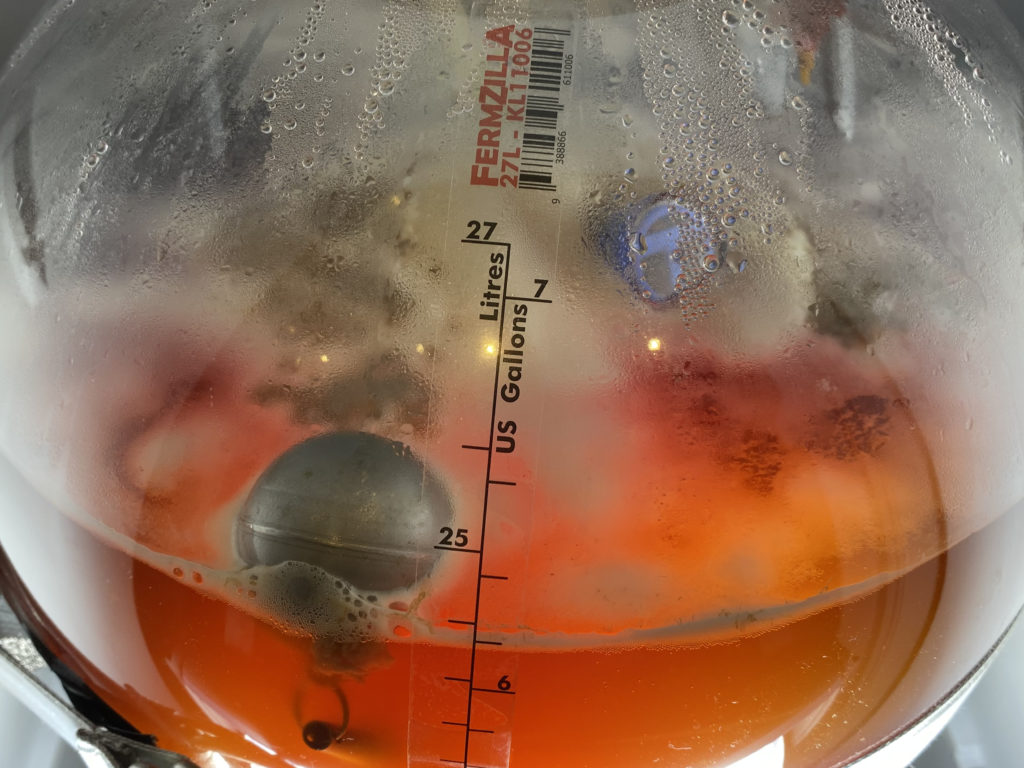
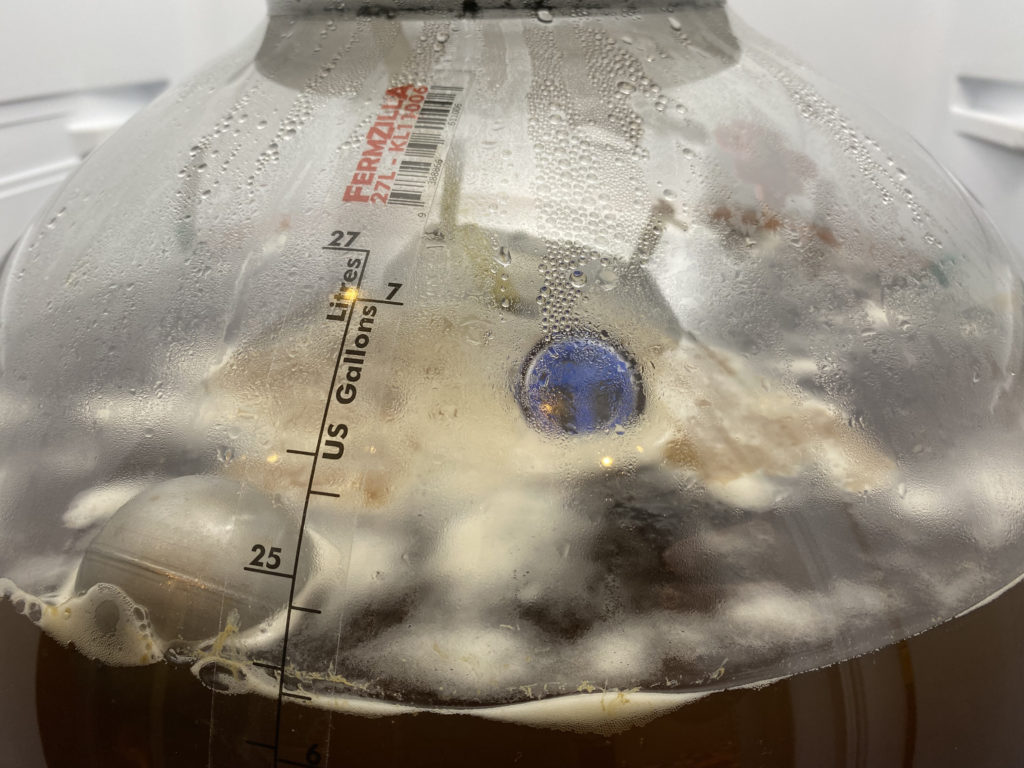
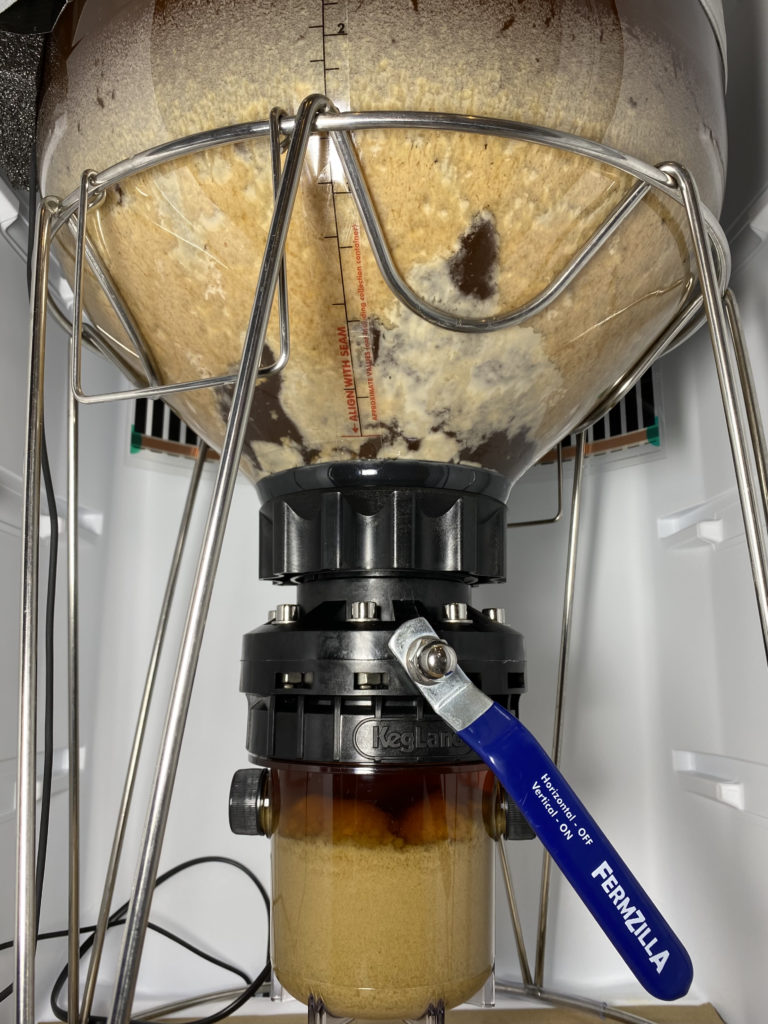
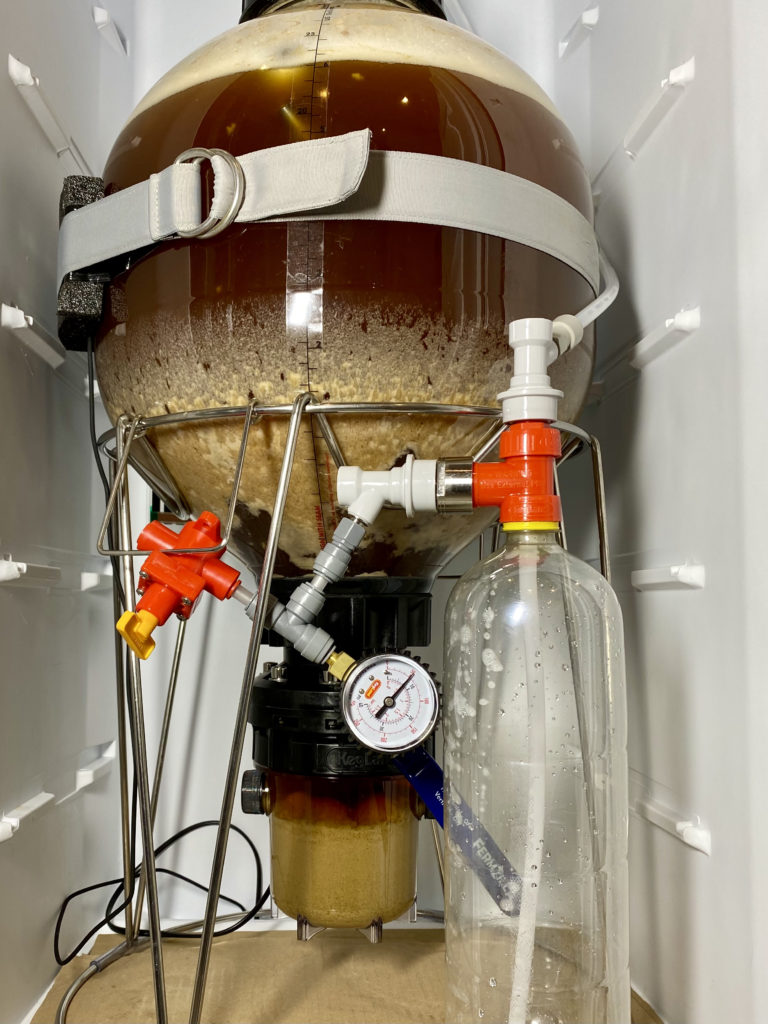
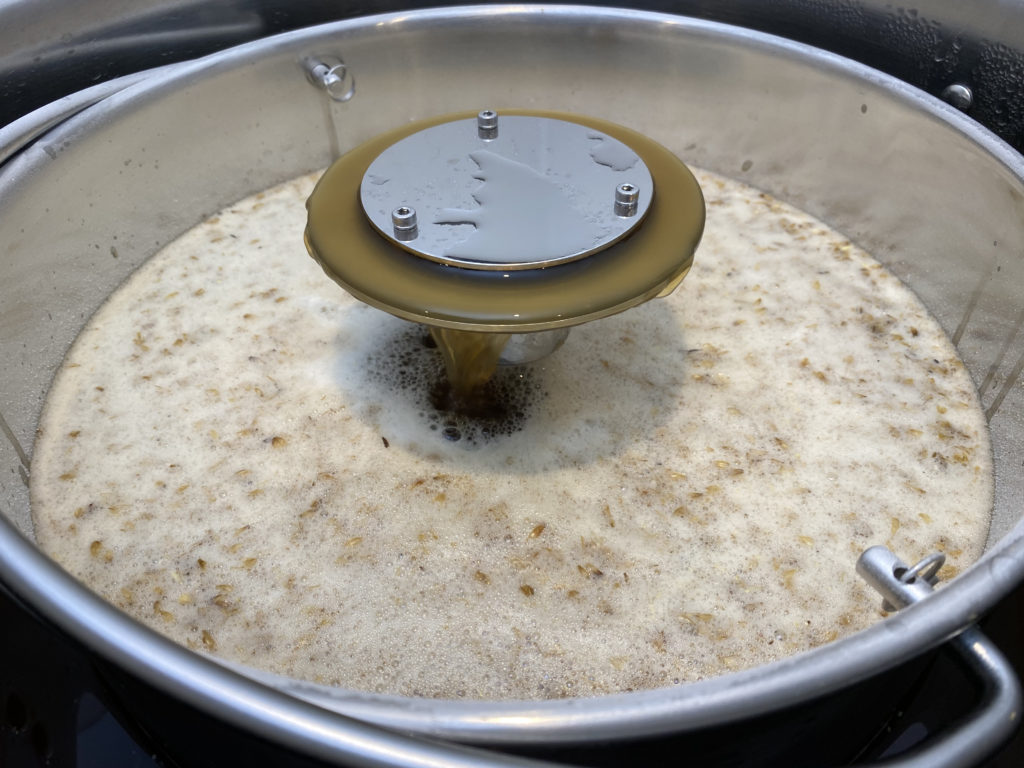
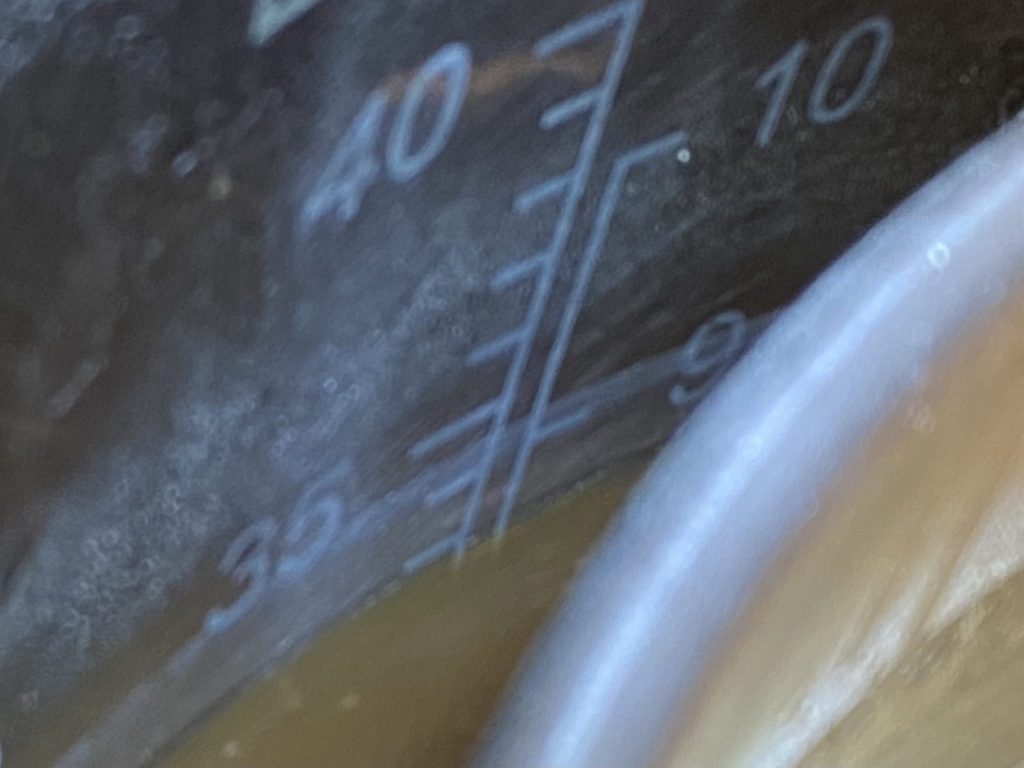
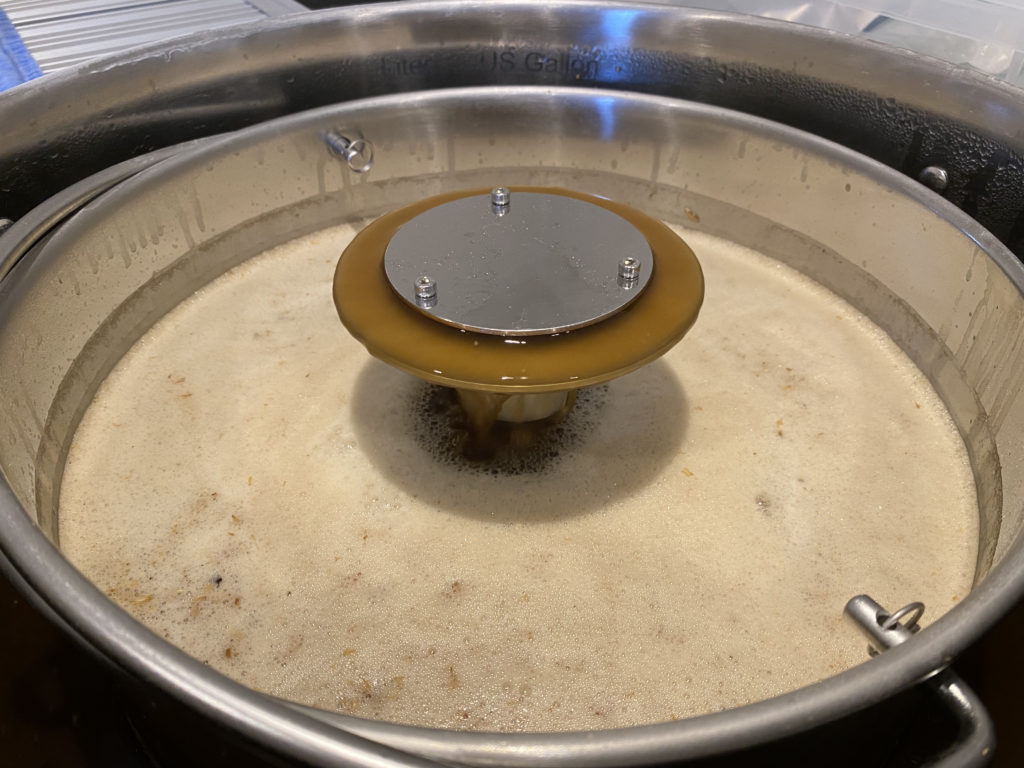
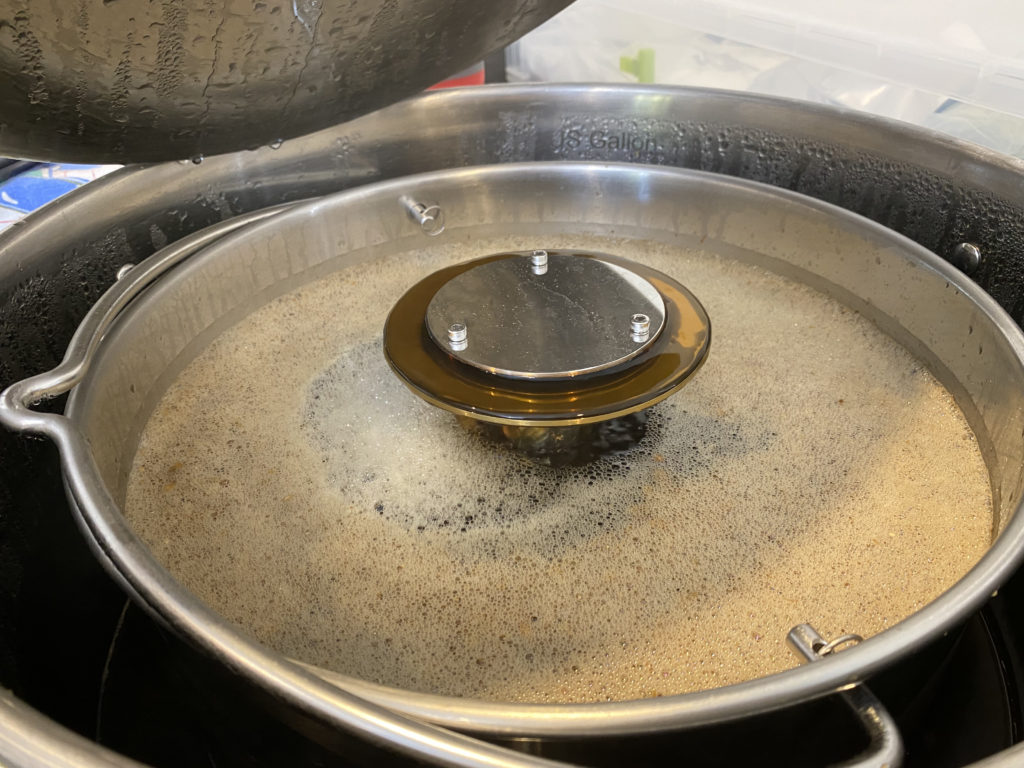
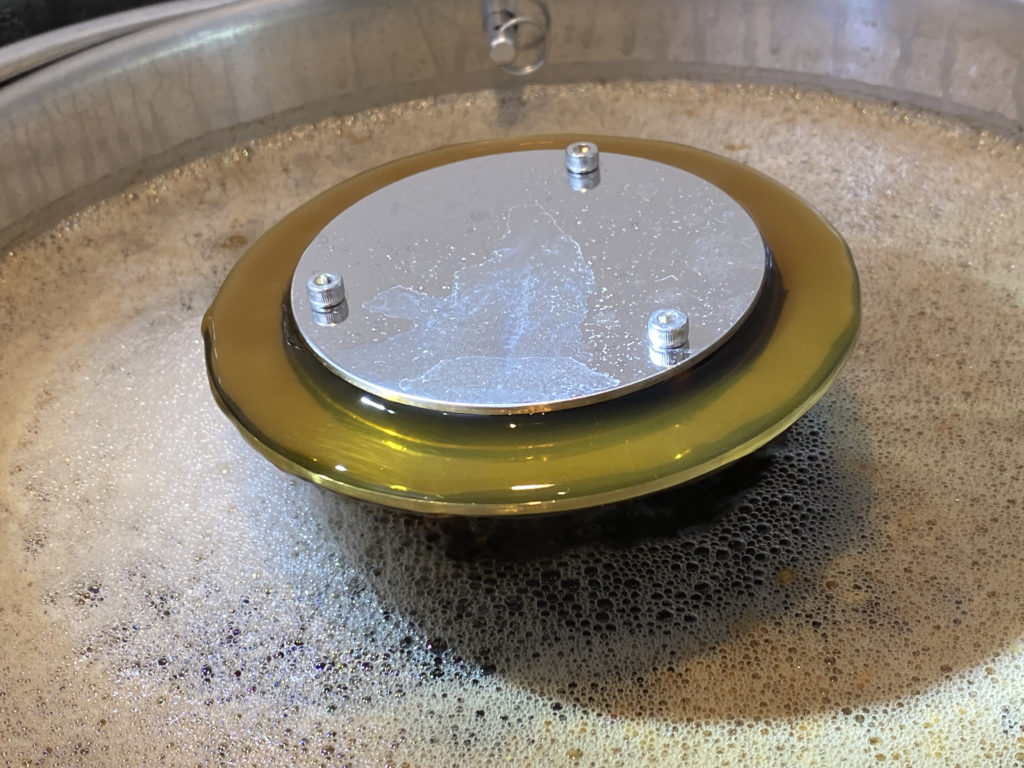
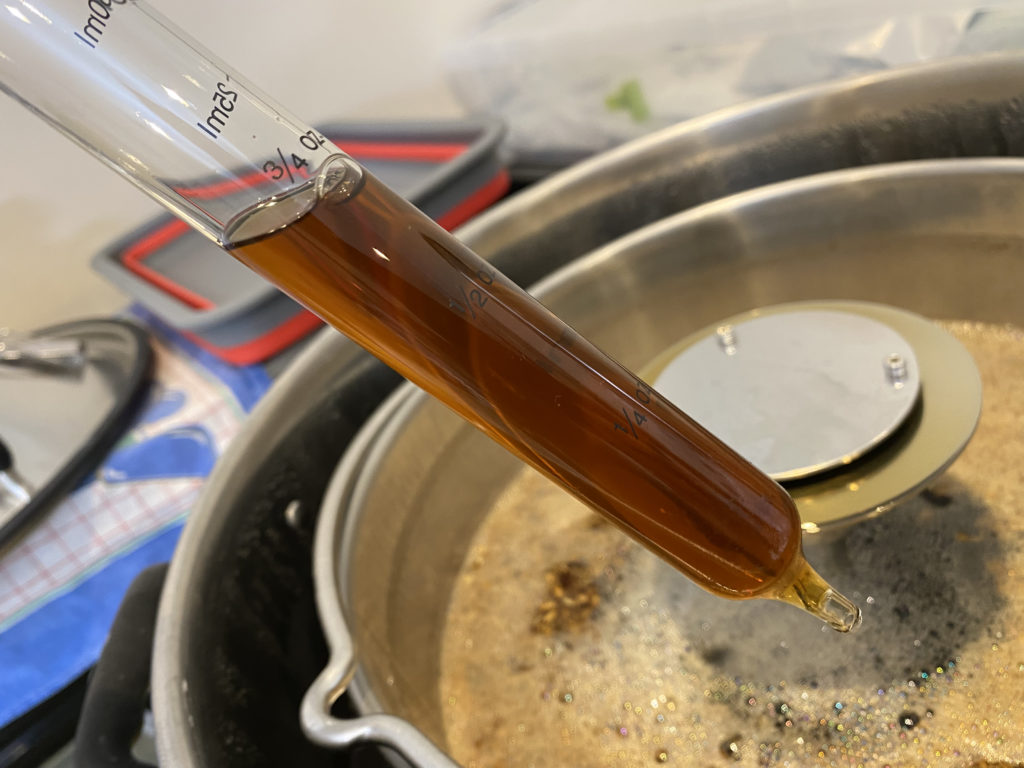
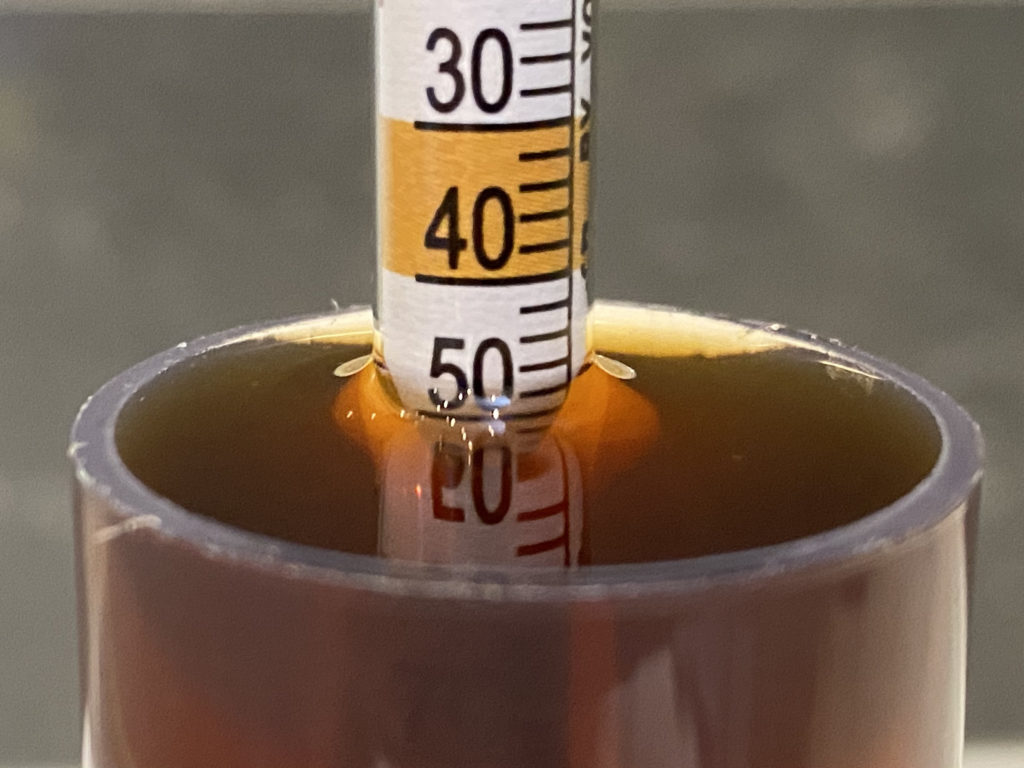
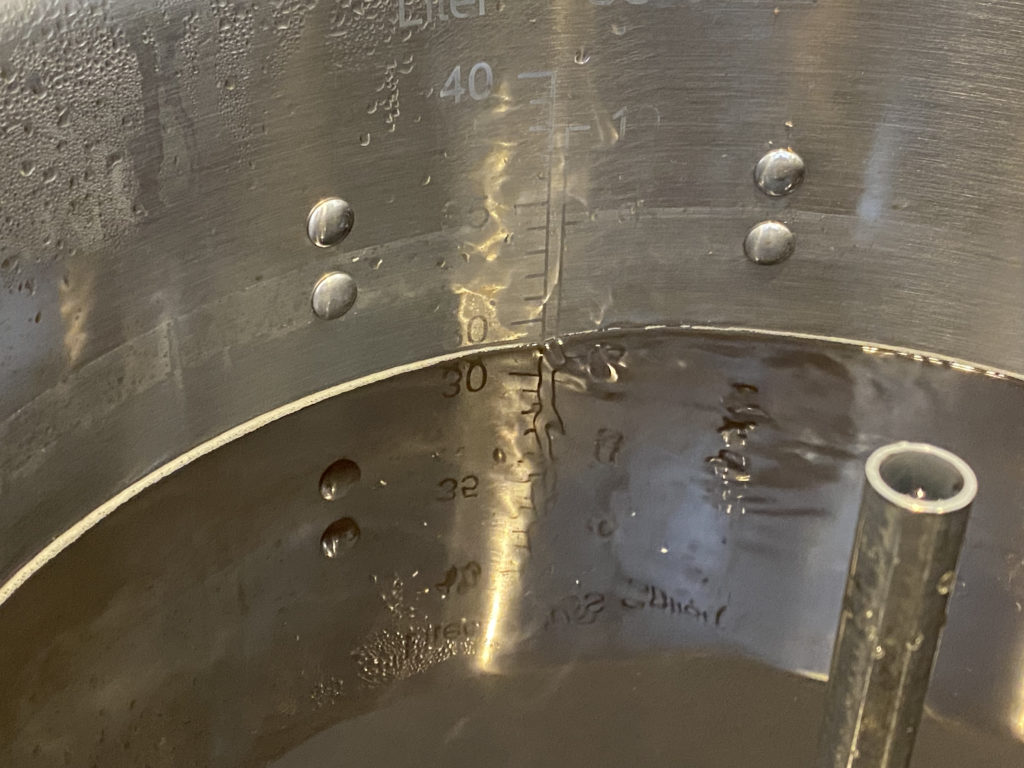
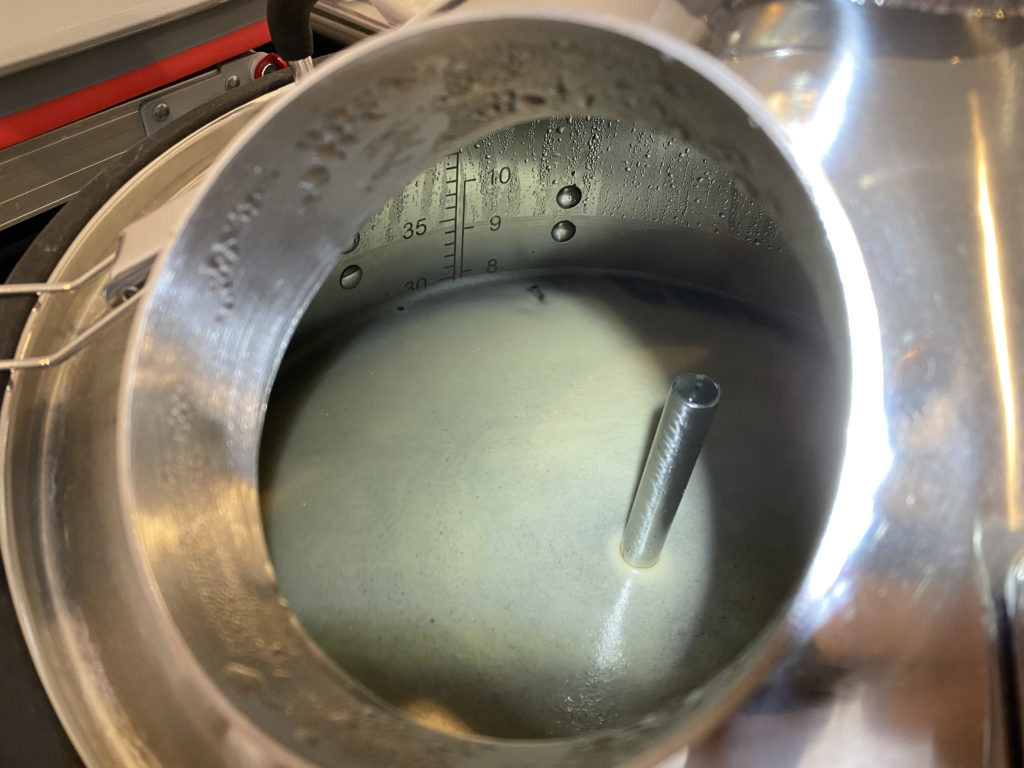
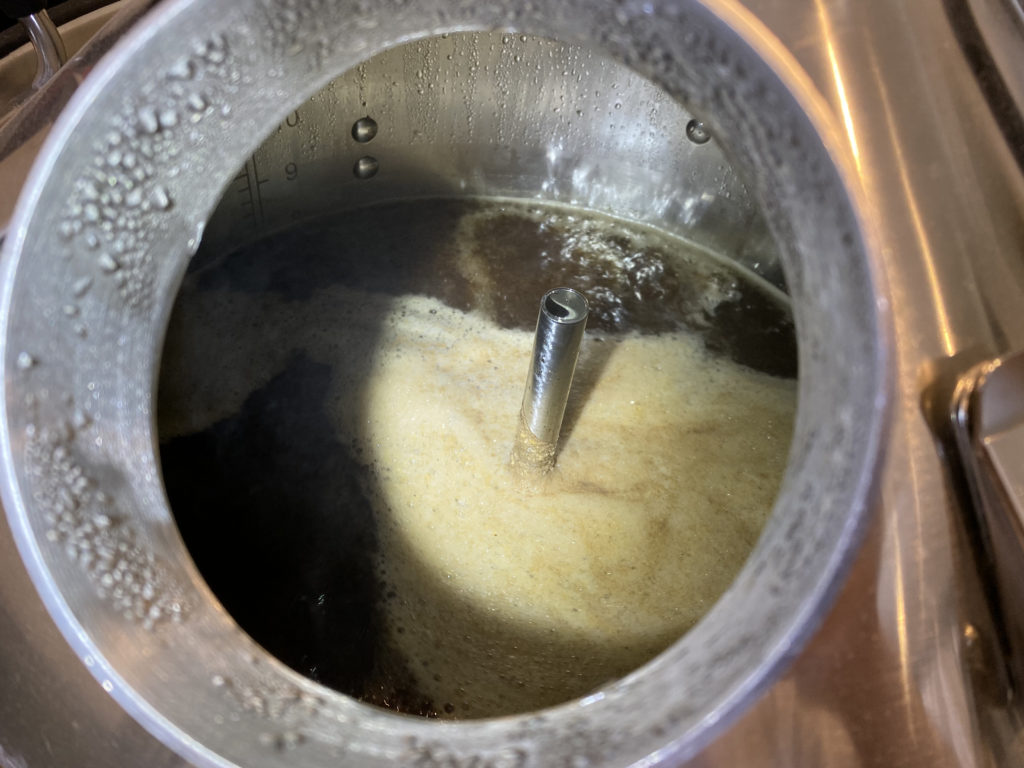
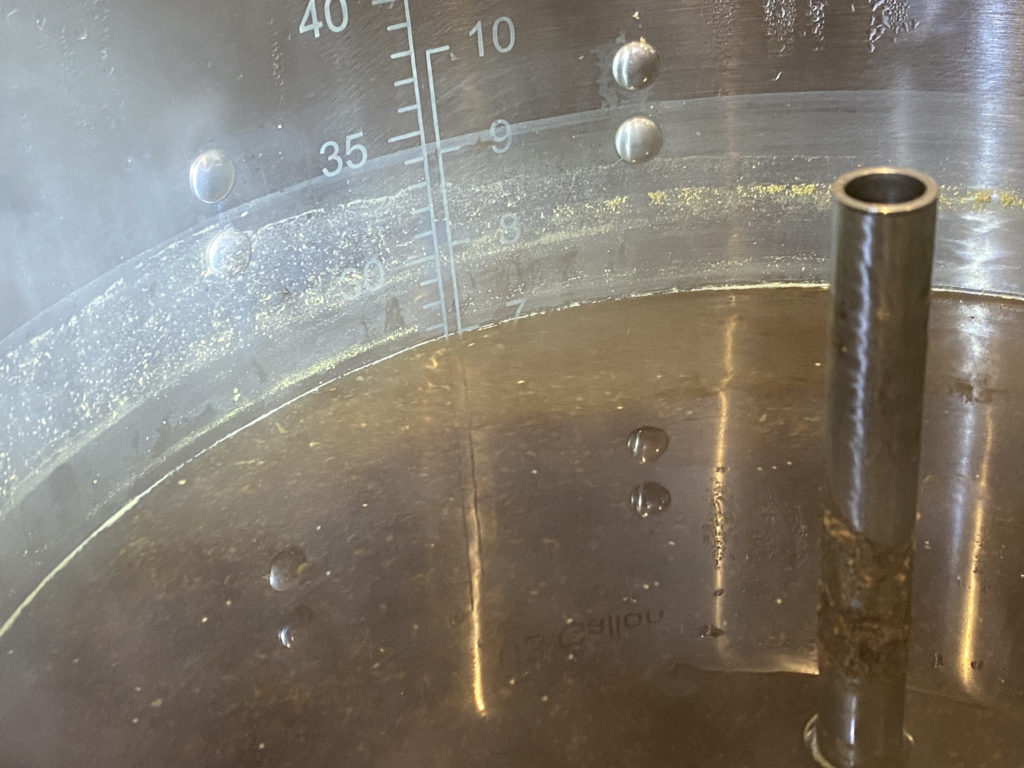
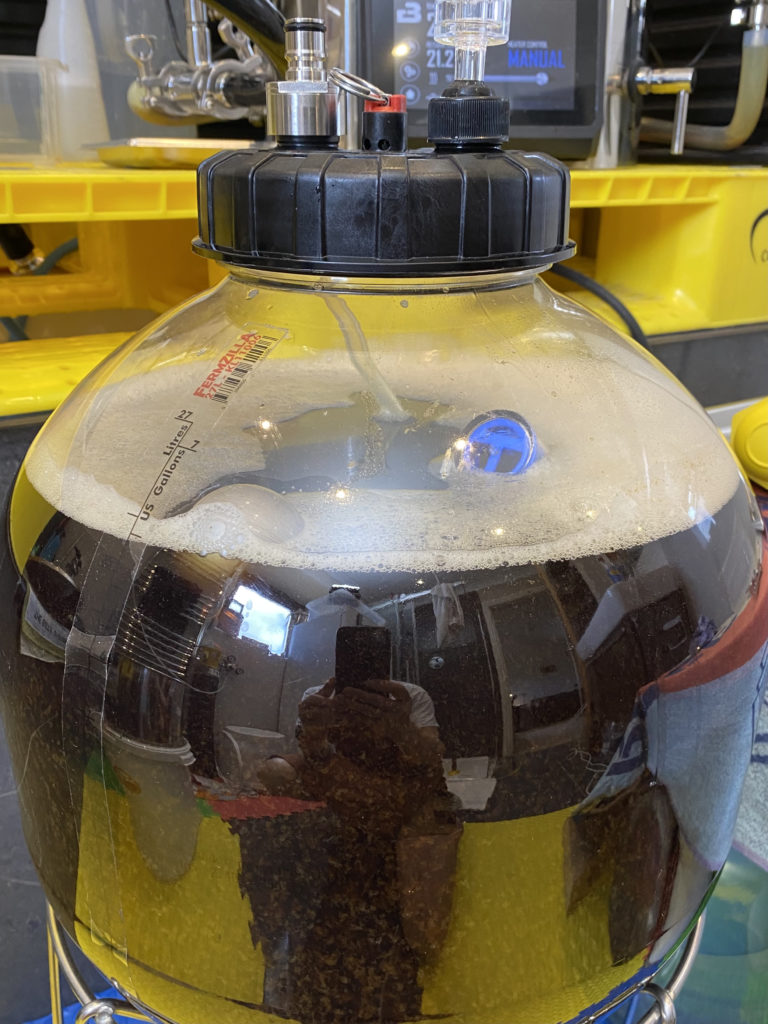
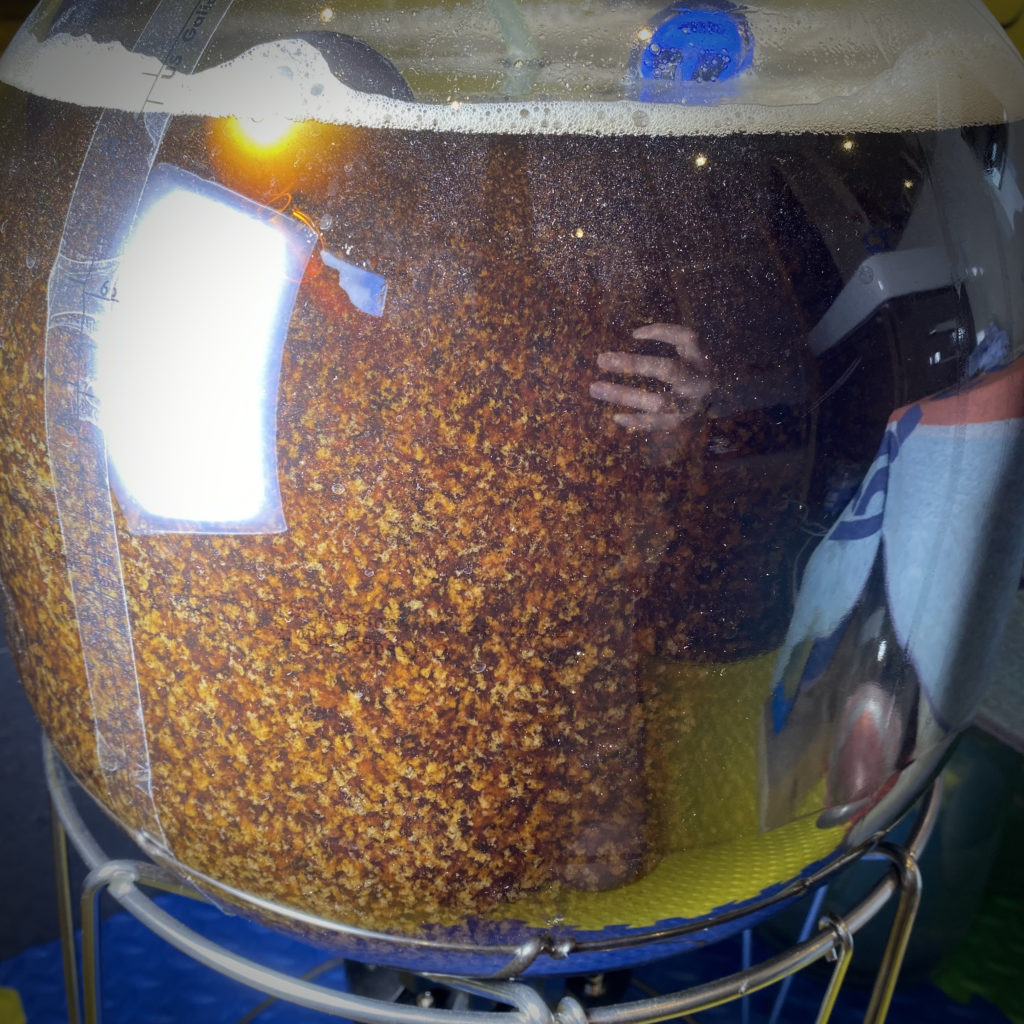
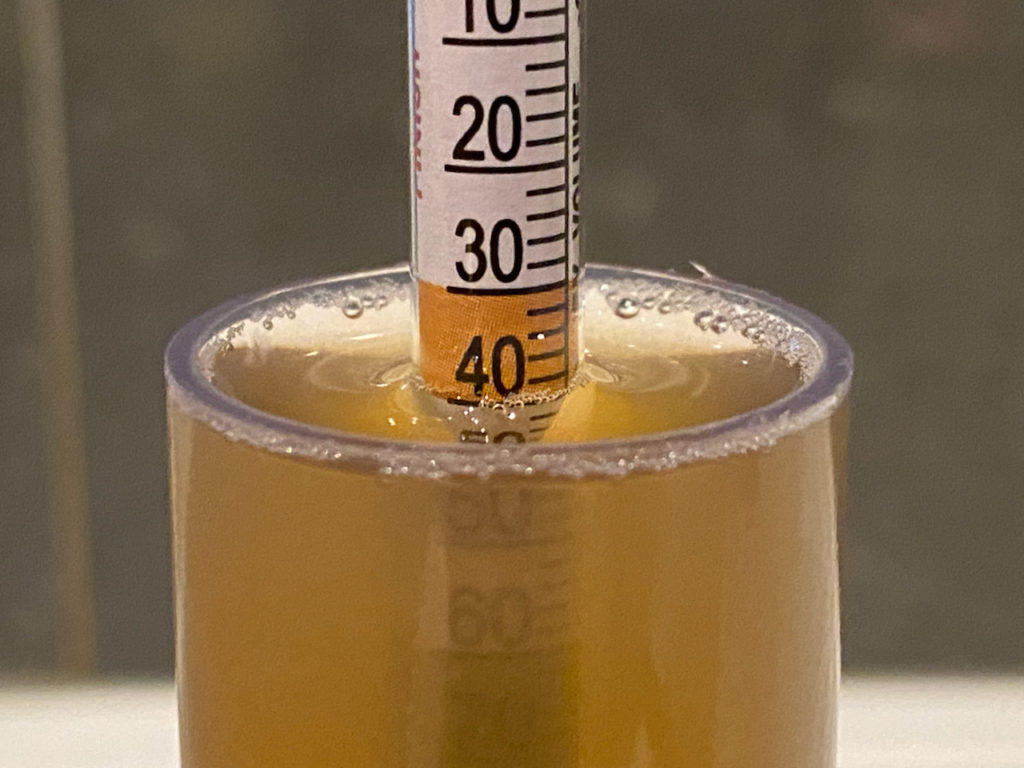
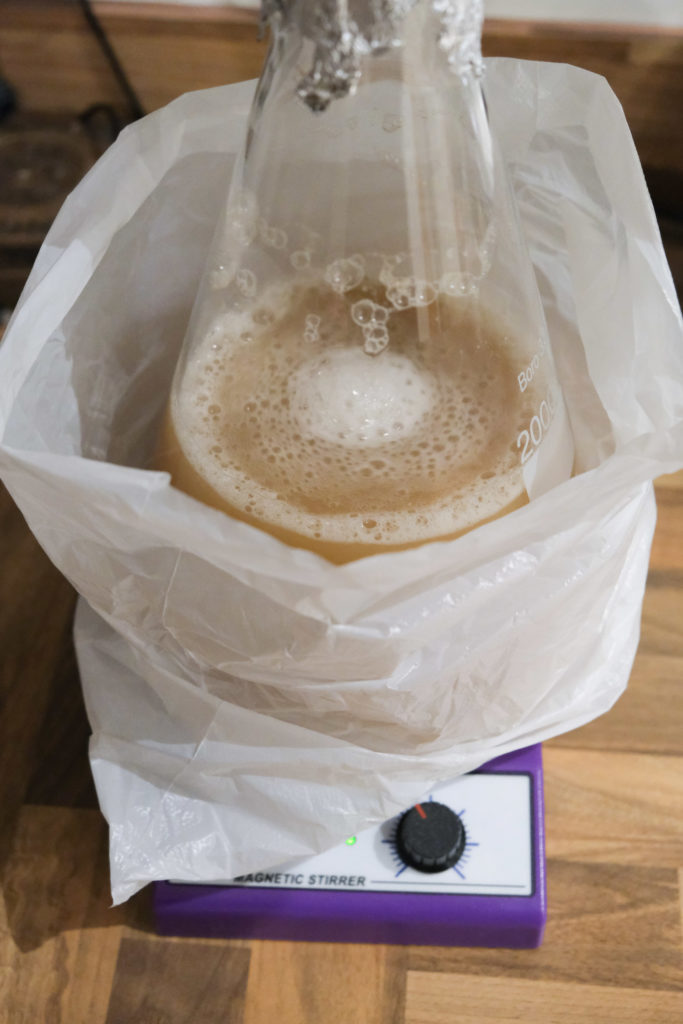
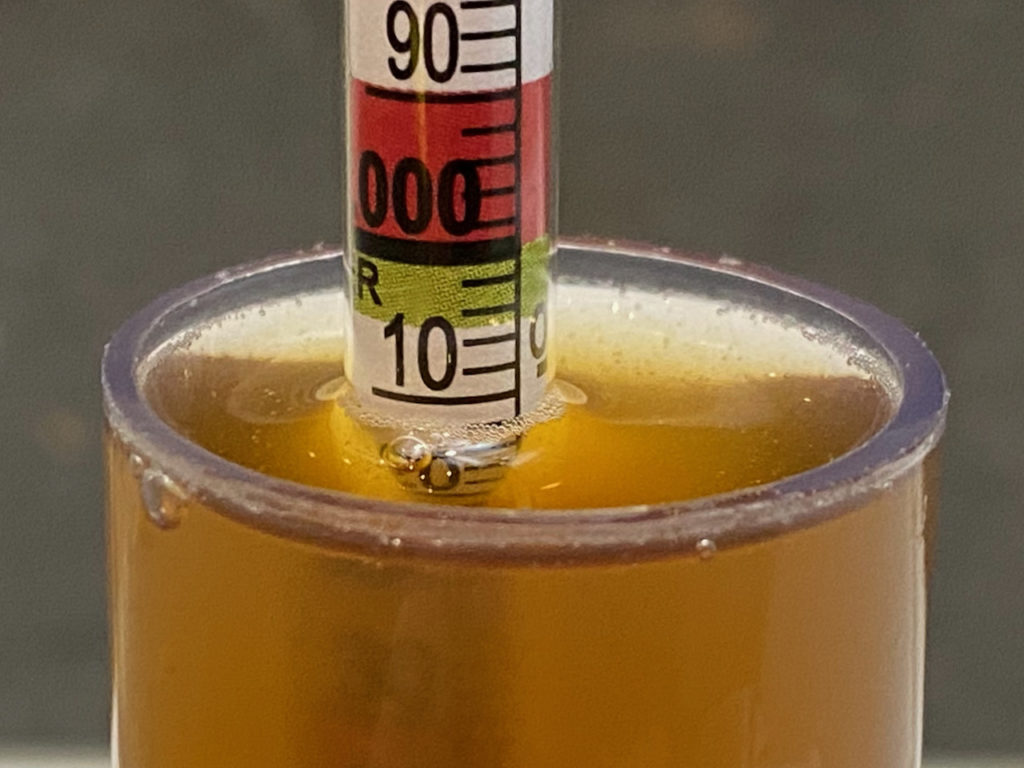
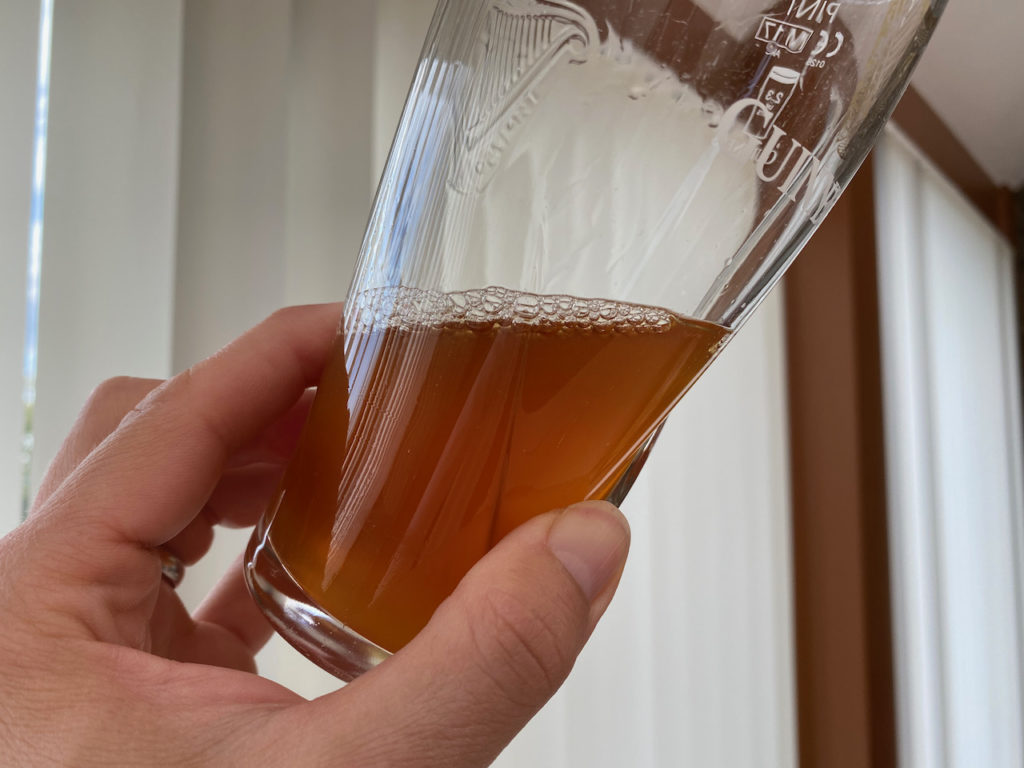
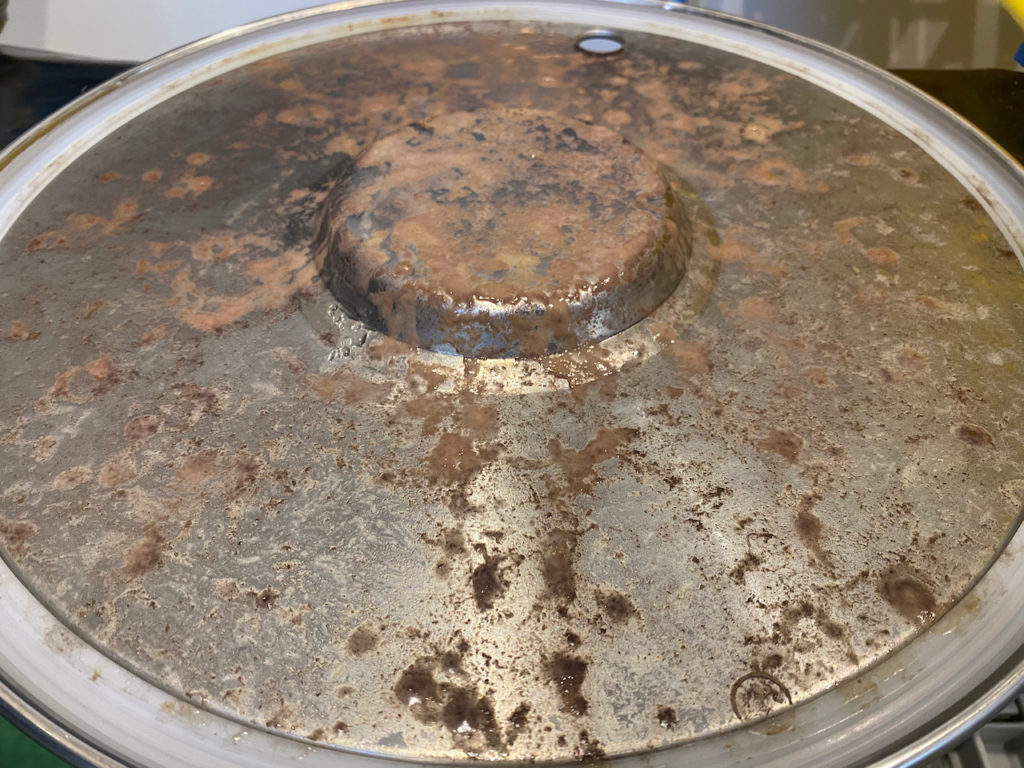
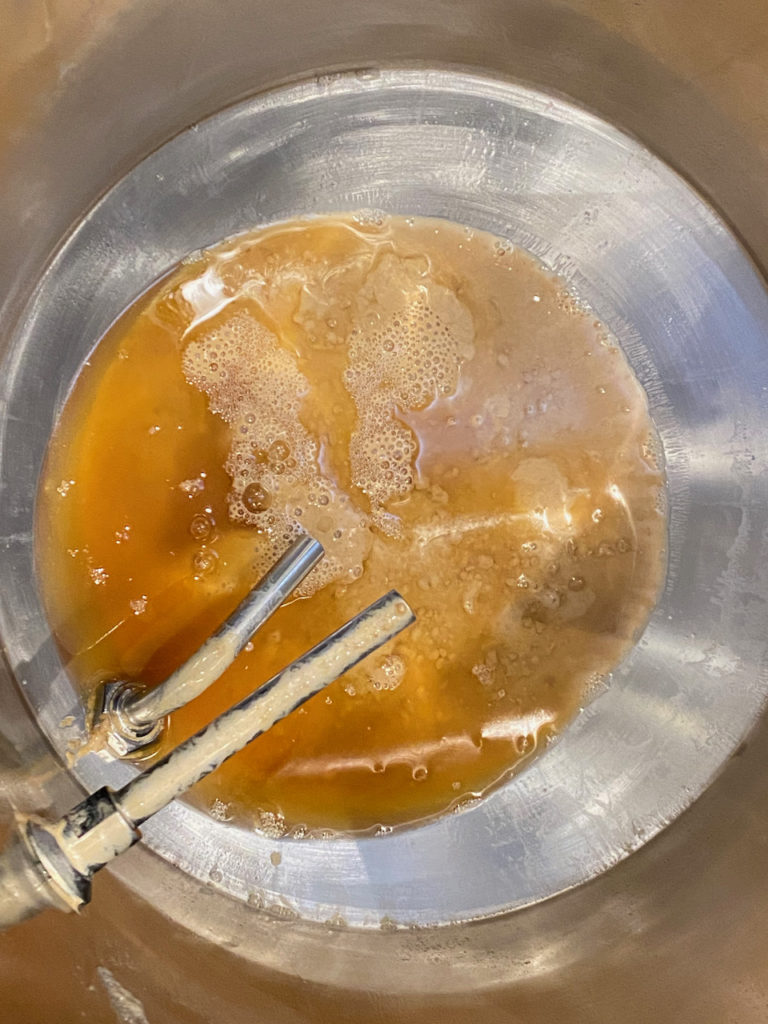
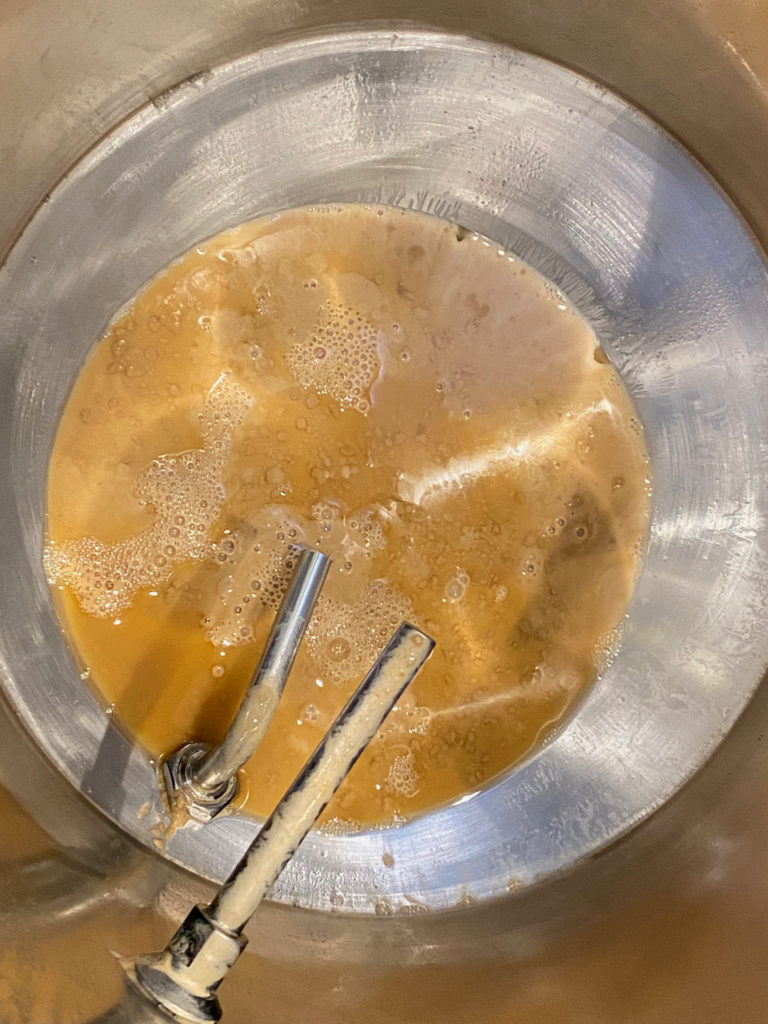
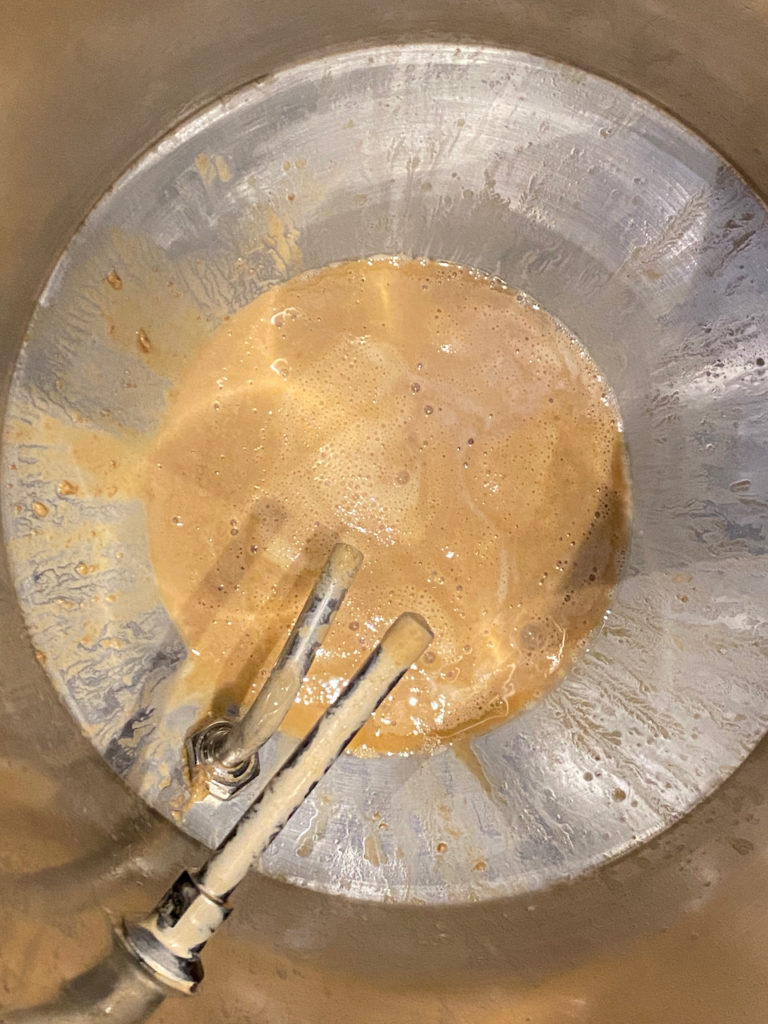
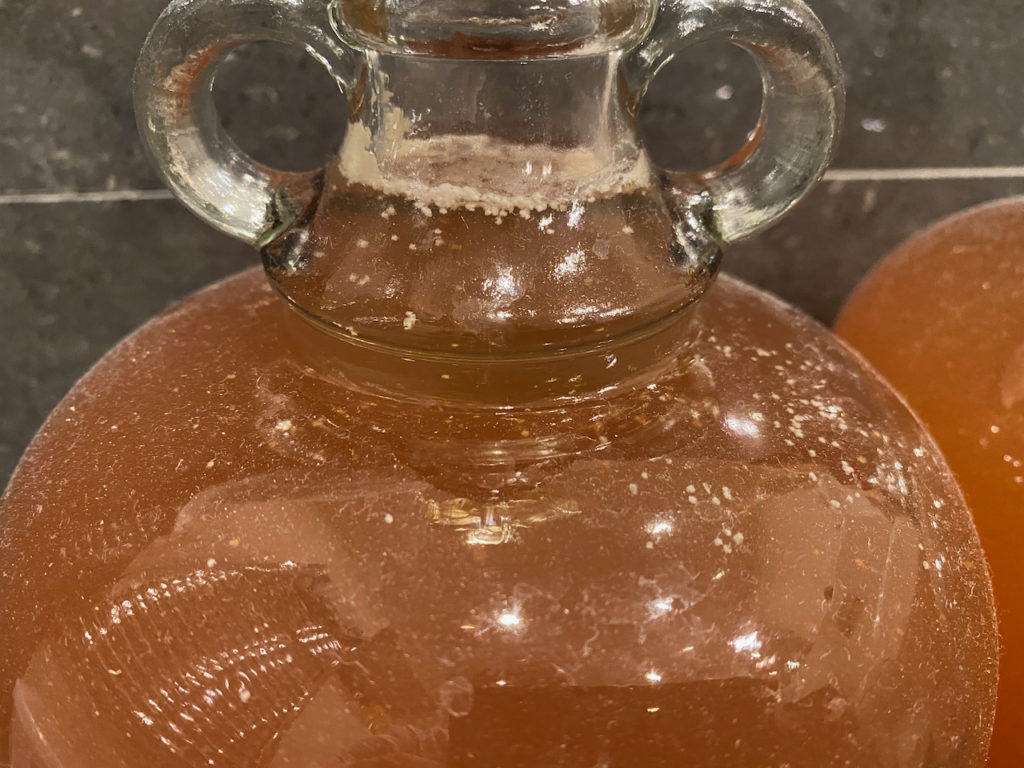
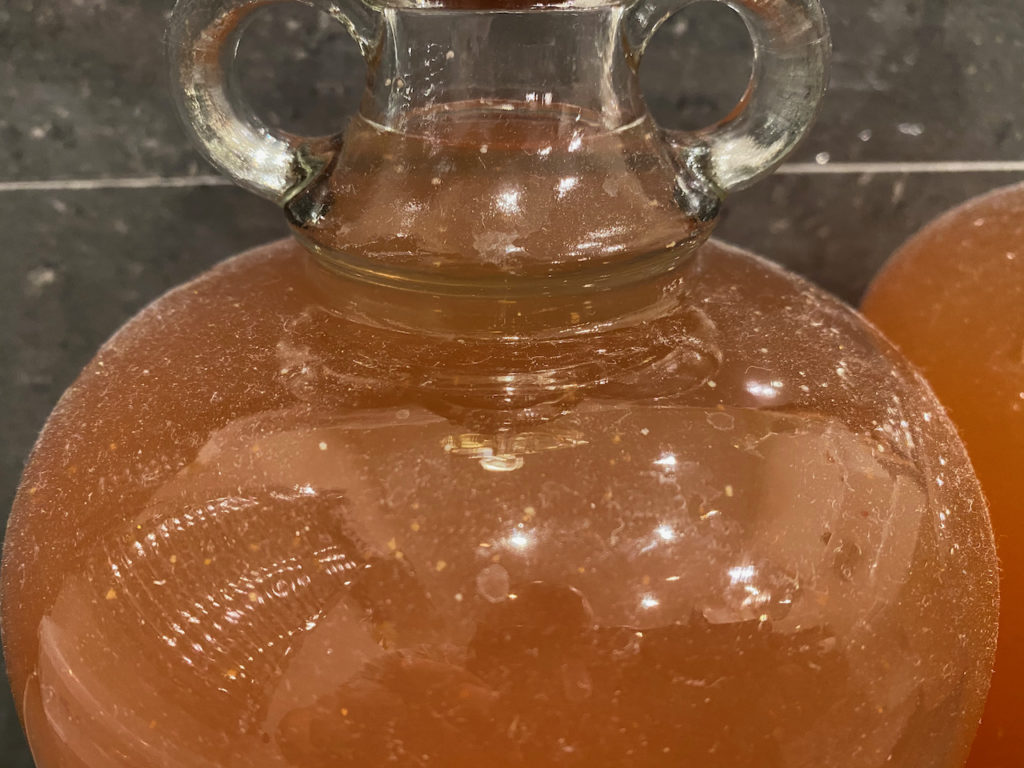
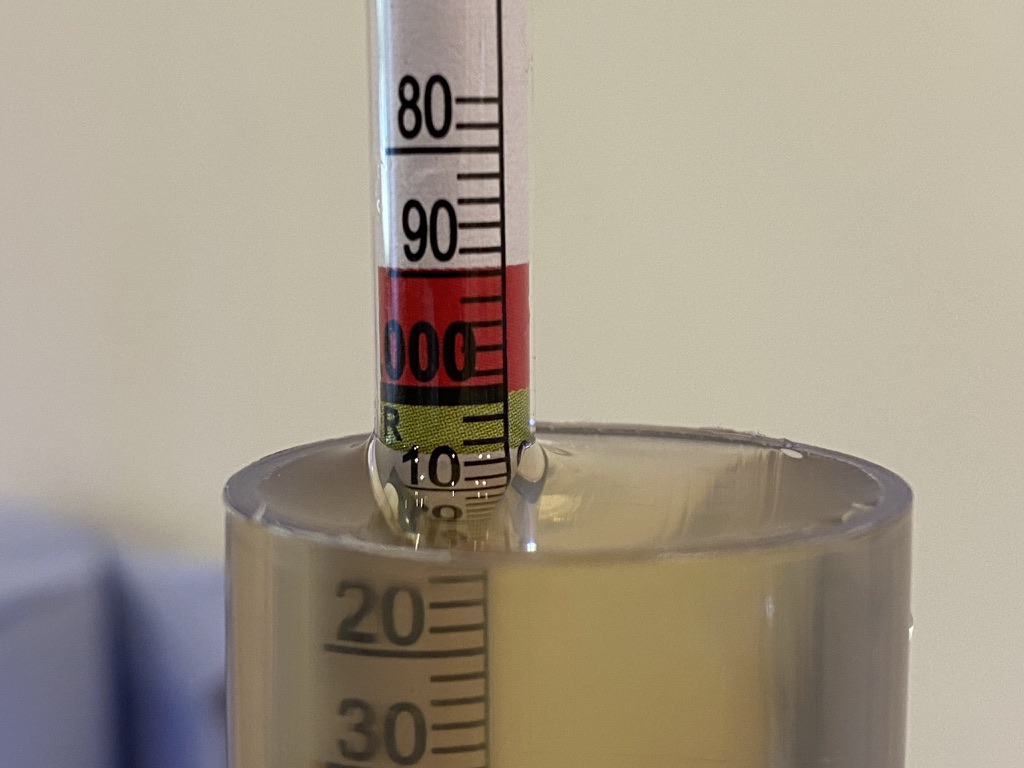
Fermentation seems to have well and truly finished, and I’ve only measured 1.022, so 7.9% ABV. Can’t be bothered to cold-crash this small bucket of what’s essentially a failed brew, so it’s into an MJ Mini keg and on the gas. Oh well, at least the fermenter’s easy to clean.
Tag Archives: yeast
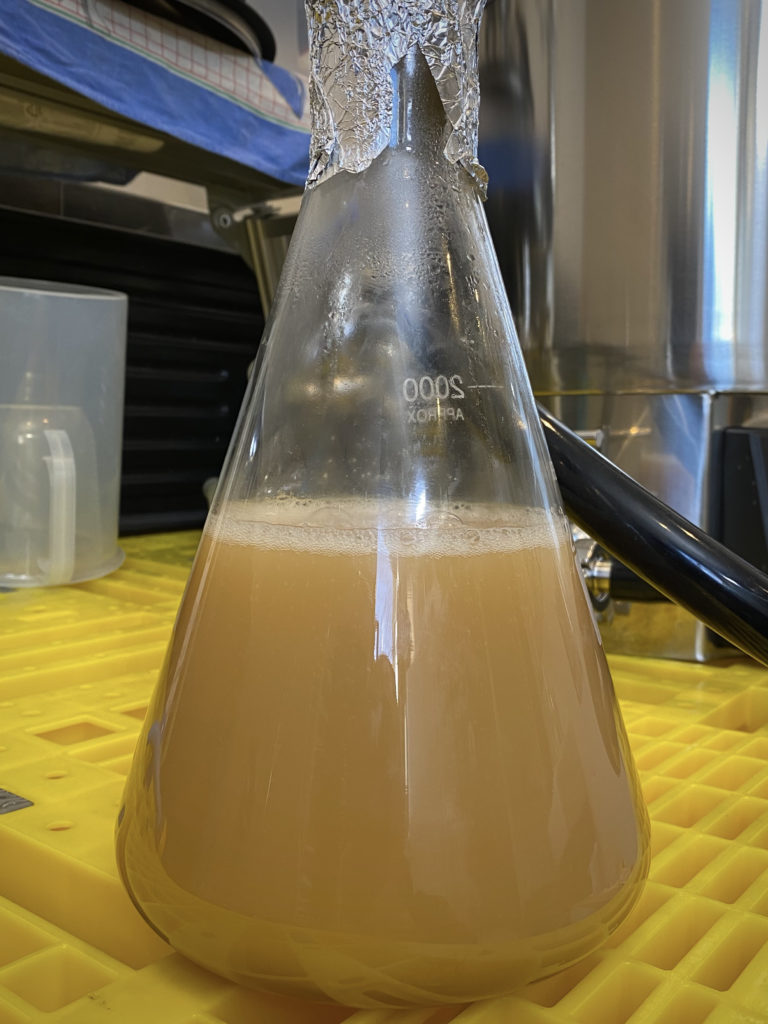
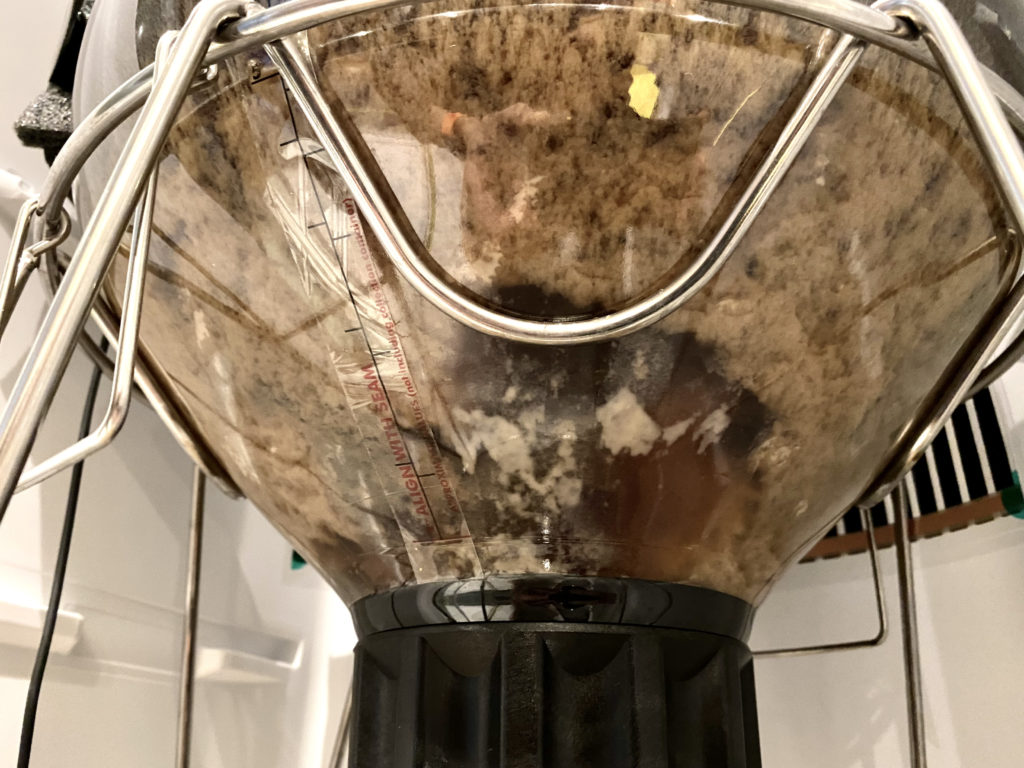
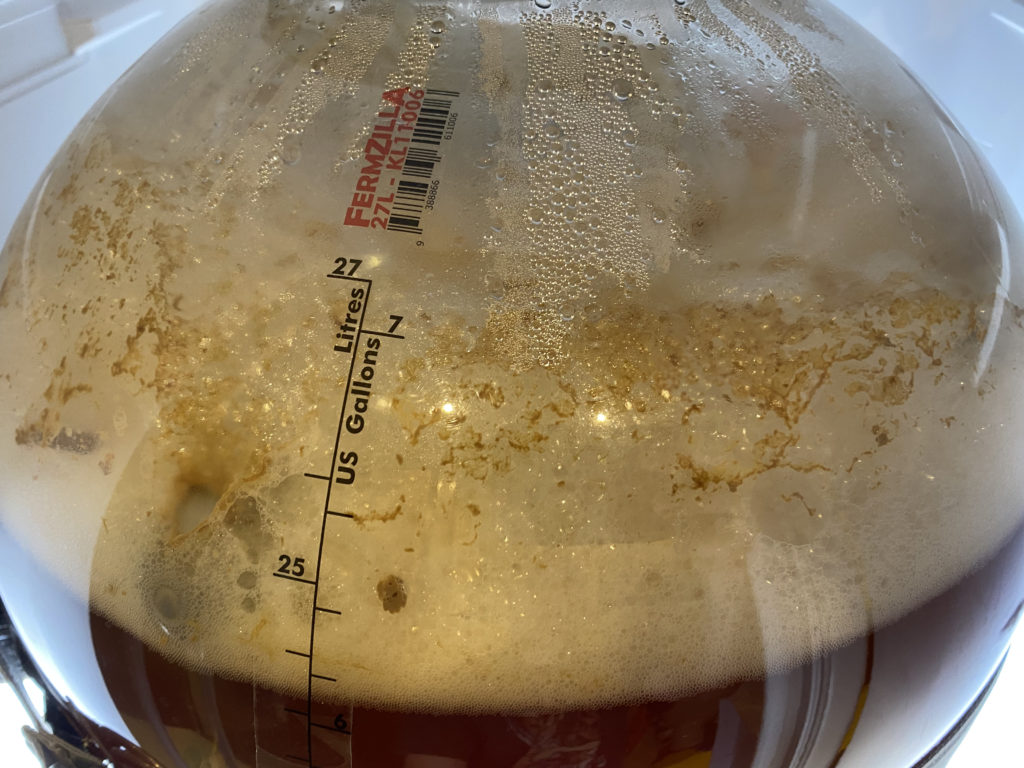
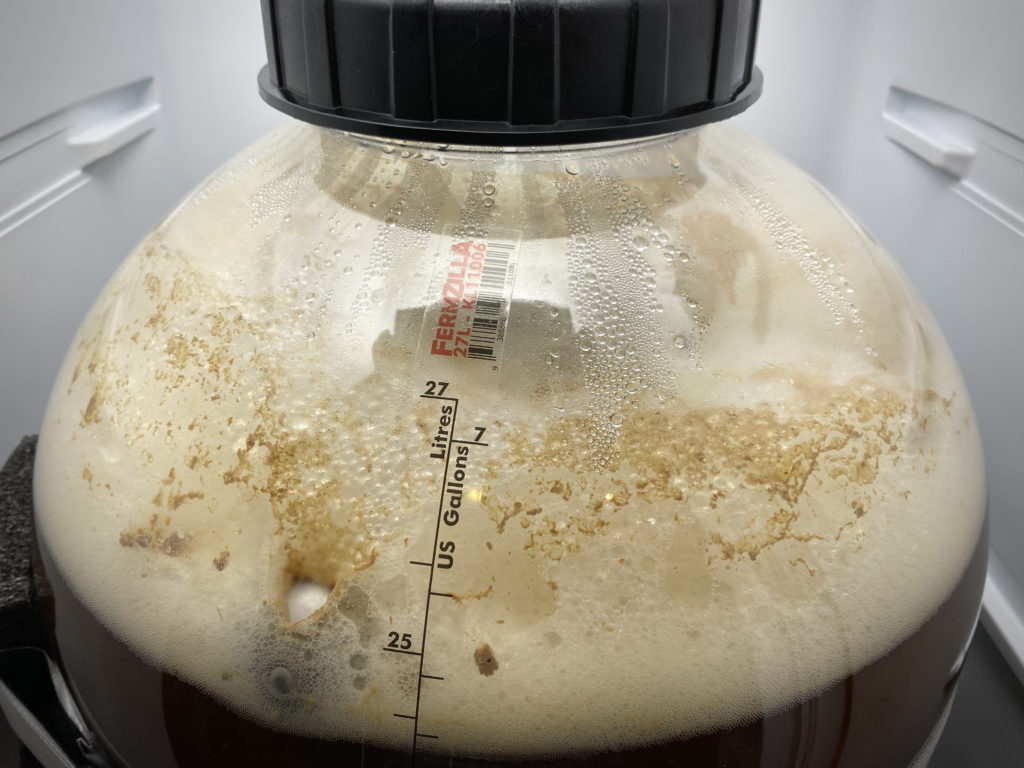
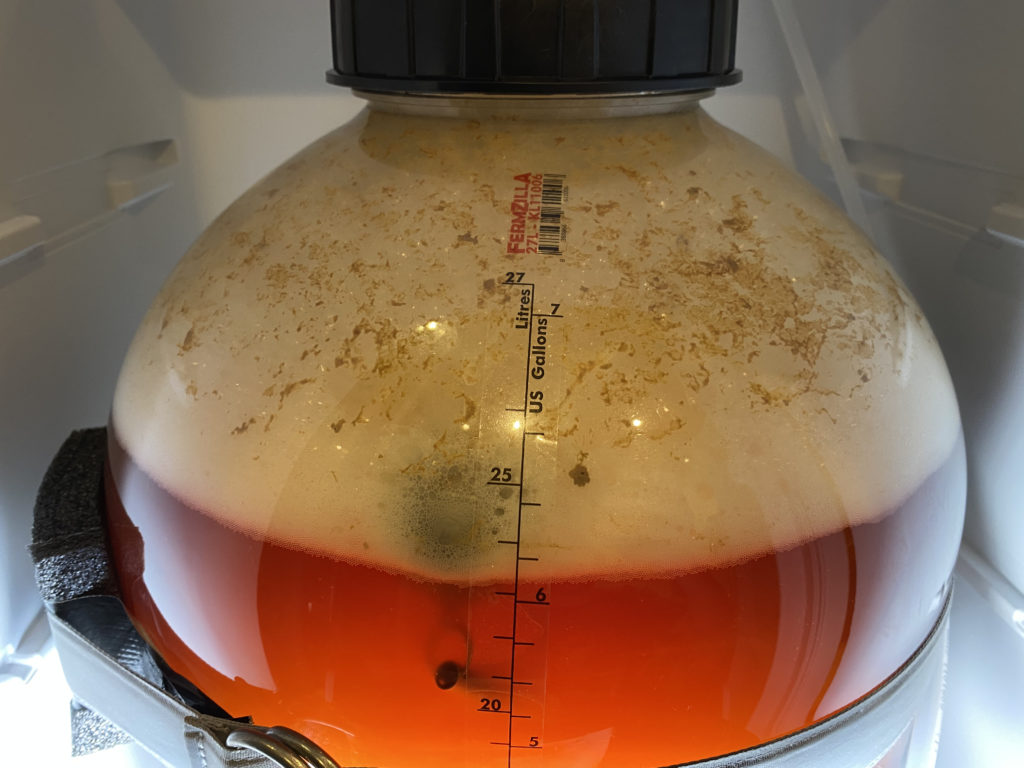
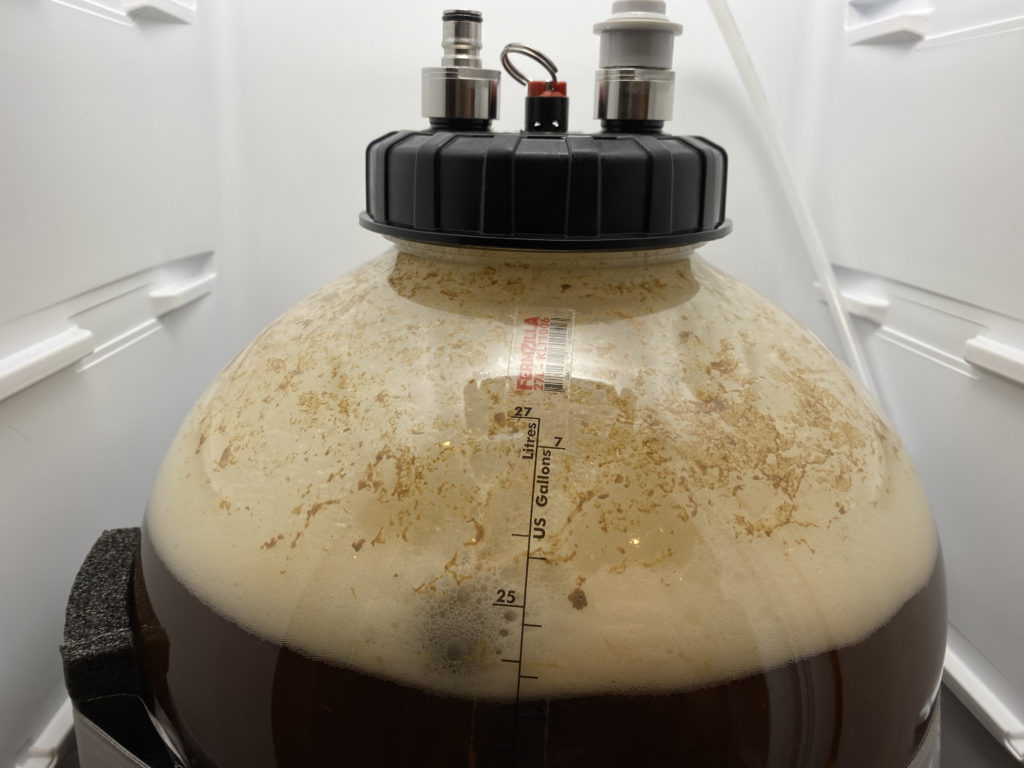
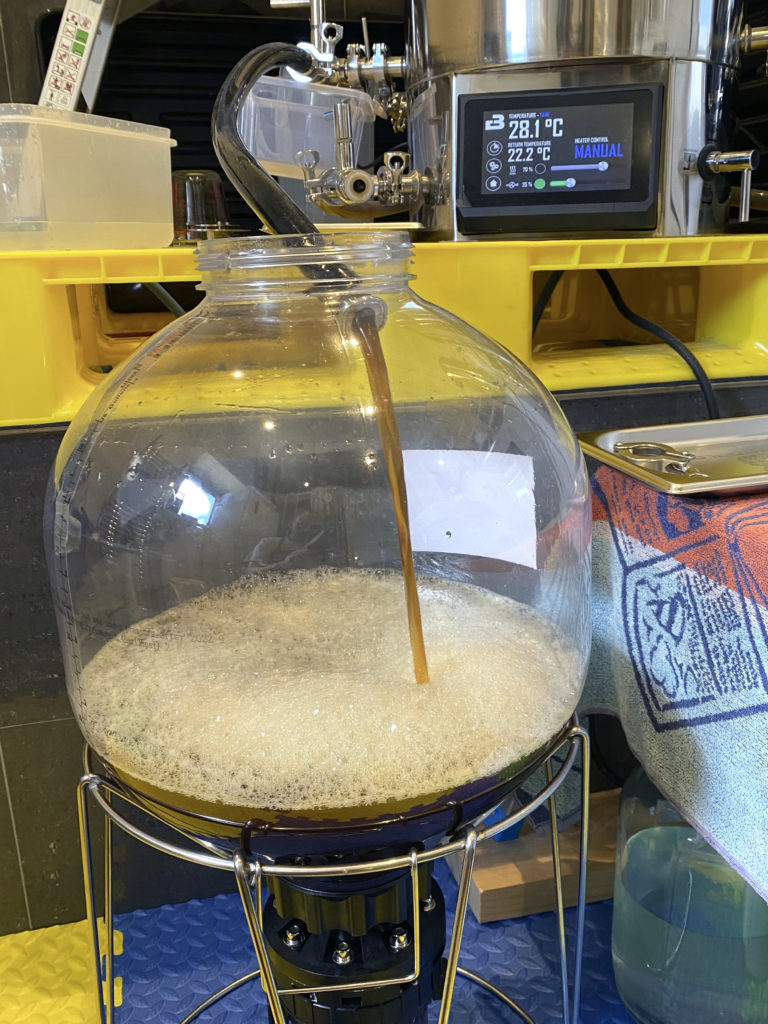
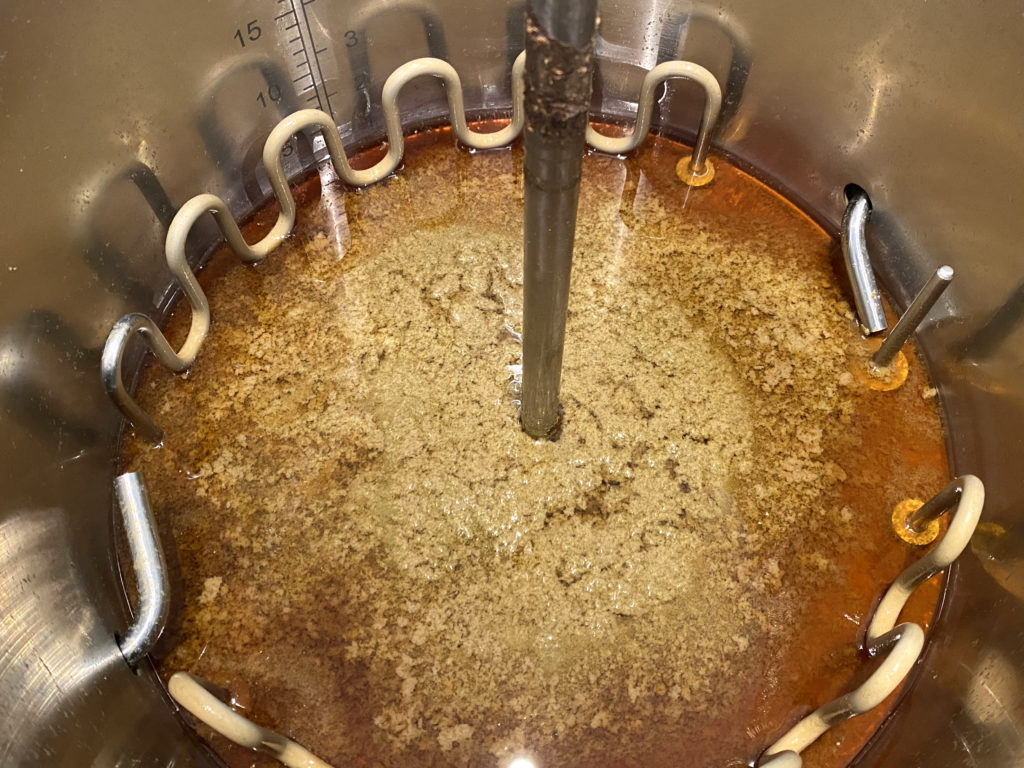
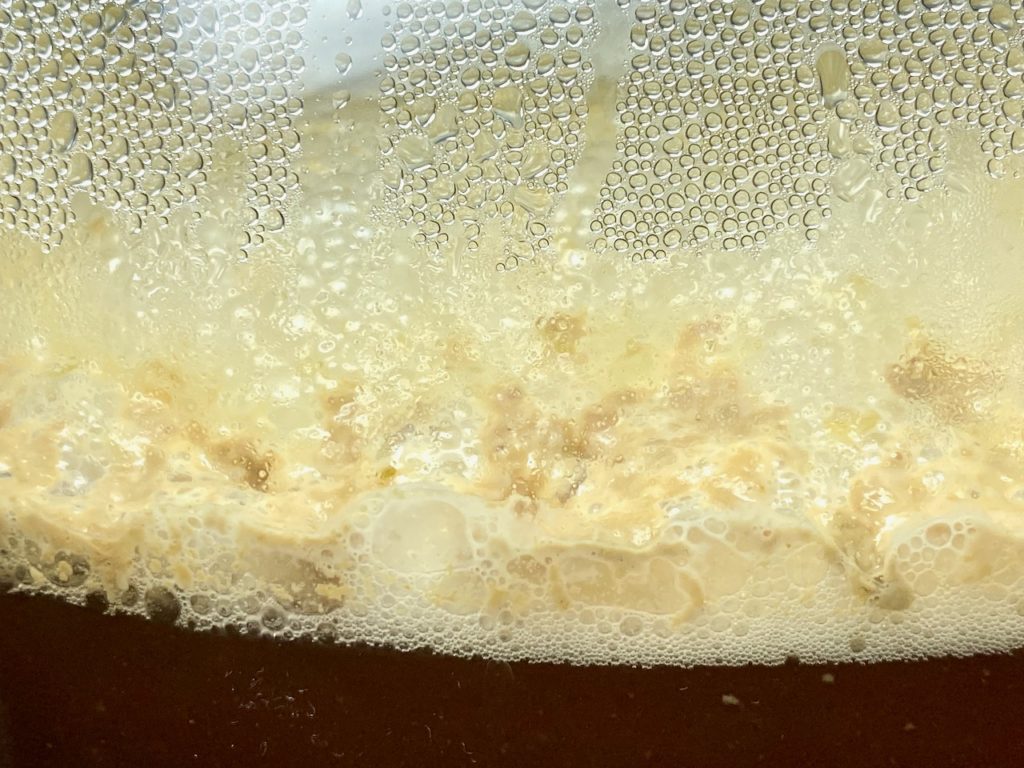
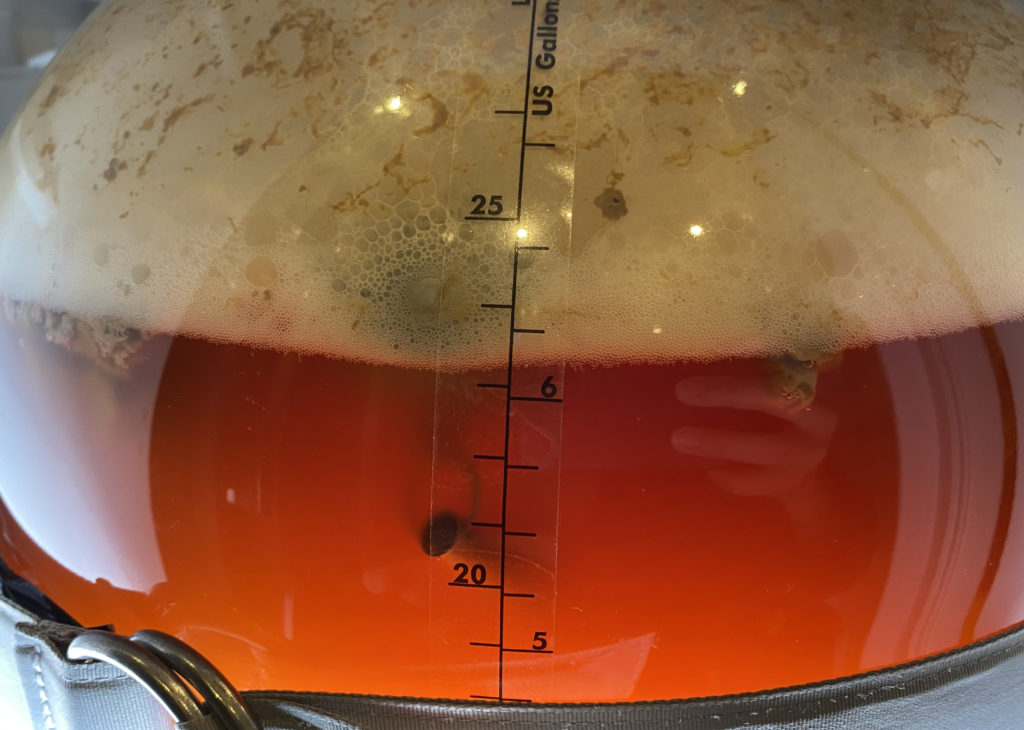
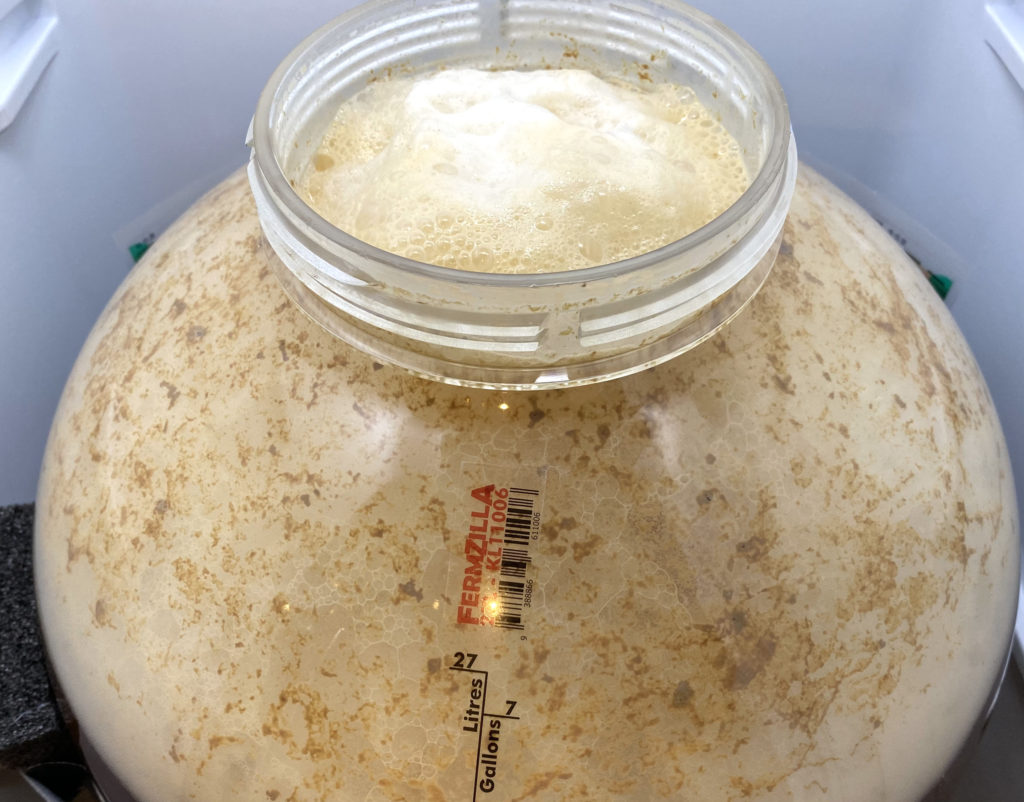
Looks like selecting the smaller of my stainless fermenters was a bad idea, because evidently Yeti needs more than 3 inches head-space.
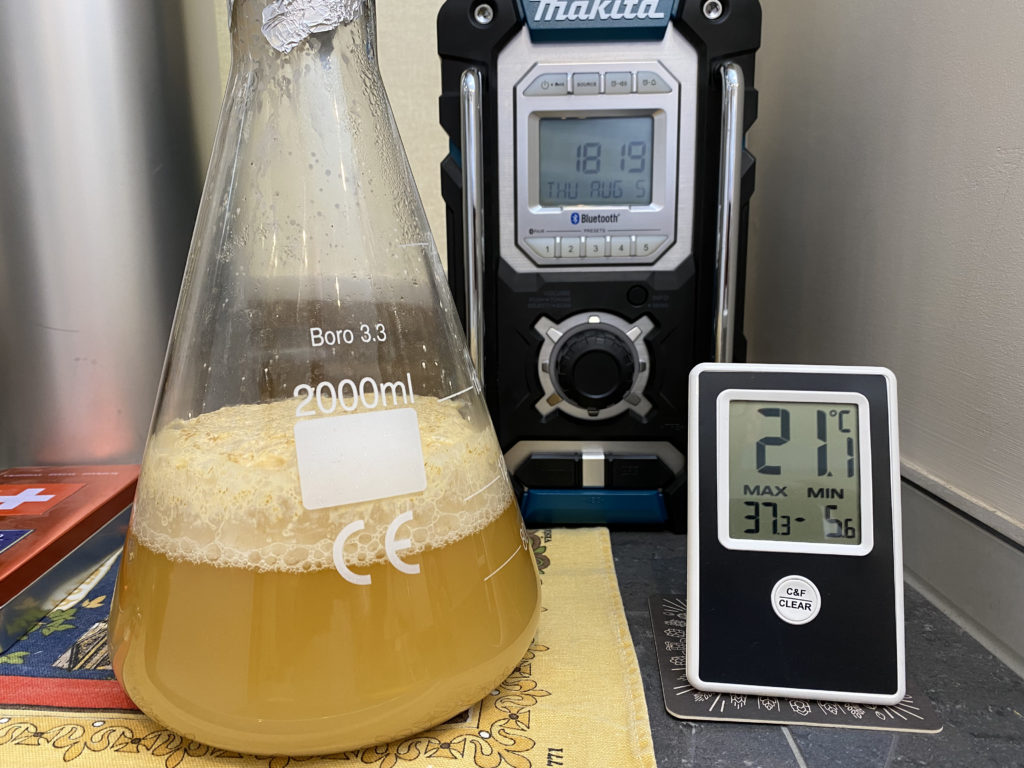
Continue readingTypical M44 yeast starter scaled down for size. Normally I’d put this on 24 – 30 hours before pitching, but Brewfather has always reminded me 3 days out to make the starter, so I thought I’d give it a tad longer this time around. Should be pitching on Friday at noon, which is about 52 hours.
Update: should have pitched a bit sooner. It did take off mightily, but if I’m aiming for peak Krausen within the starter before pitching then 26 – 28 hours is possibly the sweet spot.
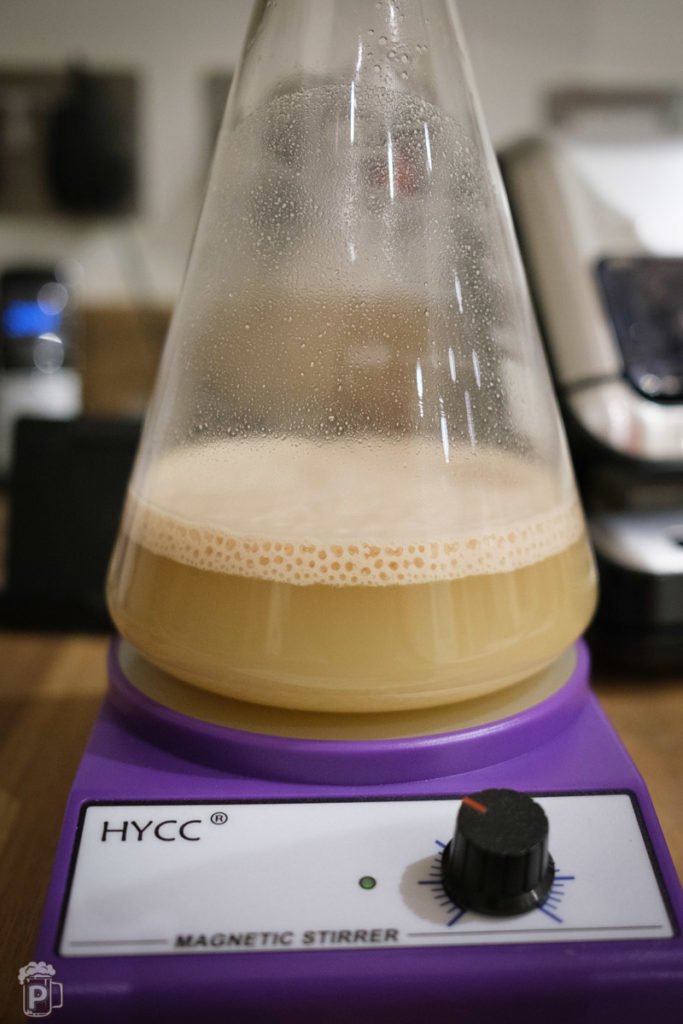
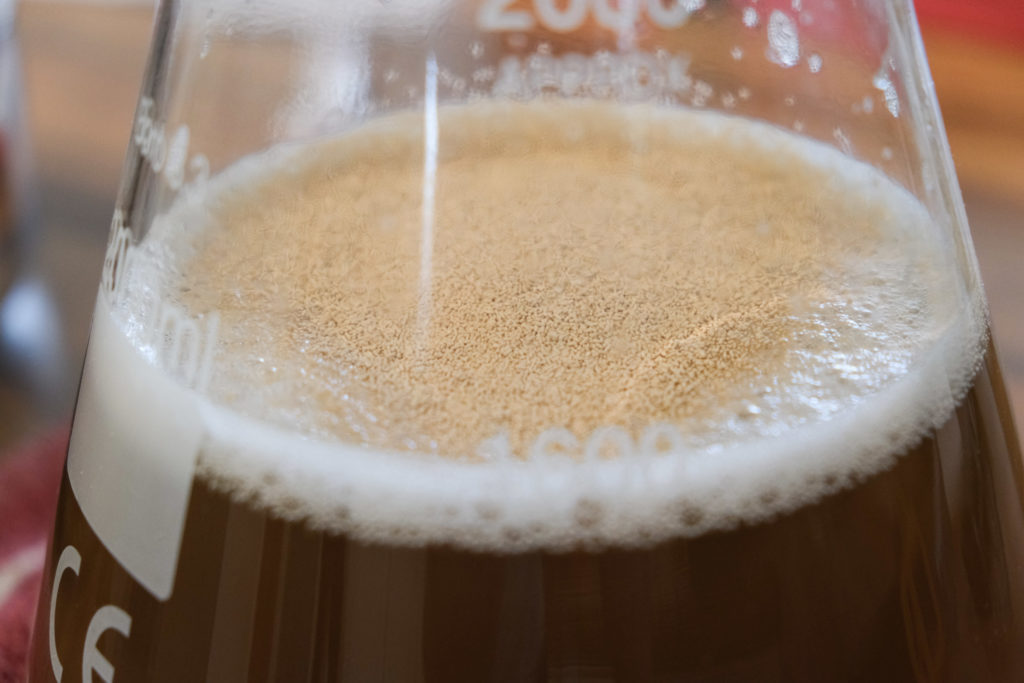
Just logging this retrospectively to note that the starter was produced almost exactly 24 hours before pitching, spending roughly half that time on the stir plate. When the spinner was switched off there was a small amount of foam but that disappeared and it all looked pretty dead, except for some occasional yeasty bubbles coming up from the bottom. Once pitched, fermentation started within seven hours – I’ll take that.
The shipment of White Labs WLP775 arrived this morning, so I let the slurry sachet come up to temperature before pitching half of it directly into the fermenter. The other half is going off to Farmer Jim for his batch to play with.
I prepared the starter yesterday for tomorrow’s brew, keeping it on the stir plate with the smaller, banded spinner for around 24 hours. When I switched it off it rapidly went for good Krausen, but this evening it seems to have receded and looks almost lifeless. Too long on the stir plate / too far in advance of the brew? Will prepare just 24 hours ahead next time. Didn’t use the fermentation chamber either this time around, instead keeping it in the cool bathroom at around 19℃.
Brew Day Update
I was planning to pitch my remaining packet of dried yeast instead of this apparently lifeless starter, but there’s still the tiniest signs of fermentation from the layer of yeast at the bottom, so I’ll throw it in anyway and will follow up with dried yeast if nothing happens after 24 hours.
#wisdom: let’s keep starter time to 24 hours ahead of brew, with half of that on the stir plate.
I set out to prepare the yeast starter for this brew as usual, boiling up and then chilling DME 2.5 days before the brew day, but I couldn’t get the magnetic stir bar to operate consistently and found that it wanted to jump out toward the edge of the flask all the time, leaving the starter inanimate.
1.5 days after pitching I decided to make another starter in my second flask, this time picking a different stir bar on the basis that my usual go-to bar may have become differently magnetised or otherwise worn out. I did note that the old one lacked the small ridge around the middle, which made for a larger contact area with the base of the flask and therefore increased the amount of friction. Was that enough to upset the apple cart once the viscosity started to change?
Following a successful trial in water using a smaller, ridged stir bar I sanitised it and deployed it to my second starter, where it performed flawlessly for just over 24 hours until pitching, at which point a decent head of Krausen was observed.
#wisdom: the ridge is there to help the stir bar move more easily. Always use a bar with a ridge. 1.5 days seems fine for Lallemand Koln (Kölsch) yeast, ignore the funky packaging / rehydration instructions and prepare starter as usual, observing temperature suggestions.
It’s not without irony then that this brew, Bernsdorfer TTZ, is as difficult to start as the ETZ 250 after which it’s named.

I believe I was right to attribute yesterday’s initial bubbling of the blow-tube to temperature expansion since there was no sign of foam, but this morning’s a different story, with a nice cake of healthy krausen sitting on the FV’s surface just 18 hours after pitching.
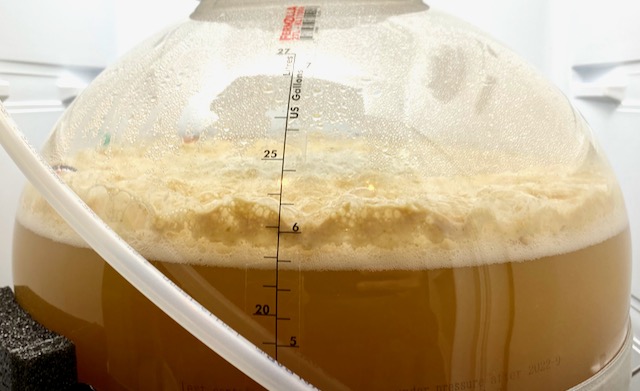
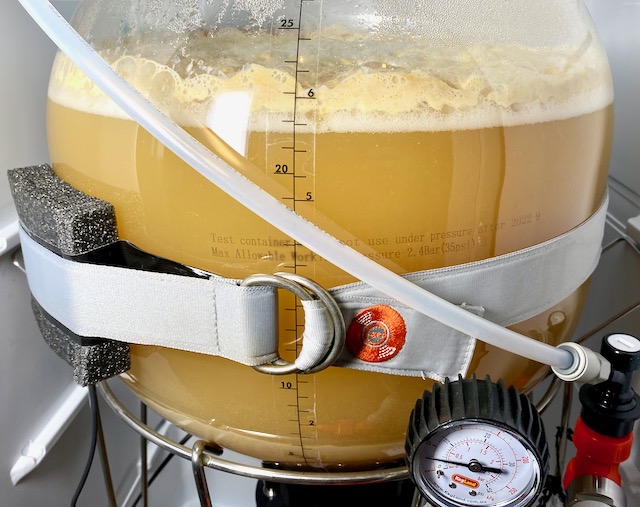
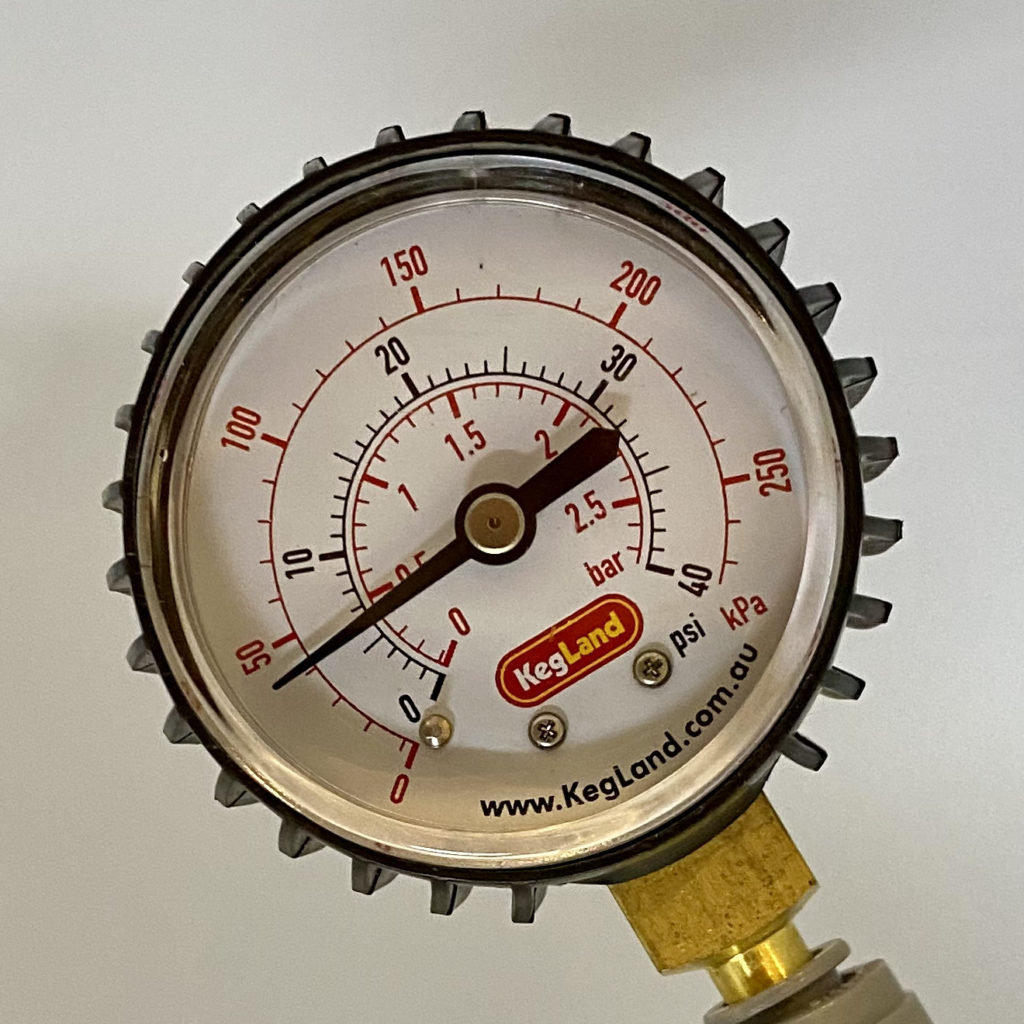
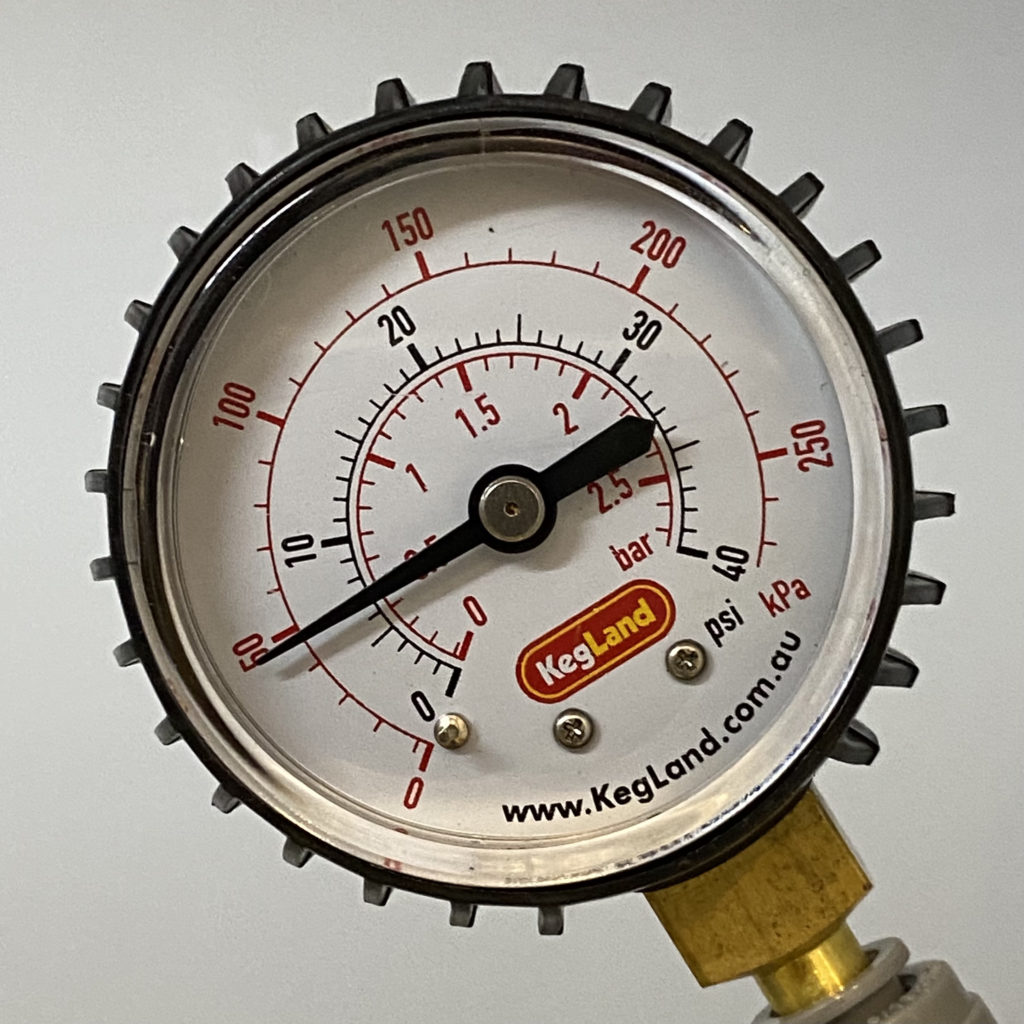
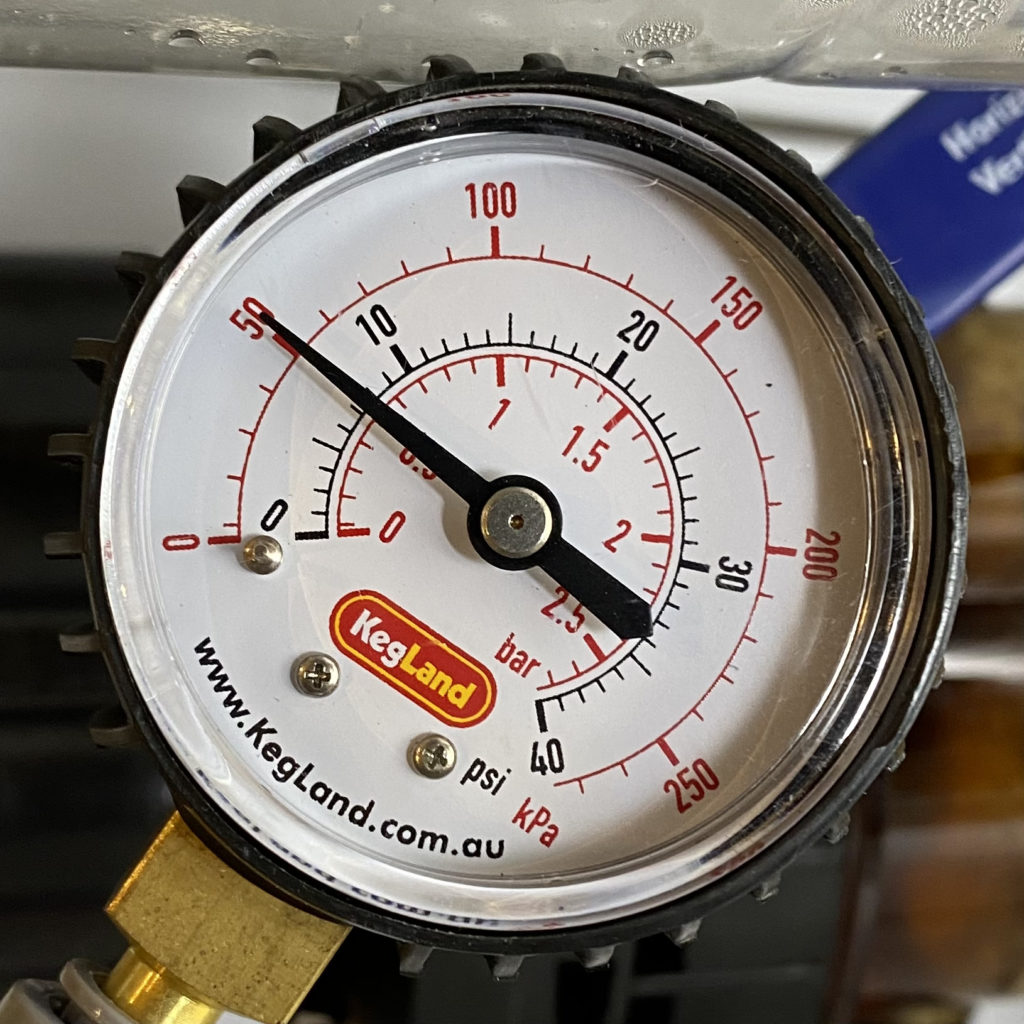
The blow-off tube is popping constantly and the spunding valve has settled on exactly 5 PSI and is hissing quietly. I’m wondering if 5 PSI is enough to suppress some of the yeast’s desired character so maybe we’ll try one without pressure at some point, but for now I like the head start on carbonisation and prevention of O2 ingress during cold-crashing.
We’ll see where it goes. Looking good for now.
Just a quick note to say that this brew has been sitting there idle for a good 26 hours since I pitched Omega DIPA “Conan” OYL-052, and I was getting worried.
But Allah Be Praised, she’s finally off! Not much to look at yet, just a blanket of fine foam atop the brew, not even touching the sides. But we have action, and that’s good. I don’t remember any other yeast taking quite this long … probably 12 – 18 hours, but not 26. Still, we’re off and that’s all that matters. The spunding valve had already hit 8 PSI by the time I caught it, so I dialled it down to 5. It’s not very precise or responsive at the lower pressures.
Go do your stuff, yeast.
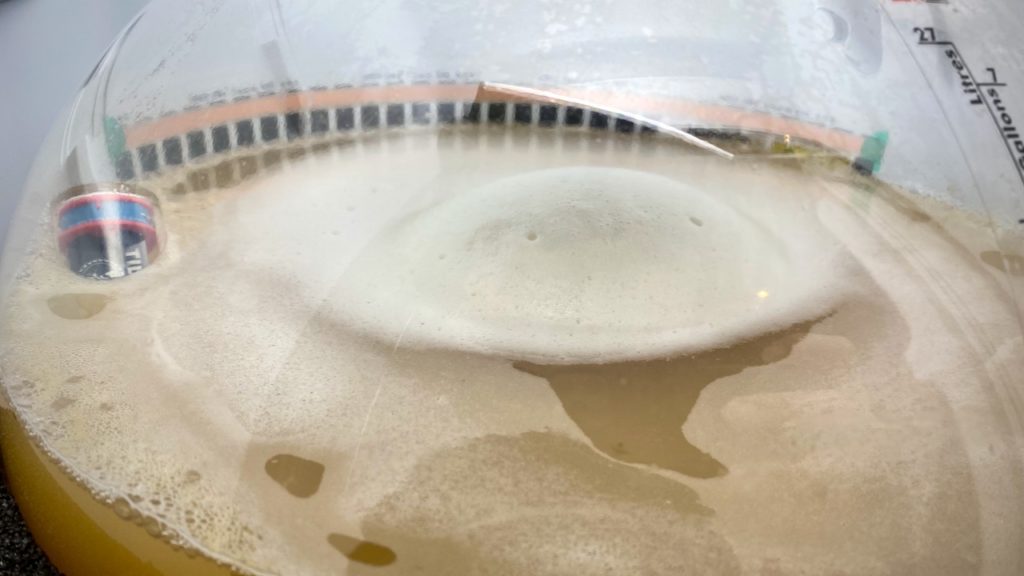
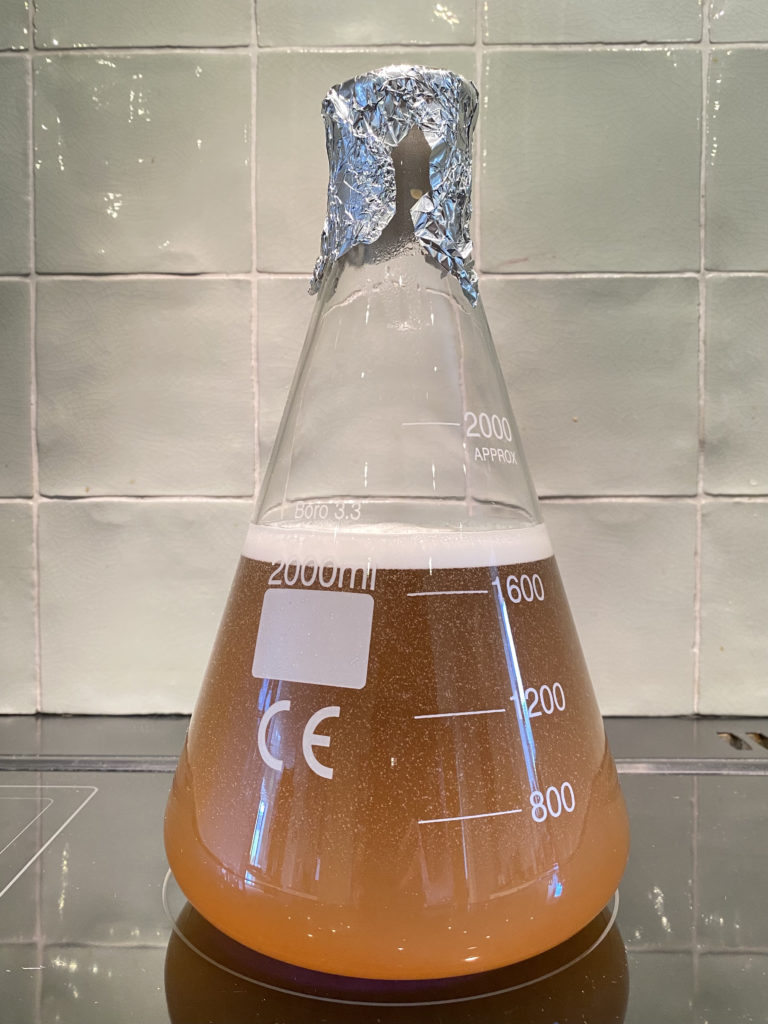
Usual approach for Yeti; 184g DME, 1.5 litres water, a dollop of Lipohop, pinch of yeast nutrient. The original brew day was scheduled for next day which would have been a bit tight in terms of growing this starter, but a short-lived tummy bug intervened and I’m now brewing two days after building the starter. Looking at the foam atop my Erlenmeyer flask I’d say this is a sweet spot anyway, so I’m hoping for it to take off not long after pitching.
This particular beer is going to be very light so I’m using up half a pack of US-05 that’s been hanging around from a previous brew, letting it spin for 24 hours in 79g of DME and 800 ml of water, then letting it sit static for another 24 hours, so 2 days in total before pitching.
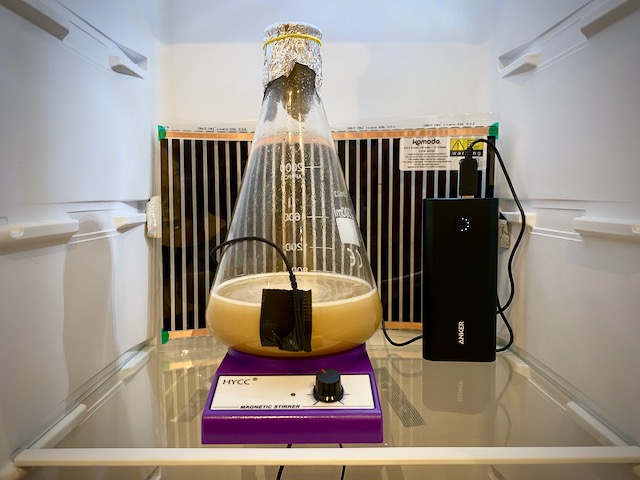
The Power of USB
It’s been fairly warm in the house over the past week and I can’t really find a cool spot for my starter, so I’m putting it into the fermentation fridge at 18℃. This yeast is supposedly happy at 12 – 25℃ and I’m pointing it at 18 since we’re building it over two days.
Oh, the USB? I don’t want to run a lead into the fridge via the door (and risk deforming the magnetic seal) and the drain hole is already taken up by the leads for Inkbird’s sensor and heat pad, so I thought I’d try running the stir plate using a USB power bank instead of mains power. Seems to be doing the job very nicely; I’ve probably used about 25% of the Anker’s total reserves in the course of 21 hours, so I’m not at all worried about it running out.
It’s 21:15, about eight or nine hours since pitching, and this Kveik has just taken off in the last hour or so. I’m seeing a growing carpet of foam on top of the wort and have fitted a blow-off bottle, moving the spunding valve away from the likely erupting Krausen.
I’ve set the spunding valve to 10 PSI by dialling it high and filling the blow-off bottle from my CO2 tank, then reconnecting the valve and opening it until the pressure dropped back down to 10. Unfortunately I didn’t de-pressurise the bottle further, and when I reconnected it to the FV a small amount of sanitiser rushed up the dip tube as the vessels equalised. Hopefully that won’t trouble the wort or the yeast too much in this important early stage – oops!!
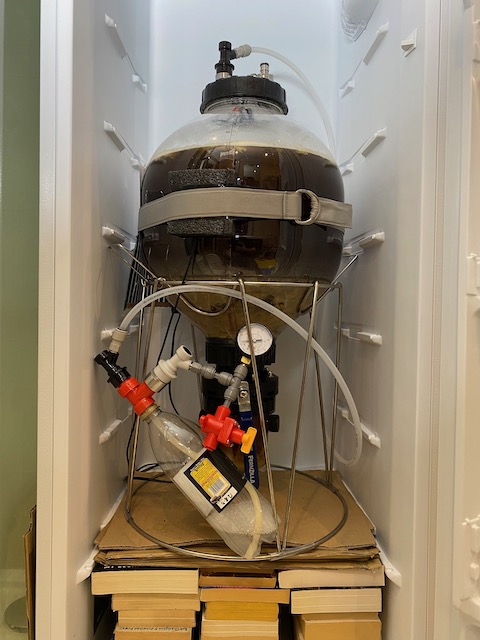
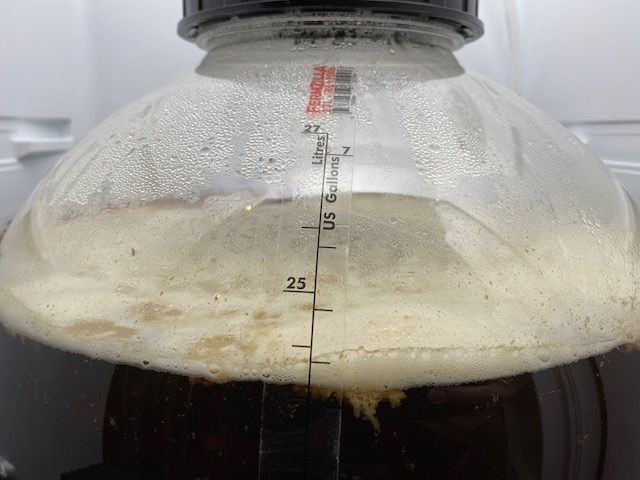
The foam that’s been atop my brew since Primary started has now cleared up, and the fermentation curve is beginning to flatten out. I expect tomorrow the curve will be completely flat so I’ll take that as my dry-hopping point, aiming to cold-crash 3 days later.
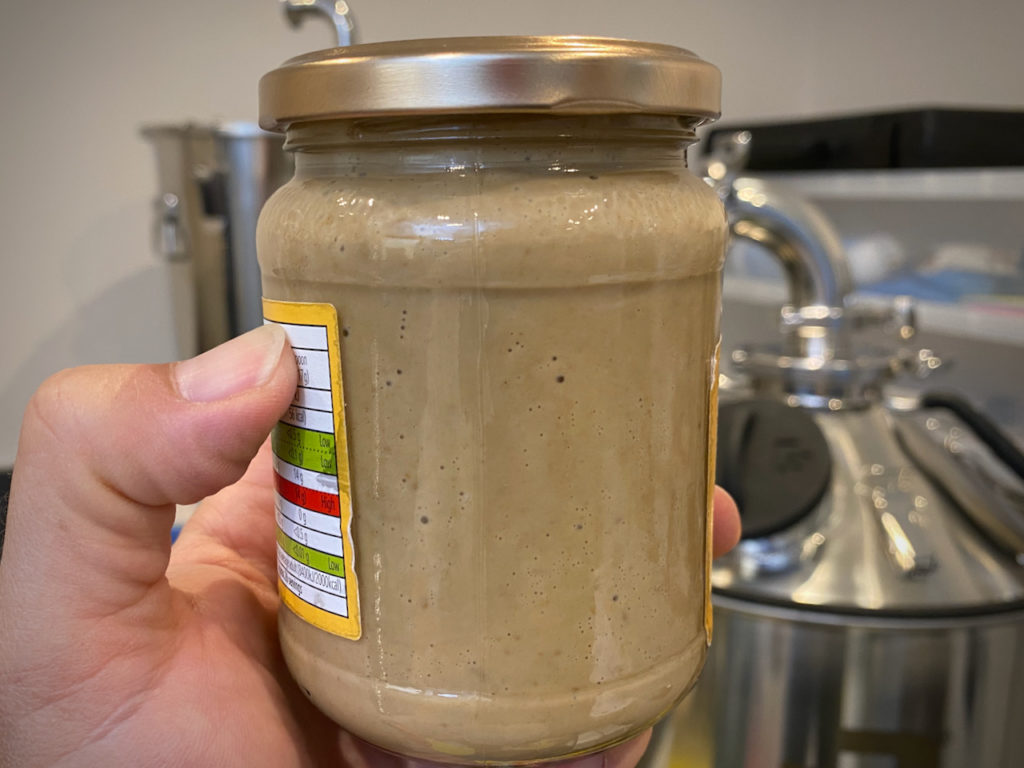
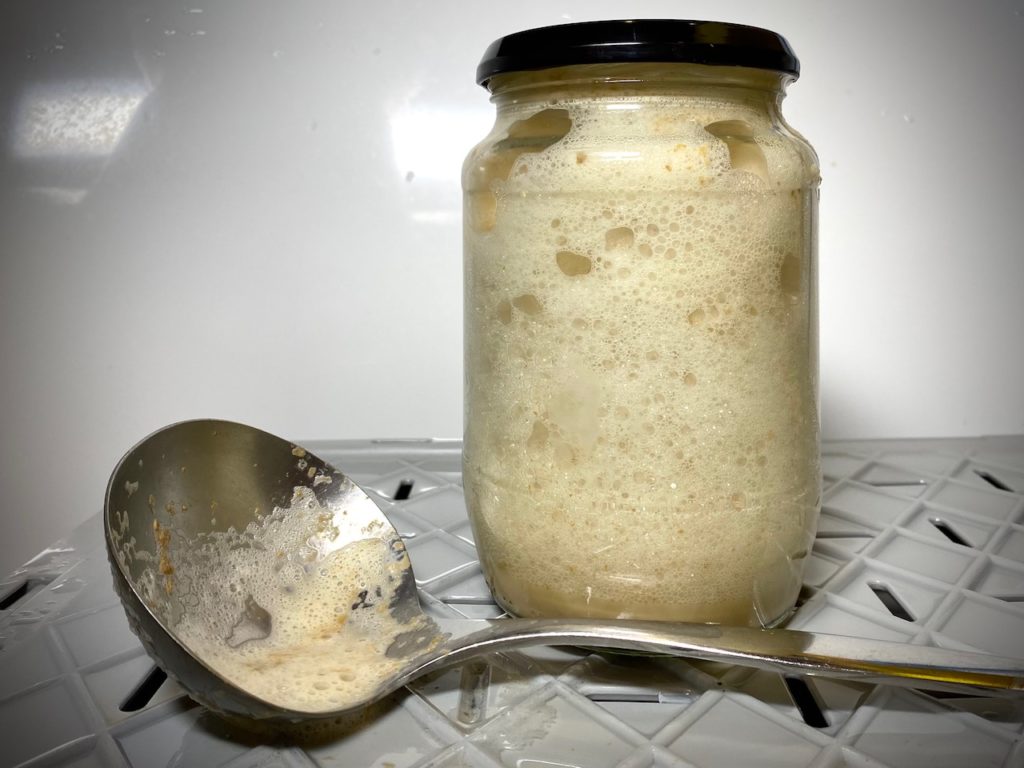
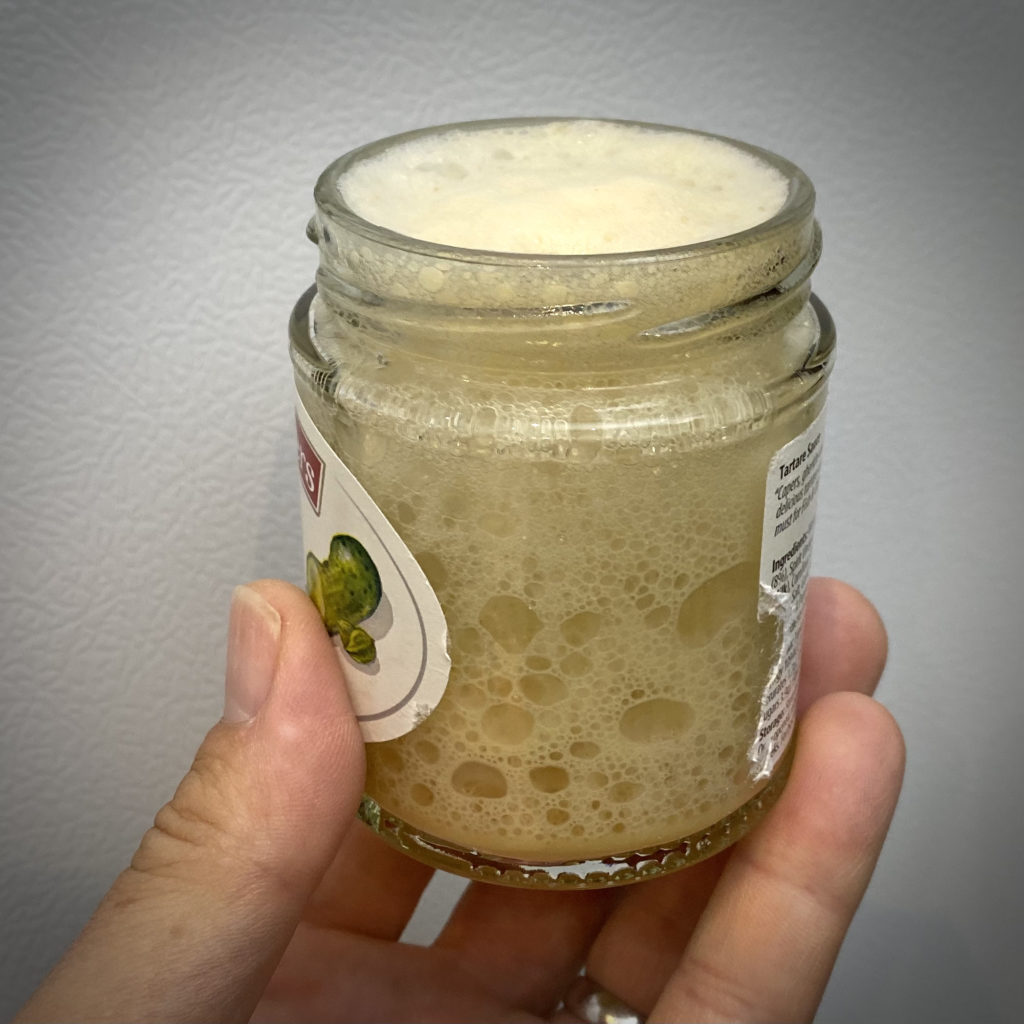
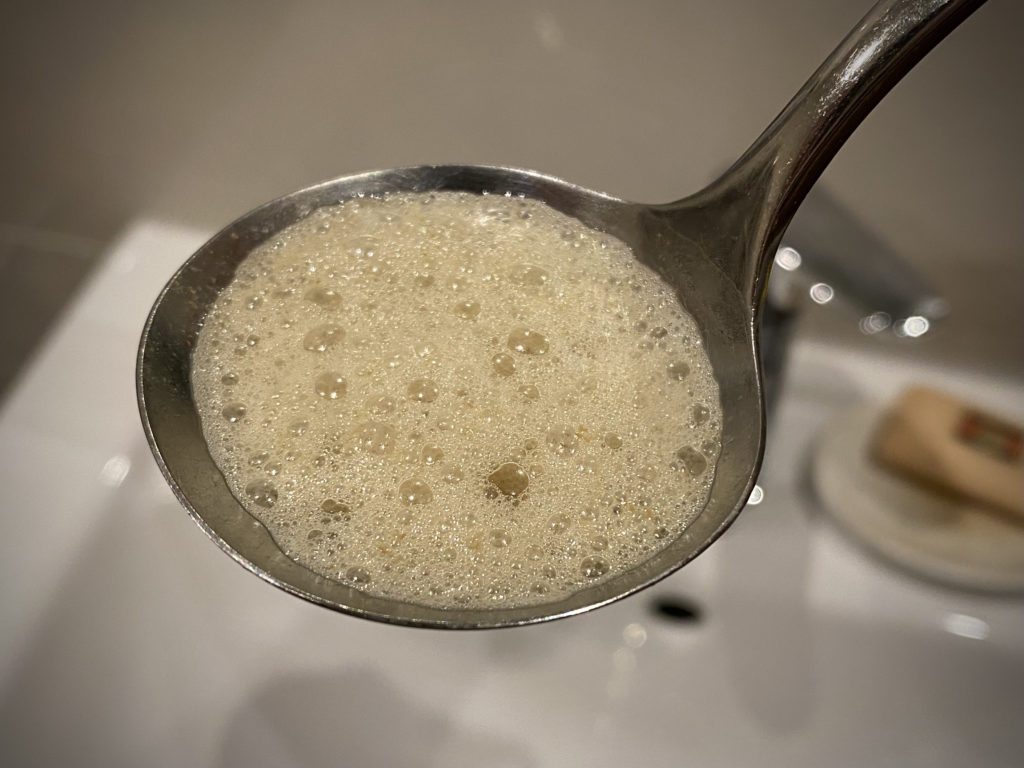
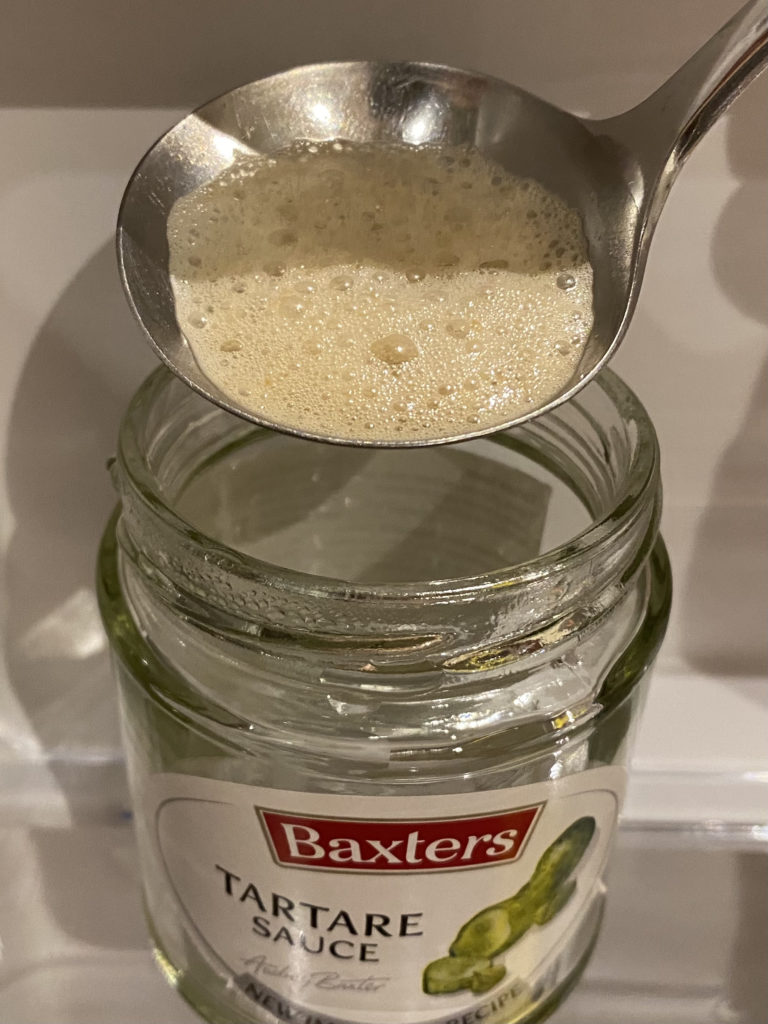
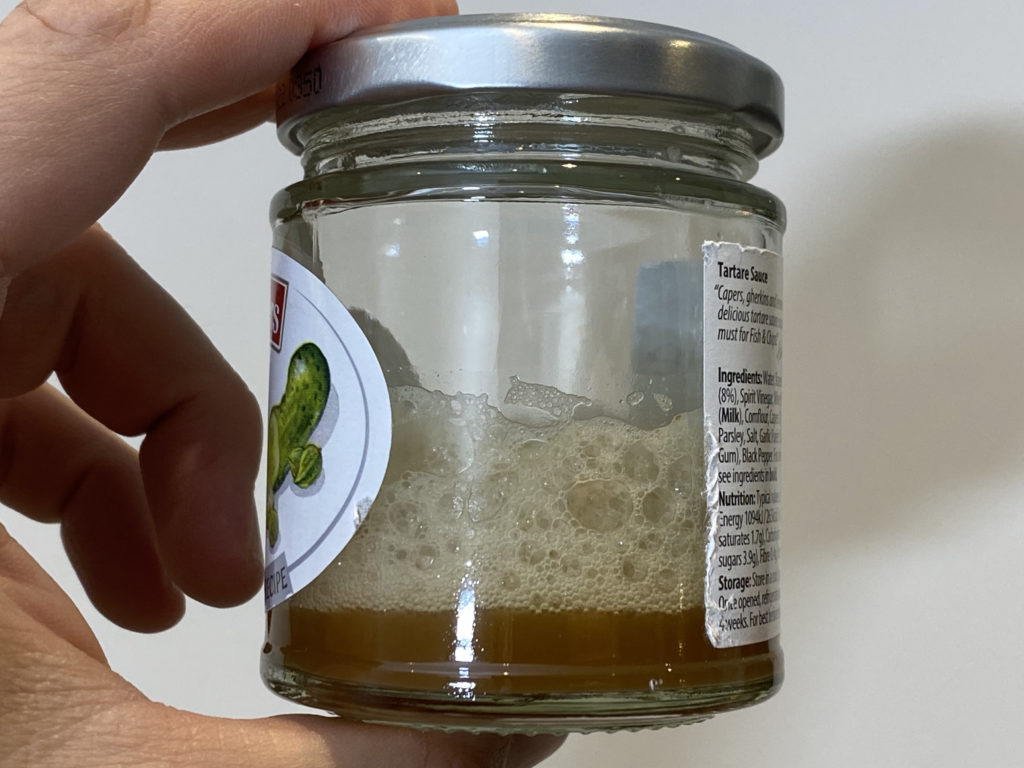
It’s 18:00 and there’s a good amount of Krausen atop this brew now, so I thought I’d capture some for future use before it gets too far into development. Cleaned a big jar and a ladle, gradually de-pressurised the Fermzilla, and filled that jar with glorious foam. Once that was done I fitted the jar’s lid and swung it about in order to compress the foam through G-force, allowing me to get another couple of spoonfuls in there. On refitting the Fermzilla’s lid I saw the pressure climbing up again, hitting 10 PSI 15 – 20 minutes later. The jar’s in the fridge and the contents will be decanted onto parchment and dried then frozen at some stage.
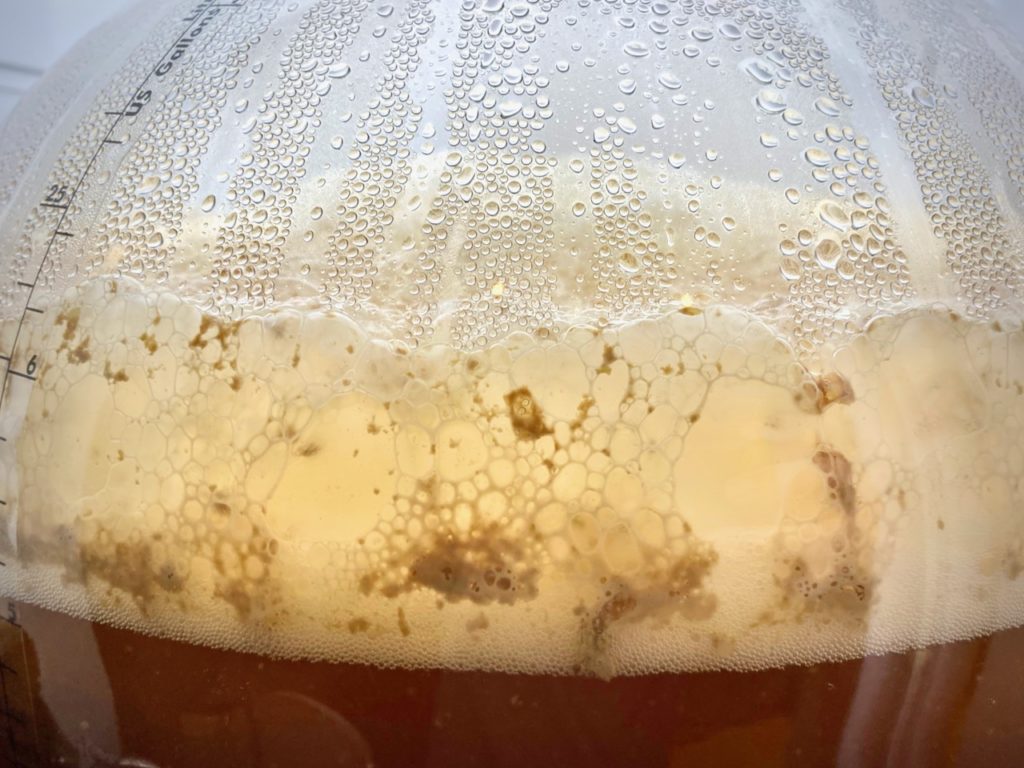
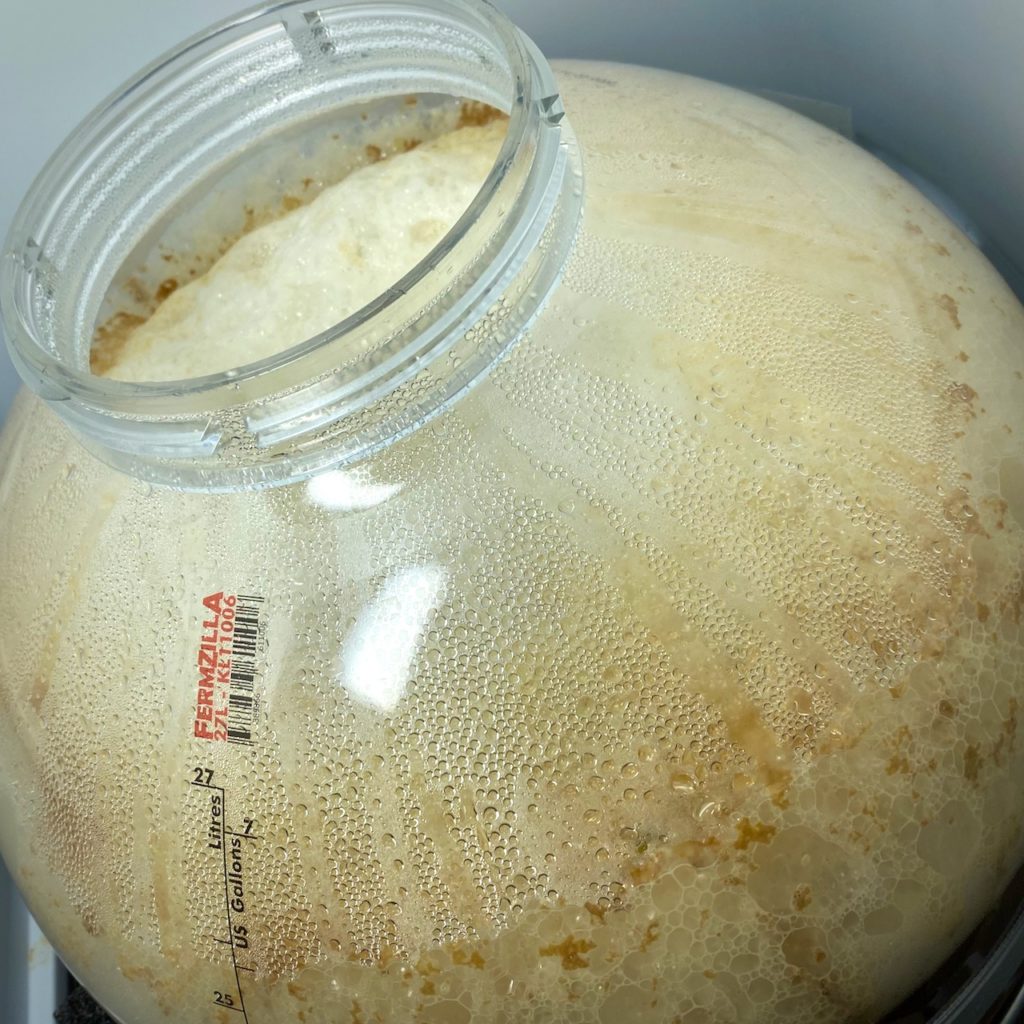
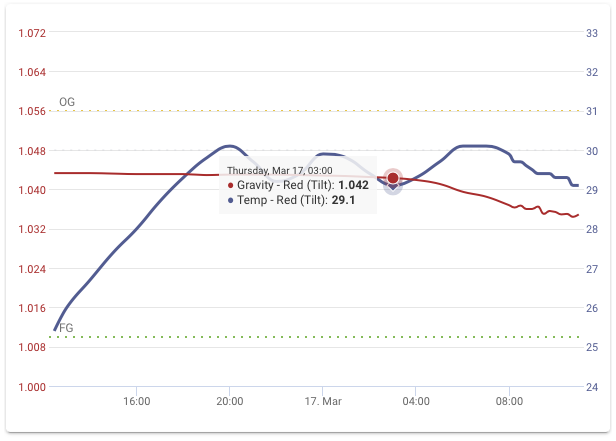
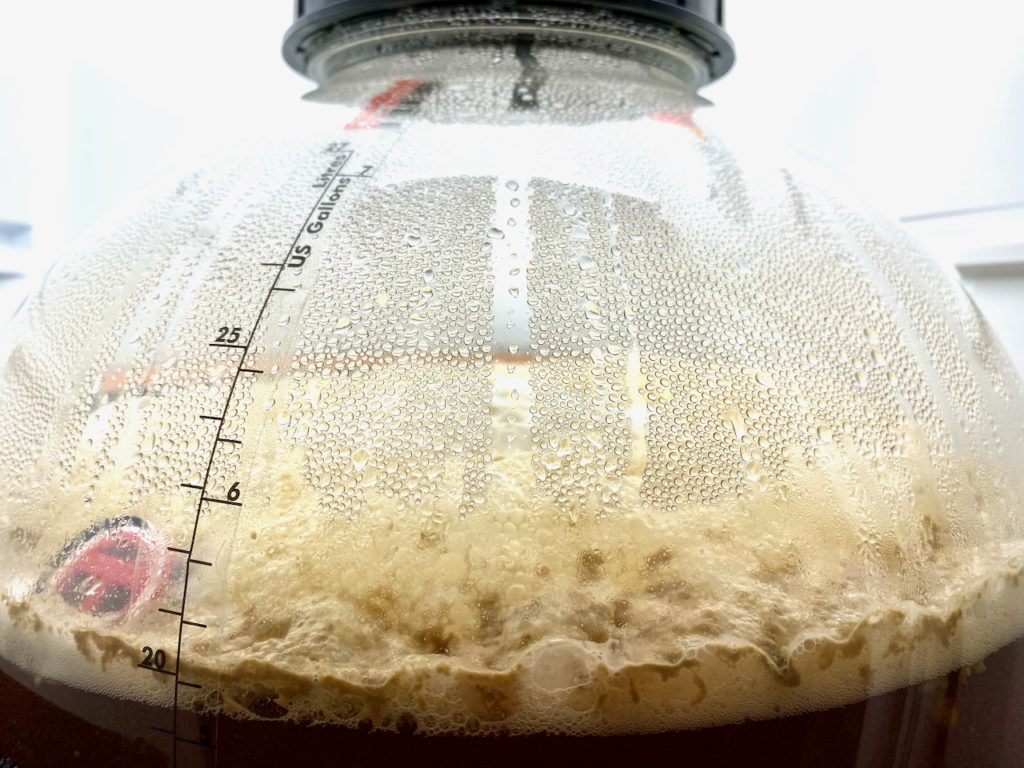
According to the Tilt, things started happening around 04:00, and when I checked in this morning there was a good covering of foam on my brew. I didn’t bother calibrating the spunding valve yesterday because I’m short of gas (in fact I’d almost forgotten to refit the valve after swapping out the first Tilt) so I just guessed the number of turns needed for my target of 10 PSI, and that transpired to be closer to 20 PSI. Sorry Fermzilla, sorry Tilt! I backed the valve off gradually over the next couple of hours and she’s now sitting pretty at 10, will leave it to build a bit longer before harvesting some yeast.
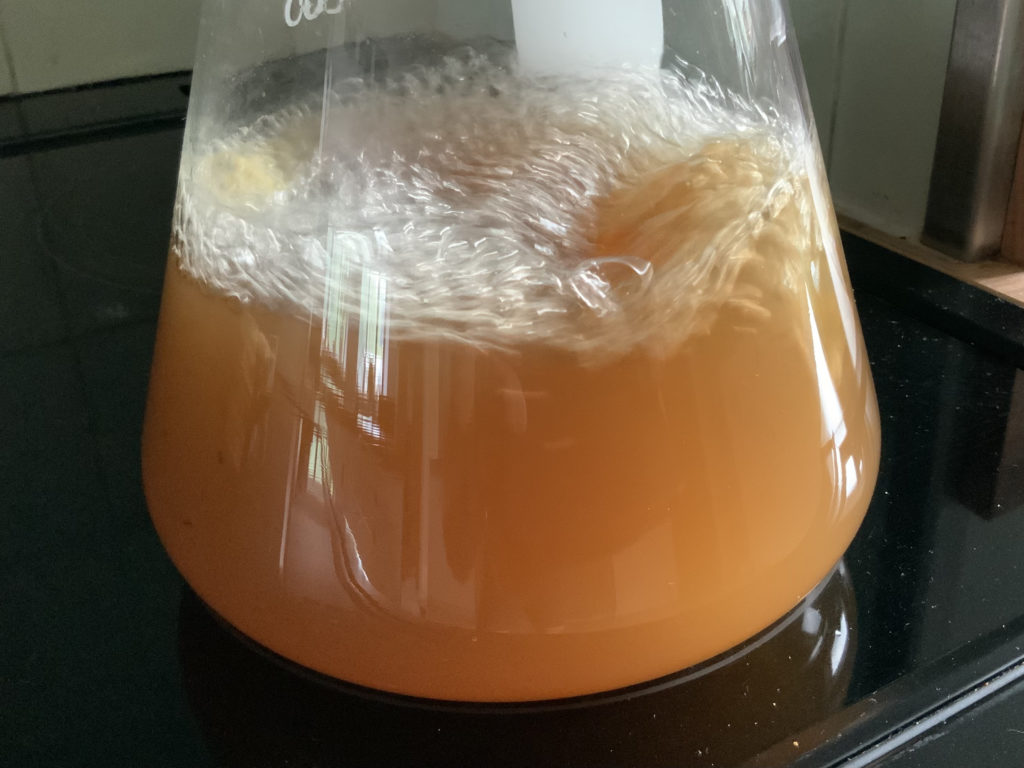
Nothing extravagant here, the usual starter knocked up ahead of brew day in my large Erlenmeyer flask. 1.5 litres water, 184g dark DME, boiled for 20 minutes along with some Lipohop and yeast nutrients. I added the magnetic stir-bar for the last 5 minutes in order to sterilise it, and it’s amazing how much more foam is generated from there on in – almost enough to overwhelm the Lipohop.
Continue readingA slightly different approach this time. I’m making the starter just 24 hours before I need it, pitching yeast at 15℃ and keeping the stir plate in a cool room instead of regular room temperature. This is due to a number of inputs;
- Ideal fermentation temperature for S-189 is stated as 9-15℃ so I don’t want to run the risk of introducing off flavours by having the starter spinning away at 25℃, which would be the case were I to leave it in the kitchen as usual.
- I’ve also noted that some yeast tends to become subdued after too much time on the stir plate, so I reckon that 12-18 hours stirring and another 10-8 fermenting should be enough time for the yeast to work up an appetite. We’ll see how this goes.
Problem Mash
I prepared the usual starter yesterday in preparation of tomorrow‘s brew day, but it didn‘t work out. Not sure what went wrong, the only thing I can think of is that the Crossmyloof Ale yeast (which I‘d previously only used dry) was either out of date (label says June 2022, so 7 months away) or that I did something very wrong.
Brewfather‘s recipe called for 800 ml water with 79g DME, which was duly boiled up (along with a nib of Lipohop and some yeast nutrient) and shoved onto the stir plate overnight. By next morning there was a small amount of foam despite the stirrer, which was a good sign, but when it came to switching off time by mid afternoon (just under 24 hours on the plate, 24 hours to go) there was no foam at all, and over the next couple of stationary hours it started to separate, just like a dead yeast thing. I‘m not using this.
Having evicted and bottled Allotment Riot from the fridge, I poured away the starter and am making another one, identical recipe. This time I‘m going to leave it on the stir plate for just a couple of hours until the yeast is dissolved and the wort aerated, then allow it to ferment at room temperature overnight and throughout the brew day. I think this may be the best approach since I‘ve heard that Crossmyloof can get going very quickly, so if I‘ve got another dud at pitching time tomorrow then I‘ll chuck in the 1.5 packets of US-05 I‘ve also got hanging around.
The Next Day
Fermentation appears to be well underway now, with a good head of foam atop the starter, though not yet what you’d call High Krausen. On agitating the starter I knocked the foam back considerably, and after the second stir it looks almost dead, with a darker layer of liquid starting to separate out on top. It has started to ferment again, but I’m going to say that CML (Crossmyloof) Ale yeast is sensitive to stirring / shaking, and only needs minimal time on the stir plate.
#wisdom: don’t over-stir or shake CML Ale yeast!
Knocked up a starter for Thursday’s brew today, and it seems that about ¼ teaspoon of Lipohop is a good amount to prevent boil-over in the large Erlenmeyer with the quantities employed. I also used black DME this time around because I’ve got a bag knocking around, so why not?
- 1.5 litres water
- 185 grams dark DME
- ¼ teaspoon Lipohop
- ½ teaspoon yeast nutrient
- 1 packet Mangrove Jack’s M44 American yeast
Took about 90 minutes to chill down to pitching temperature after the uneventful 20 minute boil, yeast was added at 21℃ then it went onto the stir plate. Foam started to appear a couple of hours later, by the 24 hour mark we could call it Krausen and the temperature is up to 24℃, so I’m moving it to a cooler room in order to slow things down – it’s still around 18 hours until I’ll be adding this to the wort.
Continue readingThe Opshaug starter was more or less ready to go so I took a gravity reading and threw it in. A thin film of foam almost coated the top of the bucket and there was an audible hissing as soon as the lid came off. Gravity (before pitching) came in at 1.039 making for just 0.5% ABV from the natural yeast, so still plenty of sugar there for the Kveik to get stuck into. Can’t wait to see how this turns out.
There’s no sign of life from the starter that’s been spinning for a day or two on the stir plate at 21℃, so I’m going to throw it in and see what happens. The other bucket (with dry-pitched M02 around the same sort of time) has been bubbling away nicely, so I’m not sure what’s up with this starter. If nothing happens I’ll dry-pitch some more yeast on top, but let’s give it a couple of days.
I pinched about a litre of juice from one of the three buckets and threw in a packet of M02 and some dissolved yeast nutrient before placing it on the stir plate for 24 hours at 20℃, then leaving it to settle down and hopefully start fermenting. The idea is that the extra nutrients and increased temperature will cause this yeast to grow more rapidly than if I were to pitch it dry, so that when I do unleash it on whichever bucket I choose it’ll get to work with added vigour. Then again, I’ve lost the time it’s taken to make the starter, and the material used will be the same as that into which it’s pitched, so I’m not sure it’ll show much difference to dry-pitching, which is what I’m doing with Best Wellies. Essentially this is an experiment to see if it’s worth making a cider starter.
I decided that this bucket would be fermented with dry-pitched yeast, so today I threw in a packet of Mangrove Jack’s M02 and kept the temperature as it has been for the past week or so. MJ reckon that M02 is happy between 12 and 28℃ so 15℃ shouldn’t be a problem, and true to form it started bubbling away 24 hours later.
I’m going to make a starter instead of pitching dried yeast for two reasons; it’s always worked very well with my beers, and the only wine yeast I have went out of date six months ago. Setting it off on the stir plate with plenty of oxygen and nutrients should have a positive effect on the viable cell count, and if nothing at all happens then at least I’ve only contaminated a small sample of my must.
In the end it actually worked out quite well. I took 400 ml of must from the first mashings and added it to my medium Erlenmeyer flask along with approximately one teaspoon of dried wine yeast and a generous helping of wine yeast nutrient before placing it on the stir plate. Absolutely nothing happened for a couple of hours, and then in the space of ten minutes we saw the first signs of foam at the top.
I gave her a good shake and increased the speed of the stirrer because I didn’t want Krausen just yet, and it continued to stay headless until the morning, by which point a good amount of foam could be summoned by switching off the stirrer and letting it sit for a moment.
Sunday, 15:00
I used a tiny amount of harvested Opshaug that’s been in the fridge for an age, and if this works I’ll frankly be amazed. There can’t have been more than a tenth of a packet, so I plugged 0.05 packs into Brewfather’s starter calc and it recommended 1.5 litres of water with 150g DME. Threw in some Lipohop and plenty of yeast nutrients and hoped for the best.
Monday, 08:30
Nothing happening, so I’m switching off the stir plate to give her a chance to gather her thoughts.
Monday, 11:00
I’m halfway through brew day and the yeast starter still looks dormant apart from some isolated bubbles rising at the edge, so I switched on the stir plate again in case she needs more oxygen. The effect was immediate, with enough bubbles coming from the bottom of the flask to form a good head, which started filling up the neck straight away. So there’s definitely something happening, but I’m not sure I’ll reach high Krausen by the time I’m ready to pitch in a couple of hours. Keep the wort ready in the FV until this evening? This will be interesting!
Monday, 21:00
The starter has been bubbling away on the stir-plate for most of the day, increasing whenever shaken and slowing down when left, but it’s the gradual change in colour from dark, russety brown to a light, warm toffee hue that convinced me to pitch this now. Or maybe it was the sentiment it’s Kveik, innit?
With the Erlenmeyer flask sitting on its stir plate and the starter well and truly underway I’m re-reading my notes from the last Yeti’s starter, which was coincidentally the first one I ever made. Since then I’ve done maybe half a dozen of these and am a lot more comfortable with the procedure, so much so that this time around I didn’t take any pictures or gravity readings, planning simply to rely on visual cues to confirm it’s ready to go in 2 days’ time. The only thing different this time around is the addition of Lipohop, an anti-foaming agent made using natural ingredients, and given that I didn’t have to clean the stovetop or nanny over the flask I think it’s safe to say I’ll be using it again.
Brew Notes
- 123g DME
- 1 litre water
- 1/6 TSP (approx) Lipohop
Lipohop is an anti-foaming agent, approximate dose should be between 0.02 and 0.05 grams per litre. I think 1 TSP is normally around 2 grams, so complete guess is to aim for about a sixth of one small TSP. The small tar-like blob easily slid off the teaspoon, which had been sitting in boiling water for a few minutes to sterilise.
The Erlenmeyer flask was prepared by boiling some water in it to sterilise, then dumping that out in order to rapidly dry the interior, before being placed on scales for addition of DME using PET bottle-derived funnel. Water added to just above the 1 litre mark (guess anyway since there are only 800 and 1200 ml marks) then placed on boil and Lipohop added as well as the stirrer magnet, which I’d also sterilised with hot water along with the spoon.
Lipohop appears to be very effective indeed at suppressing foam during boil, and any bubbles which are produced (mainly from the stirrer magnet) immediately disappear on the surface. There are some small black particles visible in the boiling wort, presumably solid hop matter which won’t dissolve. Boiling the whole lot for 20 minutes should at least guarantee it’s sterile. Colour also seems a little darker than my usual starter, at least while it’s still boiling. Maybe I could get away with a smaller dose of Lipohop next time?
1 packet of M44 yeast pitched at 22℃, placed on stir plate 11:00, Wed 4 Aug.
As per Brewfather calculations I’m using 187g of DME for one packet of Saflager S189, but I daren’t fill the specified 1.9 litres of water into my 2 litre Erlenmeyer as that will have me scrubbing the hob again this afternoon. Instead I made do with around 1.7 litres, and even that needed to be removed from the heat and rushed to the sink as soon as it started boiling. Having cleaned the outside of the flask I repeated this step once more and called it quits – the DME looks to have fully dissolved and is probably sterile now, which is all the boiling does anyway.
Chilling the flask in cool water for an hour did little to bring the temperature down, but that’s to be expected as we’re in the middle of a heatwave (22℃ outside – woo!) so I left it in the fridge for a couple of hours before pitching the yeast at 18.3℃ and moving it to the stir plate. That’ll do, pig.
The Next Day
Once again I’m guilty of not letting my starter get to full power before brewing, but it’s got to be better than just sprinkling the dried yeast onto my wort. The starter is now around 18 hours old as I fire up the B40Pro, and has spent the first third of its life on the stir plate and the remaining time on my windowsill around 19℃. The fact that I’m about 200ml of water below the recommended level may have something to do with the slow start, but at least there are bubbles in evidence, and as long as I try to match the pitching temperature to that of the flask it shouldn’t be too much of a problem.
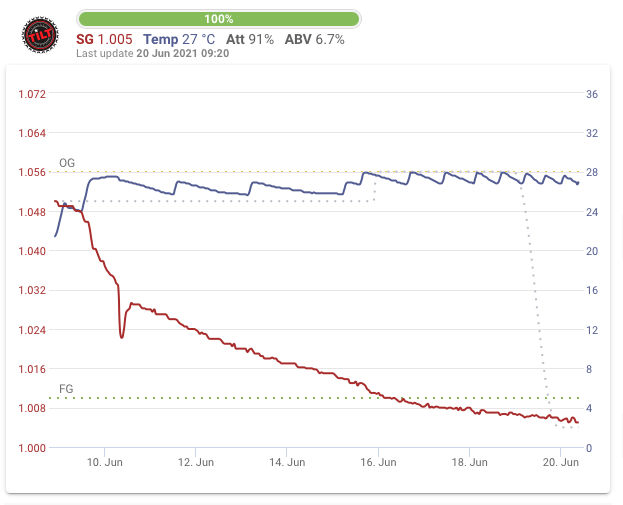
Both the Opshaug Pale and Bure Gold that I’m brewing with my resident Opshaug Kveik are still fermenting when they should have finished out a couple of days ago, though to be fair the trend graphs provided by Tilt Pro are now beginning to flatten out a little so I’m looking forward to getting both of these put away in the coming week.
I don’t pay attention to the absolute values reported by Tilt, but I think it’s safe to say that both of these brews are going to be way stronger than they’re supposed to be; Bure Gold should be around 4.3% (previous efforts were 4.3 and 4.2%) and Tilt thinks we’re nearer 4.6% right now, Opshaug Pale was aiming for 5.3% in the recipe (5.9% adjusted for actuals) and I’m presently in the neighbourhood of 6.7%.
The only negative aspect of this continued fermentation is that my finishing hops will have had their contribution diminished a little due to the production and venting of CO2, but there’s nothing I can do about that now other than record what’s happened and adjust subsequent brews using this yeast accordingly.
#wisdom: I’m not sure if it’s a trait of WLP518 or the way I’ve harvested / re-used it, but my Opshaug Kveik has not started as furiously as expected, and taken much longer to ferment. If the Opshaug Pale turns out well then let’s repeat it, but dry-hop much later.
It’s just under 24 hours since fermentation started properly (approx. 36 hours after pitching) and we’re halfway towards FG, which means the yeast is at its healthiest point and ripe for harvesting. I used a glass jar and small ladle, both sanitised using boiling water. Pressure was reduced gradually over the space of about 15 minutes, and although the top of the Krausen had receded slightly from its high-tide mark on the bottom of the lid, when the pressure started dropping it reared up again and a small amount was ejected into the waiting blow-off bottle. This may not have been needed if it wasn’t for the top-cropping, but having it doesn’t hurt. Removing the Fermzilla’s top cap was predictably messy and I ended up washing it and the blow-off tube before sanitising and refitting afterwards.
#wisdom: don’t bother fitting the floating dip-tube to the lid if planning to harvest yeast, as it’s just in the way and one more thing that needs cleaning. Instead fit it when replacing the lid after top-cropping.
#wisdom: using a bigger mason jar for the yeast is recommended, since it’s really just foam at this point and compacts down to nothing when it’s chilled.
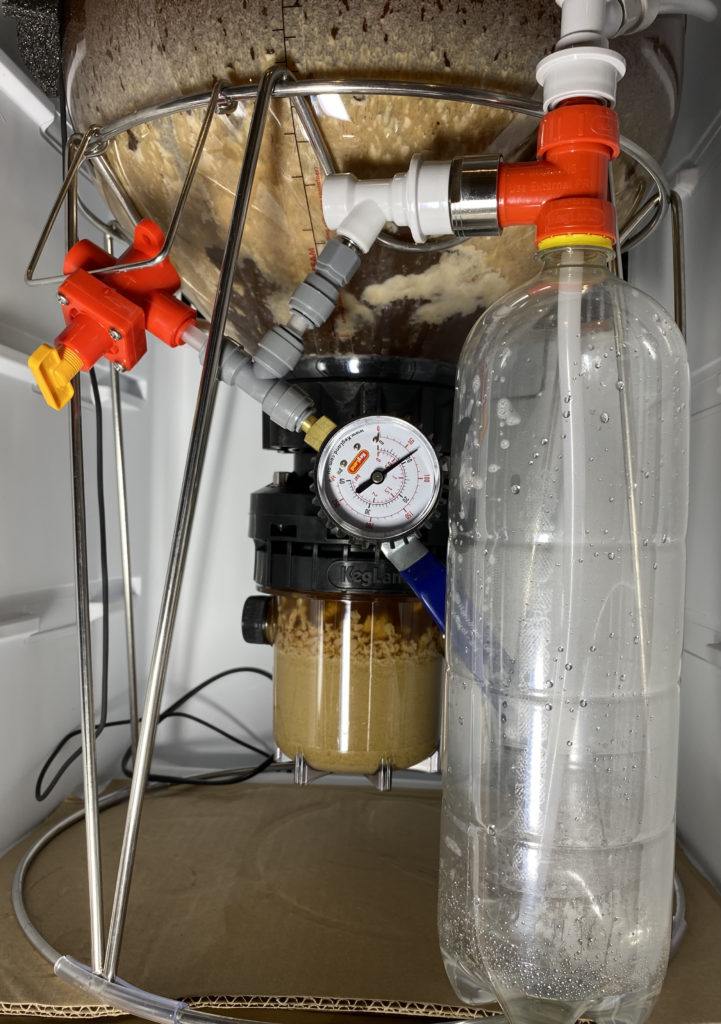
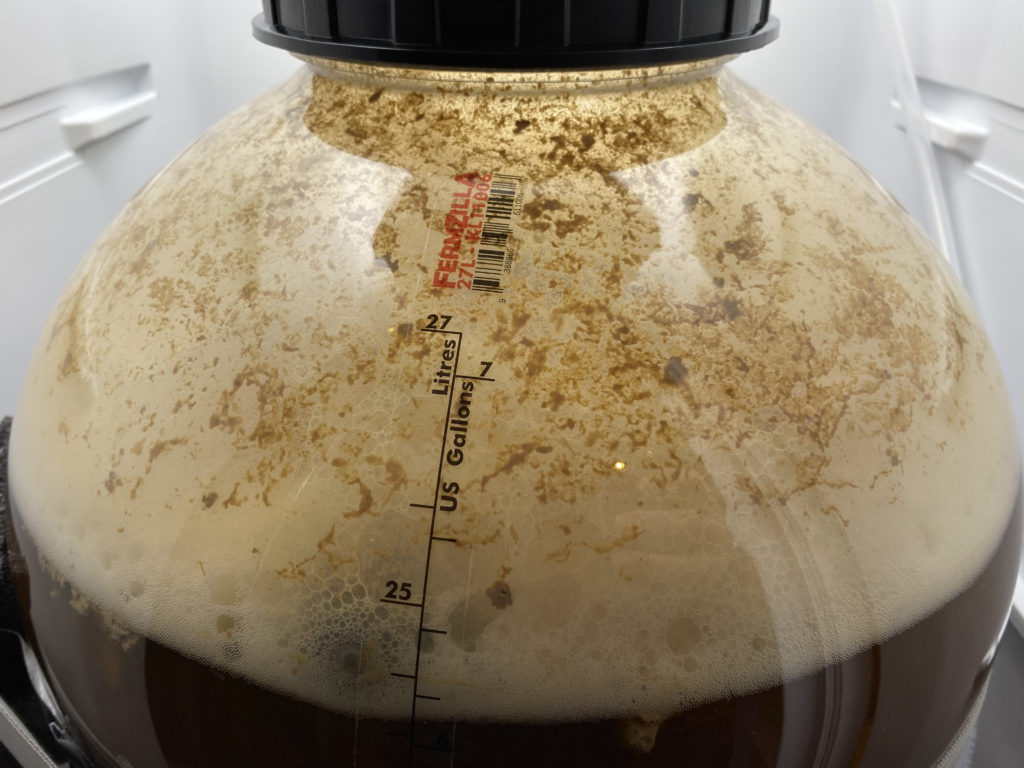
As per my previous experience with Opshaug, nothing happened when I first pitched last night after dropping the temperature down to an acceptable level, and nothing continued to happen for around 12 hours.
Wednesday, 09:22 (P+12)
This morning I finally saw some signs of life; a slight movement on the spunding valve gauge, some bubbles on the side of the Tilt, and some gunk floating on the surface. I’m not sure if this is part of the hot break / other protein deposits or if it’s some of the yeast resurfacing from its sugary slumber, but there are some clear areas on the lower slopes of the Fermzilla now.
Looks like we’re off!!
Wednesday, 11:22 (P+15)
Things are really going now, with foam islands linking up and growing almost as I watch. Pressure climbed to 8 PSI in 3 hours just now and I’m dialling it back down to 5 now that I’ve got enough feedback on the spunding valve. I’m also increasing temperature to 27℃ since most sources suggest Opshaug is happy between 25 and 35℃. Can’t wait to see what this looks like by late afternoon.
Wednesday, 17:22 (P+21)
Houston, we have liftoff. Even from outside the ferment fridge I can hear the spunding valve, sounding like a punctured tyre. The pressure has crept up again to just over 8 PSI and again I’m knocking it back down slightly because I want to top-crop some yeast when she reaches 50% attenuation. Reducing it wholesale at that point will probably stress the yeast and my Tilt as well, so it’s a question of keeping an eye on it and reducing gently, ideally stopping around 5 PSI, though now I’m slightly concerned that the increase in temperature and relatively low fermentation pressure will result in Krausen breaching the vessel and getting into my spunding valve, so I may inline a spare 5 litre keg for safety. Hell, at this rate I might just use the gas being produced to prep some kegs by filling them with sanitiser and then driving it out, rather than doing it later with cylinder gas.
Wednesday, 22:22 (P+26)
One day and one hour after pitching unleashing this monster I’ve had to fit a two litre blow-off tank in the name of safety, lest we should wake up and discover that Opshaug Kveik has consumed not just my spunding valve, but our entire world. The beige, foamy mass is mere millimetres away from conquering the recently provided 2 litre bottle and shows no sign of slowing down. Attenuation sits at 31% so with a bit of luck I’ll be able to harvest nearer 50% at some point in the morning, unless this thing kills us during the night. Sweet dreams!
Seeing some lovely Krausen on the brew tonight I couldn’t help but harvest some more yeast to add to yesterday’s bounty, which had settled down to a disappointingly paltry film at the bottom of its glass jar since I liberated it yesterday. Dropping the pressure briefly from 5 PSI to zero resulted in some bubbles rising to the top and also out of the dip-tube, so I can only hope the yeast and (more importantly) the Tilt Pro is happy being de- and re-pressurised so rapidly.
On refitting the spunding valve after cropping I took the opportunity to increase pressure to 10 PSI, based on positive feedback from others who have done the same with their Kveik.
With fermentation finally underway I wanted to have a go at top-cropping some yeast for the first time, and also start to apply a little pressure, just in case whatever’s caused my yeast to have such a delayed start might have further impact on the brew by producing off flavours. This is however supposed to be a malt-forward brew and I therefore don’t want to kill those esters altogether, so I’m going to leave it at 5 PSI for now.
On the cropping front I only managed to get a very small amount of yeast. David Heath reckons you’re supposed to steer clear of the FV sides and avoid any foam that’s turning dark brown, so all I managed to do is grab a very small amount from the middle of the Fermzilla’s foam hat. There isn’t enough to even think about using it for a serious brew, but I think I’ll play around a little bit and see how much I can grow it using a starter, maybe then add it to a kit brew instead of the included yeast.
As a parting note for tonight; I hope I haven’t killed fermentation by temporarily adding 10 PSI from the CO2 tank so that I could check the spunding valve was correctly set. Kveik is supposed to be as resistant to pressure as it is to temperature, but as soon as I swapped the airlock for a spunding valve the turbulence below the surface all but stopped. I’m sure it’ll be off again by morning …
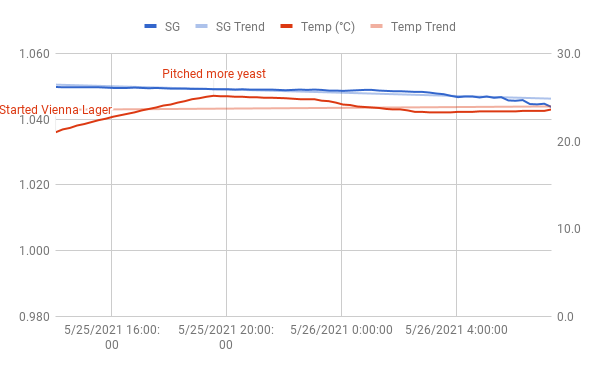
I was fully expecting to have to restart with another yeast this morning, so it came as a pleasant surprise when I opened the ferment fridge and saw a good head of foam on Vienna. Checking the Tilt’s chart on Google Sheets (damn, forgot to ‘point’ that device at Brewfather) it appears as though we really only got going around 04:00 so with luck I’m just witnessing a delayed reaction to Kveik’s supernatural powers, and things will liven up from now on. If that’s the case then I can expect to be top-cropping some yeast by this afternoon. We’ll see.
Things are going so well in fact that I’m swapping the airlock out for a blow-off tube, ending in a bottle in a jug, just in case it gets even more lively. At least you can hear it now without having to open the fridge.
Another busy brew day from 07:00 to 14:30 today, starting my fourth ever all-grain brew and first ever Vienna Lager. Also using Kveik for the first time, specifically WLP518 Opshaug Ale Yeast. This time around I paid more attention to my vessel volumes at various stages and used the internal markings instead of a measuring jug to gauge initial fill. I’ve still not sussed out where I’m losing so much liquid but at least this time I waited until the end before adding more water to make up numbers, decanting just over two litres of cold tap water into the FV. Hope that’s not going to be a problem later …
Brew Day Notes
07:00 – Start heaters. Water was added last night to 28 litre mark using B40 internal scale, malt pipe fitted, chiller drained. All other pipes filled.
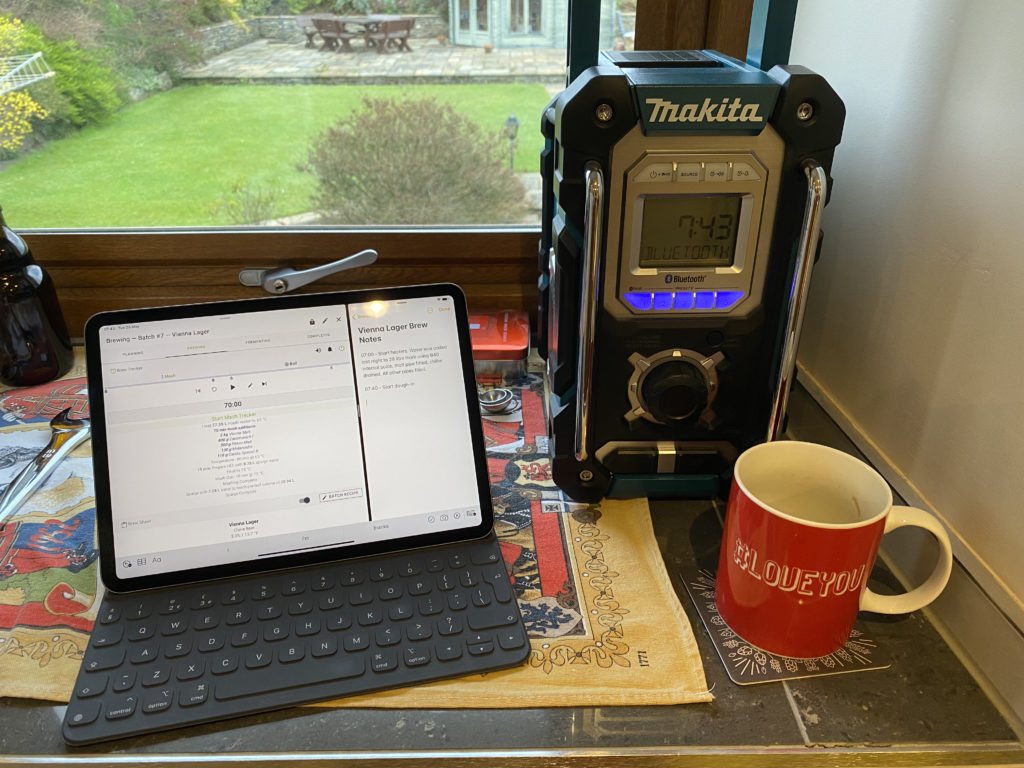
Mashing
07:40 – Start dough-in
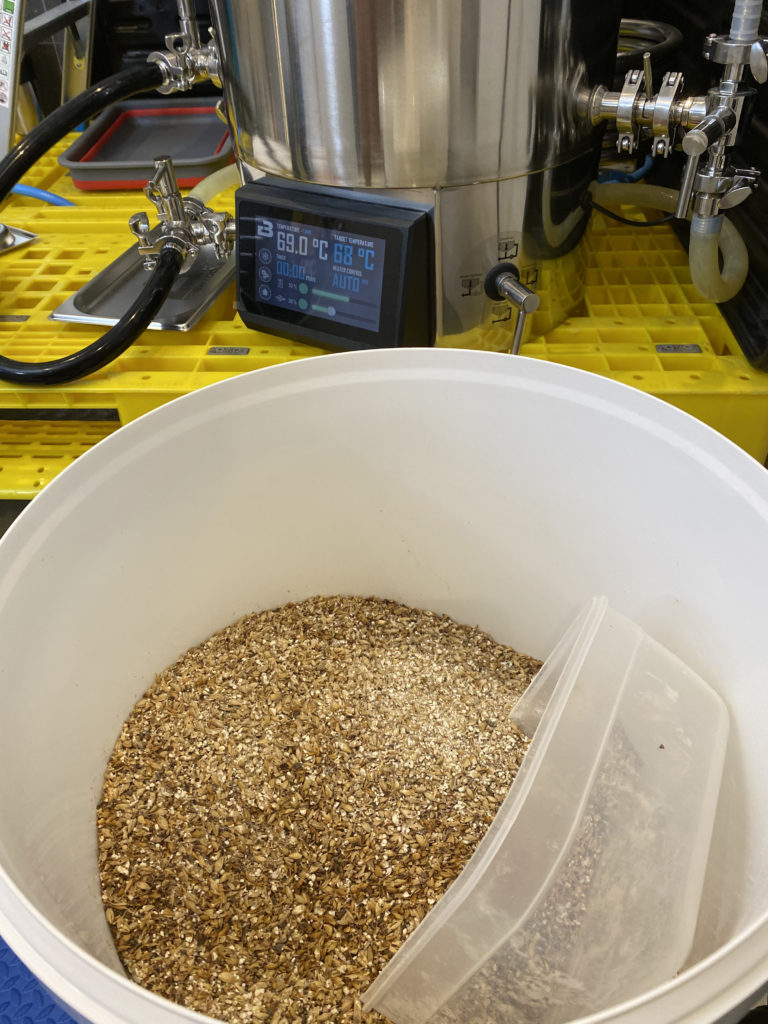
07:51 – Dough-in finished, but need to pat things down slightly to get all grains covered. Ready for 20 minute mash rest at 07:55, internal level reads 34 litres. Mash temp 60℃, MLT target temp 68℃.
08:15 – Rest finished, initial stir, levels now just below 34 litres. Nice consistency, slight foam building on stirring.
08:40 – First stir. Turn the centre pipe off while stirring so as to allow levels to equalise for first measurement. Looks like we’re about 33 litres now, so a loss of maybe 3/4 litre loss since mash start? Seems high – probably just slight level difference between inside and outside malt pipe. Mash temp after stirring is 69℃ in places, reducing MLT target to 65℃. Lid has been on for the whole mash (including rest) apart from occasional level checks.
09:00 – Second stir. Still looking good, levels slightly lower again after a few minutes with the centre pipe off – maybe 32.6 litres on the internal scale? Mash temp 65.1℃.
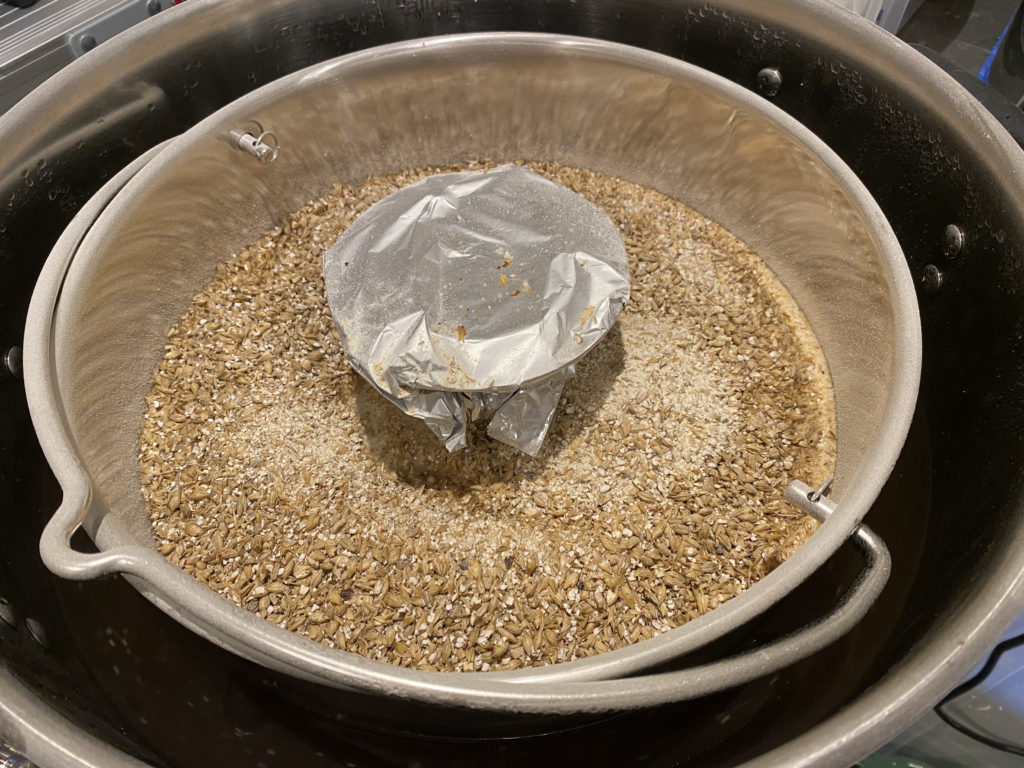
09:10 – 15 minutes left to run including mash-out, and since the liquid is flowing freely I’m not going to stir again. Previous sparges have been over too quickly for my liking, so I’m going to let the grain bed settle for the last 15 minutes and will try using aluminium foil on top with a couple of holes to distribute the sparge water flow evenly, ideally slowing it down in the process.
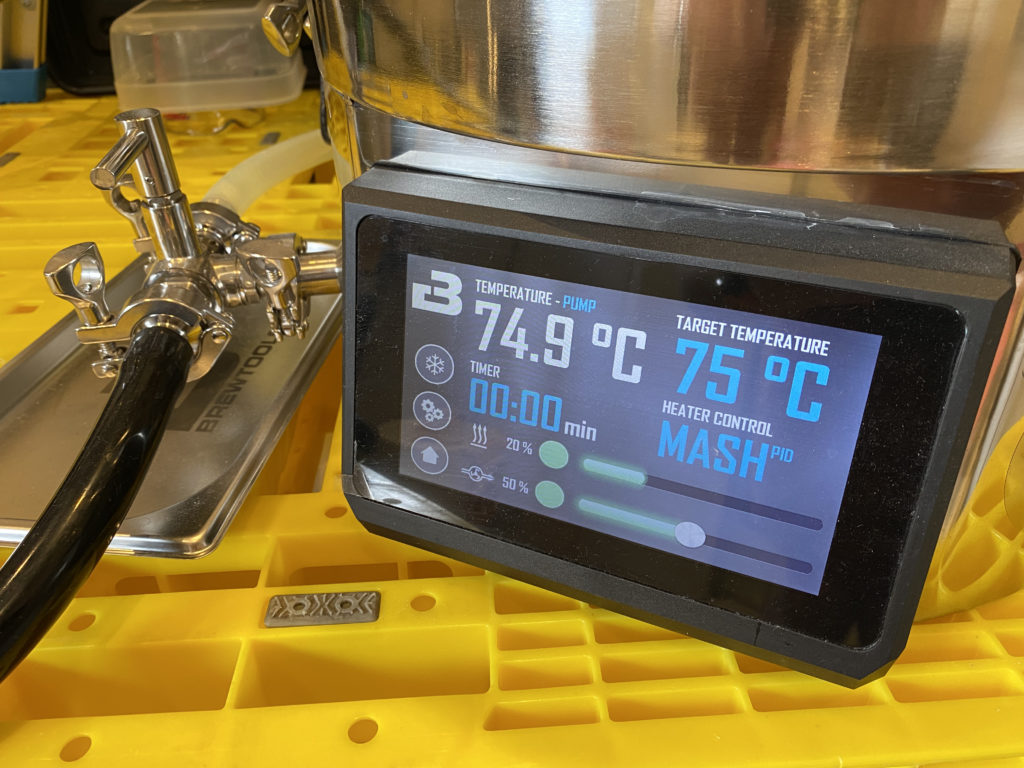
09:23 – starting to heat mash to 75℃. The mash tracker has stopped and offered a ‘continue’ button, so I guess I press that when I’ve reached target temperature. Heaters are in Mash (PID) mode so capped at 50% in case there’s grains to scorch the elements, but temperature is climbing very slowly.
09:34 – Taking too long, creeping up 0.1℃ at a time, currently at 70.4℃. Going full manual and increasing heaters to 60%. The pump is recirculating inside and outside, wort looks clear, hopefully anything in there won’t be scorching the heaters due to the extra 10%. Temp increasing slightly faster now. Maybe a neoprene jacket would help at times like this?
09:44 – Mash-out temp 75℃ reached, starting timer and reducing heat back to mash mode to see if it can actually hold this temperature. Noticed a change in foam with some lighter, bigger stuff being produced, probably as a result of the temperature increase. Protein?
09:48 – Halfway through mash-out, temperature holding just fine with heaters on auto and sitting at 20%. Mash temp perfect 75℃ – same as kettle. Wort wonderfully clear now.
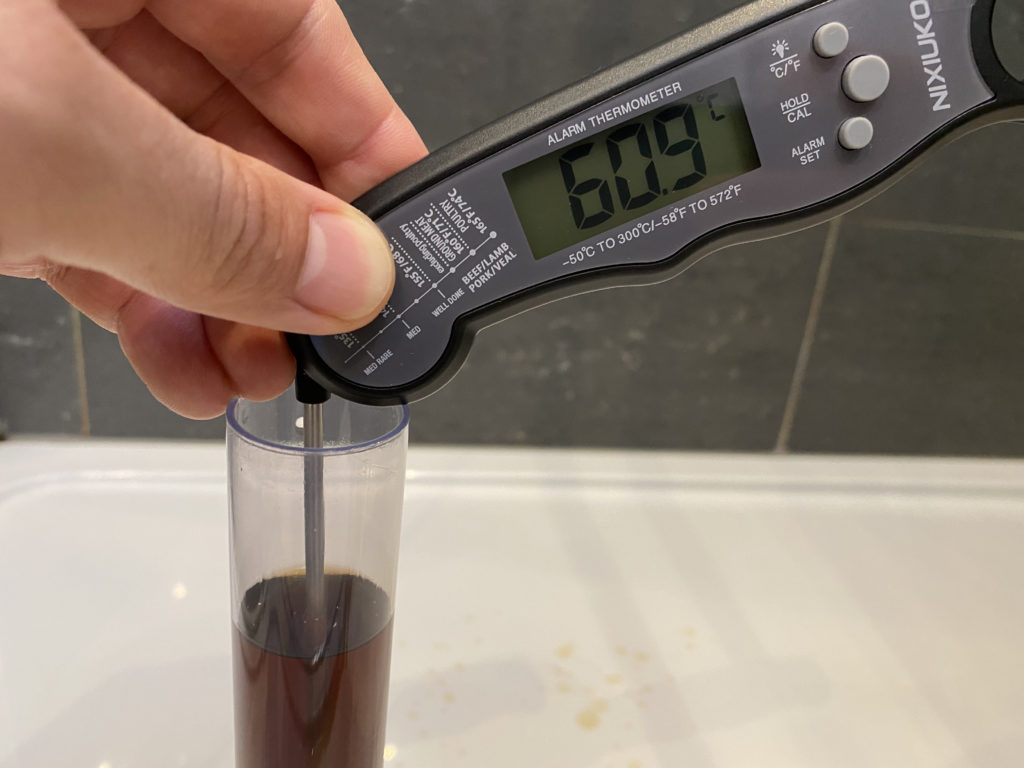
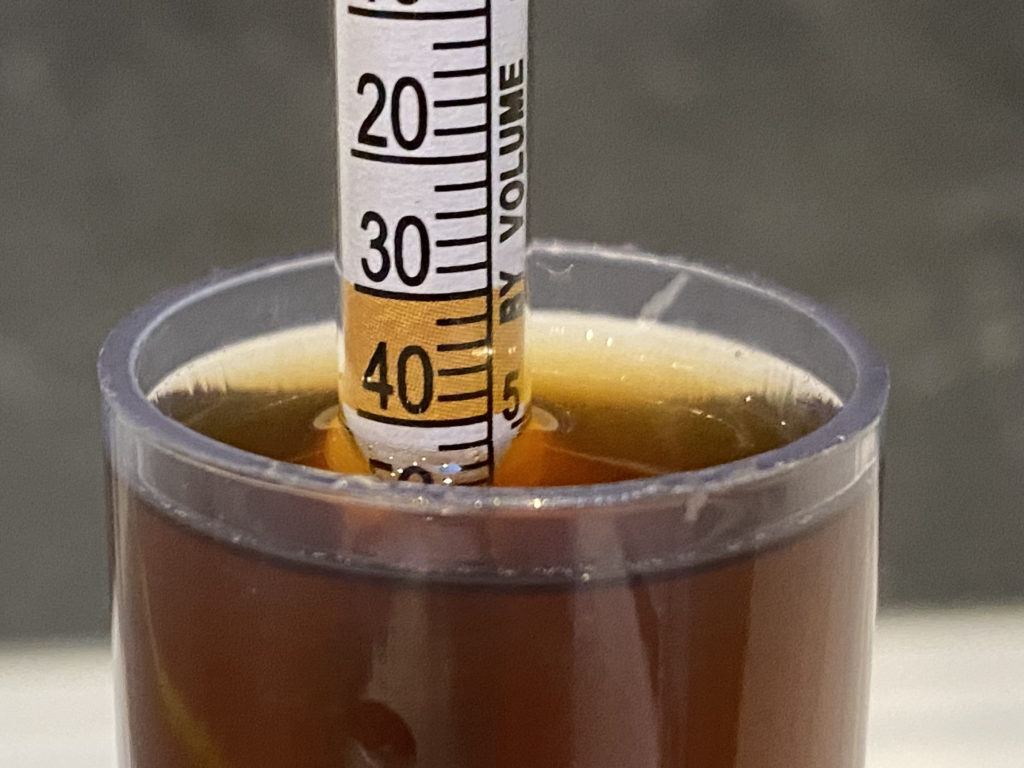
09:54 – Mash-out complete. Turning off centre pipe in order to measure levels. 5 minute rest to equalise and I’m at 32.25 litres, having lost maybe 1.5 litres during mashing. SG is 1.047 at 60.9℃ but at 60.9℃ – equals 1.063. Getting ready to sparge.
Sparging
10:15 – Tin foil deployed, starting sparge. Holes punched in using a fine pin make water distribution easier across the top of the grain bed, but I’m not happy with the slap-dash process of shaping two halves of tin foil – feels like it takes long time during which the grain bed is draining without new water being added, and I’m worried about the impact this will have when water does start to flow. One thing that tin foil does have going for it is the way you can adjust water distribution above the grain bed by pushing down in certain areas or adding more holes.
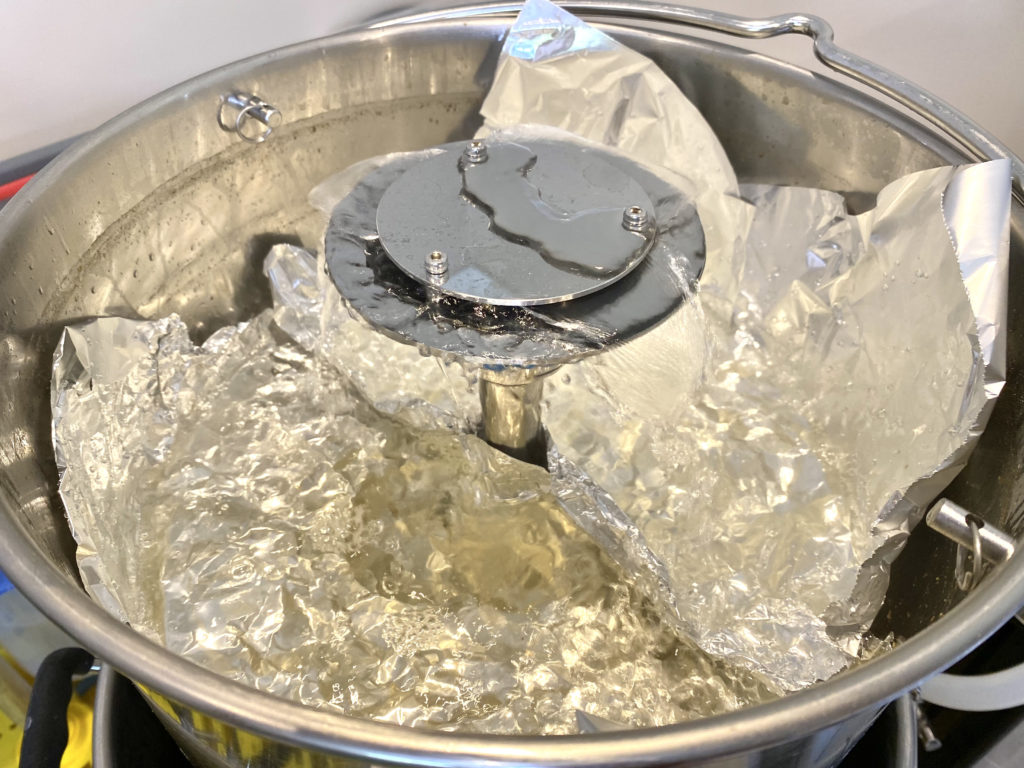
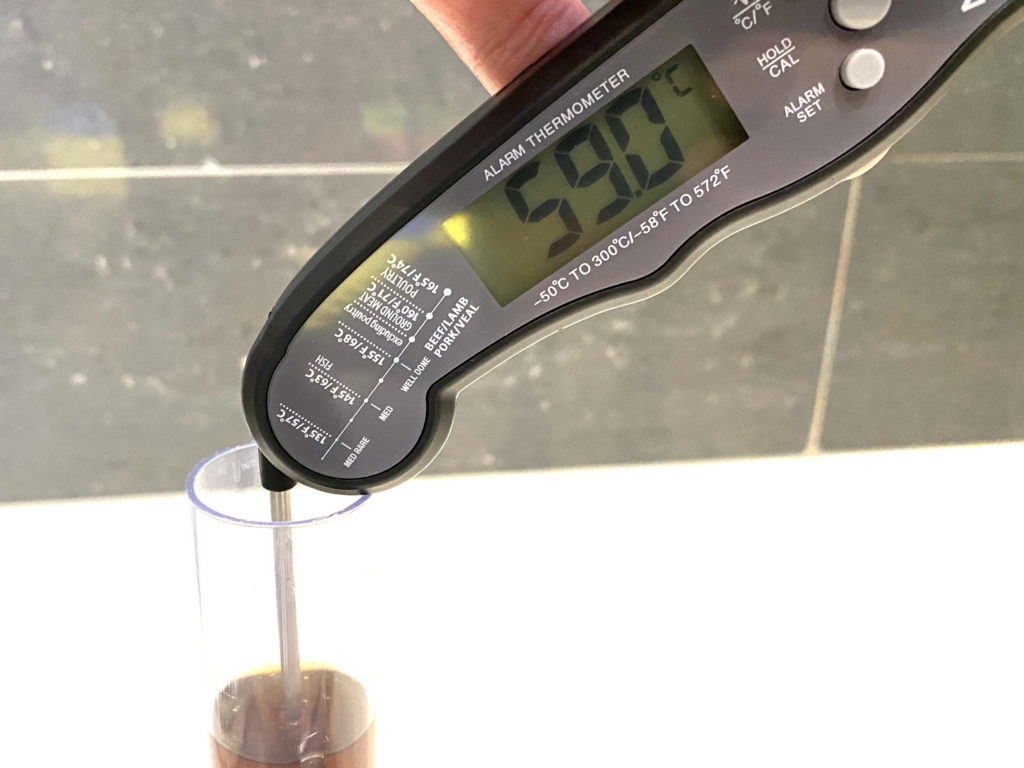
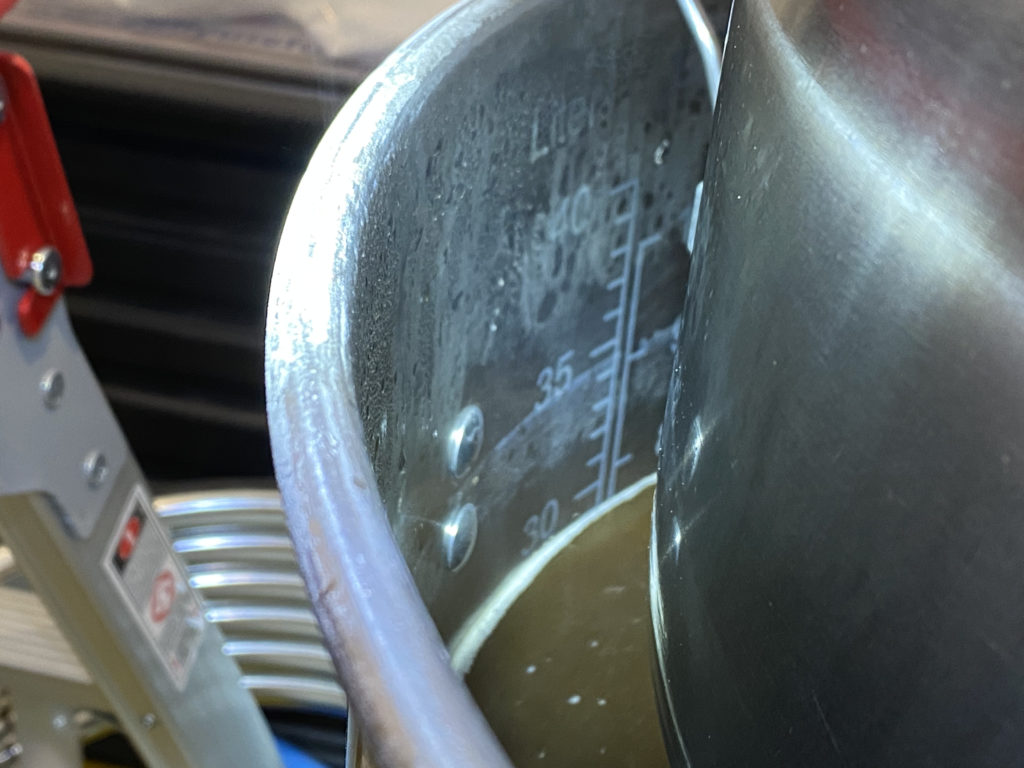
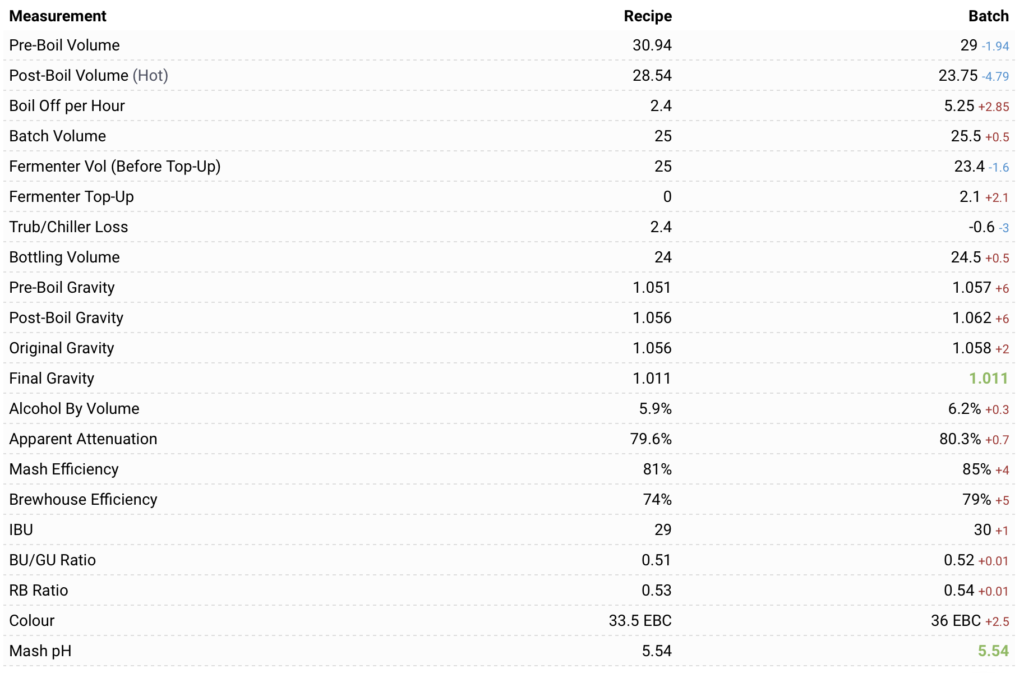
10:40 – Damn, forgot to time the exact finish of the sparge. Anyway, the grain bed has been draining and seems to have given up all its juice now. Internal scale reads 29 litres but to be fair that’s with the malt pipe raised, and previous measurements had it lowered. BF thinks I should be at 30.94 litres after sparging, so I’m two litres short. Gravity at 59℃ is 1.042 which equates to 1.057. Pre-boil gravity should be 1.051 so I think I can safely add 2 litres and re-measure, but I’m going to leave it until later and do a fermenter top-up instead.
Boiling
10:50 – Malt pipe removed, steam hat and condenser fitted, heaters set to 100%. Currently at 68.8℃.
11:25 – Hot break came and went around 96℃ with quite a bit of foam. 60 minute additions are now in, boil timer running. Had enough time while approaching boil to empty and rinse the grain pipe and have a sandwich. Next stage is 15 minute boil additions in 38 minutes. Noticing for the first time a small amount of bubbles on the way to the pump. Is that normal?
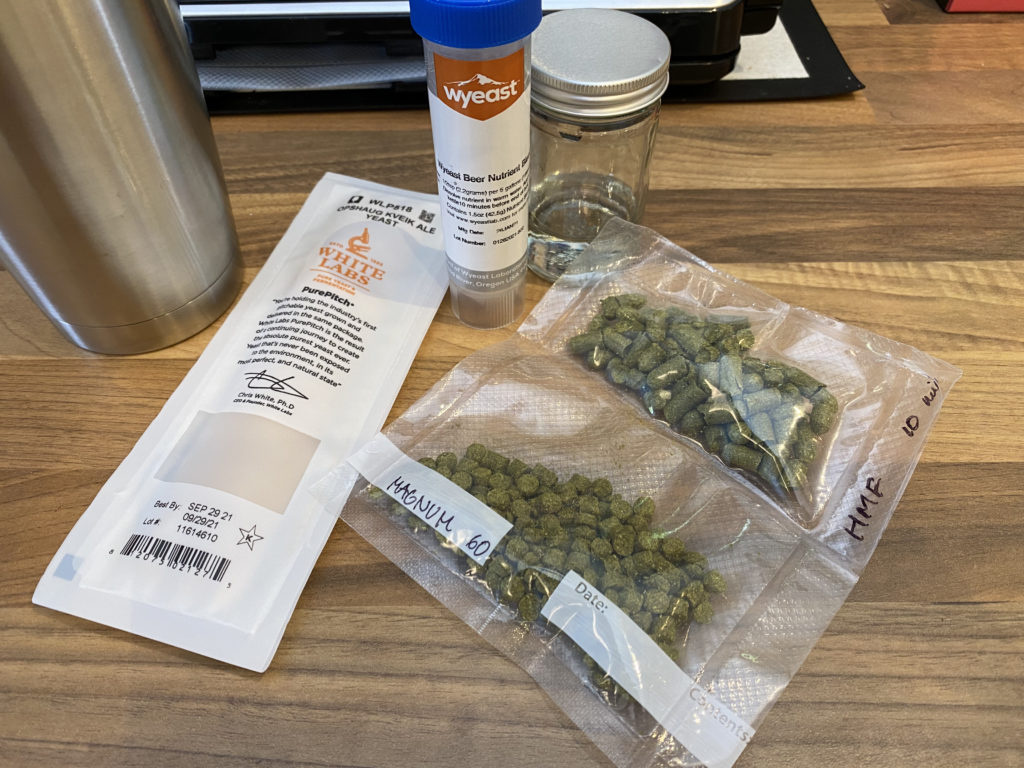
11:48 – Still boiling just fine. I’m alternating between 65 and 70% heating power since that keeps things going without going too vigorous or stalling, so I should minimise boil-off while not getting a high-tide mark of hops that add little value. Opshaug Kveik has been warming to room temperature for about 90 minutes now, and I opened the packet and transferred it to a sanitised glass jar ahead of pitching.
12:07 – 15 minute addition Protafloc added. I also cut in the chiller for sanitisation (pumps paused, then heater to 100%) and judging from the difference in levels there’s about 2.25 litres in the chiller which I’ll recover at the end, but which I can’t measure for post-boil volume with the pumps off. Maybe should have done that before cutting the chiller in – can’t change much in 15 minutes thereafter. On a positive note, when the temperature briefly dropped as a result of adding the chiller the bubbles on the R/H tube also stopped, which means they’re a result of boiling rather than a leak of some kind.
12:11 – 10 minute additions are in; 2.5g yeast nutrient and 22g Hallertauer Mittelfrueh.
12:21 – End of boil, heater off, pump to 25% for a little whirlpool while things settle down enough to read the levels. Steam hat off and to one side, lid back on. Looks like we’re at 26.8 litres hot, plus the 2 litres in the chiller. Wow. This might call for a second FV. Let’s see how things look when I start to chill and transfer.
12:27 – Chiller on, pump to 25%. Tank temperature 95.1℃.
13:06 – Emptied into FV, 24 litres including scavenged contents from chiller. Post-boil gravity 1.062 / 21.6℃ = 1.062. BF was expecting 28.54 litres and 1.056, so I’m topping up the FV with 2 litres otherwise I’m looking at 7.2%! Added just over 2 litres, bringing volume to 25.5 and OG to 1.058. This will be 6.2% which isn’t too bad. Not sessionable, but not bad.
Pitched Yeast
12:21 – added one level teaspoon Opshaug Kveik, just stirred it in as per David Heath video. Seems ridiculously small amount. Rest in jar back to the fridge, fit airlock and floating dip tube to Fermzilla, deploy blue Tilt. Once it’s at 50% attenuation I’ll top-crop some yeast and will swap the airlock for spunding valve.
14:30 – Clean-up finished. Not having aerated the wort today (didn’t seem necessary with so much foam) saved time as I had less to clean, CIP kit worked very well. Brew is in the ferment fridge wearing heat belt dialled to 25℃, presently it’s 21.5 and no signs of activity yet. Hope that was enough yeast, just doesn’t seem possible.
19:40 – Absolutely no activity yet. Isn’t Kveik supposed to be up for it from the word go? Double checked my quantities against the video, and yes, one shallow teaspoon does 25 – 30 litres of wort. So I’m adding another 1.5 teaspoons, just in case the yeast isn’t as healthy as that in David’s YouTube instructions.
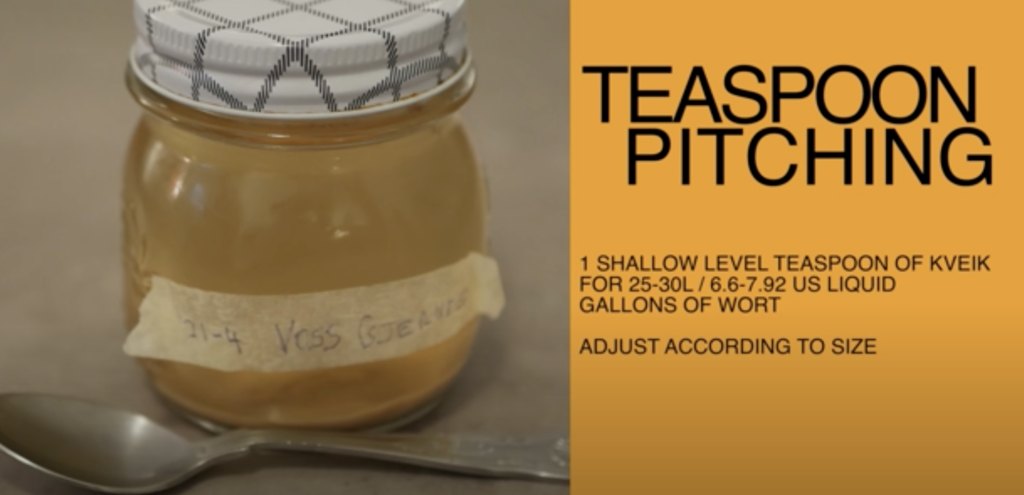
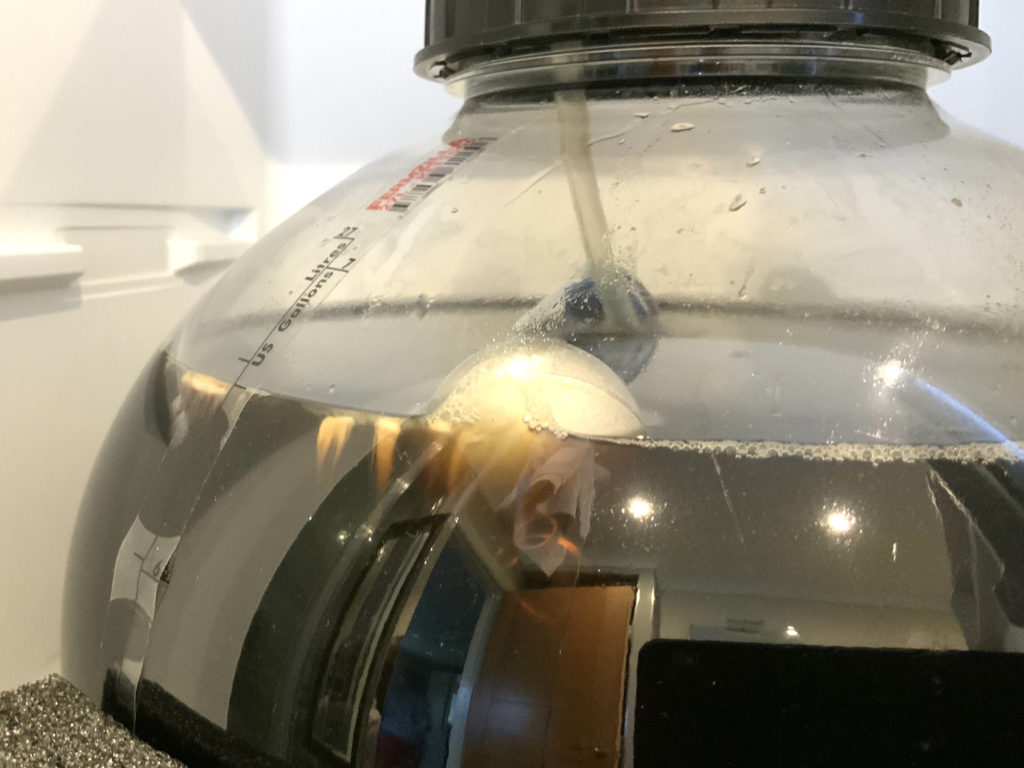
23:00 – Still nothing. The new yeast has joined it’s sibling in the bottom of the Fermzilla’s trub jar. If it’s still the same by morning I’m racking to a new FV and pitching US-05. Reducing temperature by 1 degree in preparation … and the desperate hope that it might start something. Good night, Vienna.
I’m going to finally brew this imperial stout that I’ve been planning for a couple of weeks, and in the spirit of forever trying something new I’m preparing a yeast starter, using Brewfather for guidance. I’ve figured out that the quantity of yeast specified for most of the recipes on that platform actually implies creation of a starter, but it’s not immediately obvious unless you open up the yeast calculator and and hit ‘save starter’ at which point it tells you how much DME and water to add to the indicated yeast. If you calculate the amount without ‘save starter’ it’s the equivalent of pitching the yeast directly, and the amount required suddenly jumps up significantly.
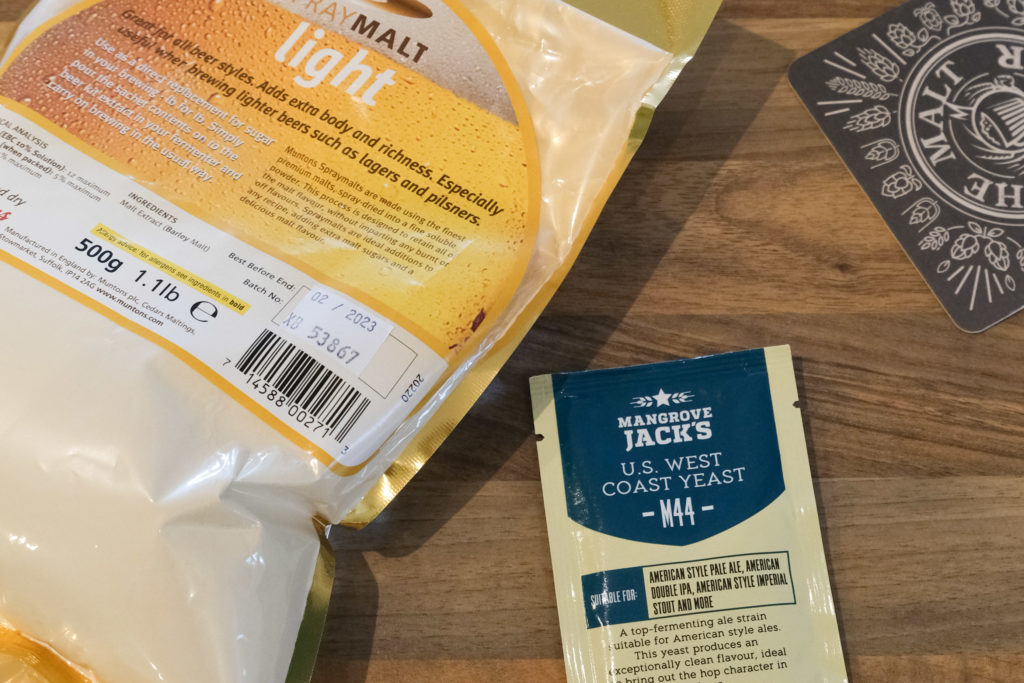
Anyway, having tweaked the Yeti recipe to reflect my local fermentables’ values I turned my attention to yeast, and worked out that I’ll be needing 1.8 litres of water and 177g of DME if I want to stick with using just one sachet of M44. The calculator tells me this will result in 398 billion cells, which is 2 billion over target. My biggest Erlenmeyer flask is two litres so 1.8 doesn’t leave me with a lot of head room in the event that my yeast should go ballistic while being stirred overnight, but building for two sachets of M44 (which worked out as needed 1.3 litres and 128g DME) seemed a bit counter-productive to the whole idea of growing yeast in a starter, not to mention unnecessarily expensive: DME is cheap, yeast is not.
I decided to go for the single sachet approach, encouraged by the fact that Brewfather assumes an OG of 1.036 for DME and I have a feeling mine will be closer to 1.040, which is what some labs recommend as an ideal gravity for growing healthy yeast. Adding 100 ml to cover evaporation during the boil I filled a large saucepan to just below 2 litres and cranked up the heat, decanting exactly 177g of Muntons Light Spraymalt once we had a boil going. 10 minutes later we were done, and I’d obviously lost more than 100 ml because the pan’s internal scale read just over 1.5 litres, maybe 1.65 but certainly less than 1.75. Oh well – the mixture was transferred to my sanitised 2 litre Erlenmeyer flask and measured a smidge below 1.6 litres once I’d drawn off a sample for gravity measurement and started chilling in cool water.
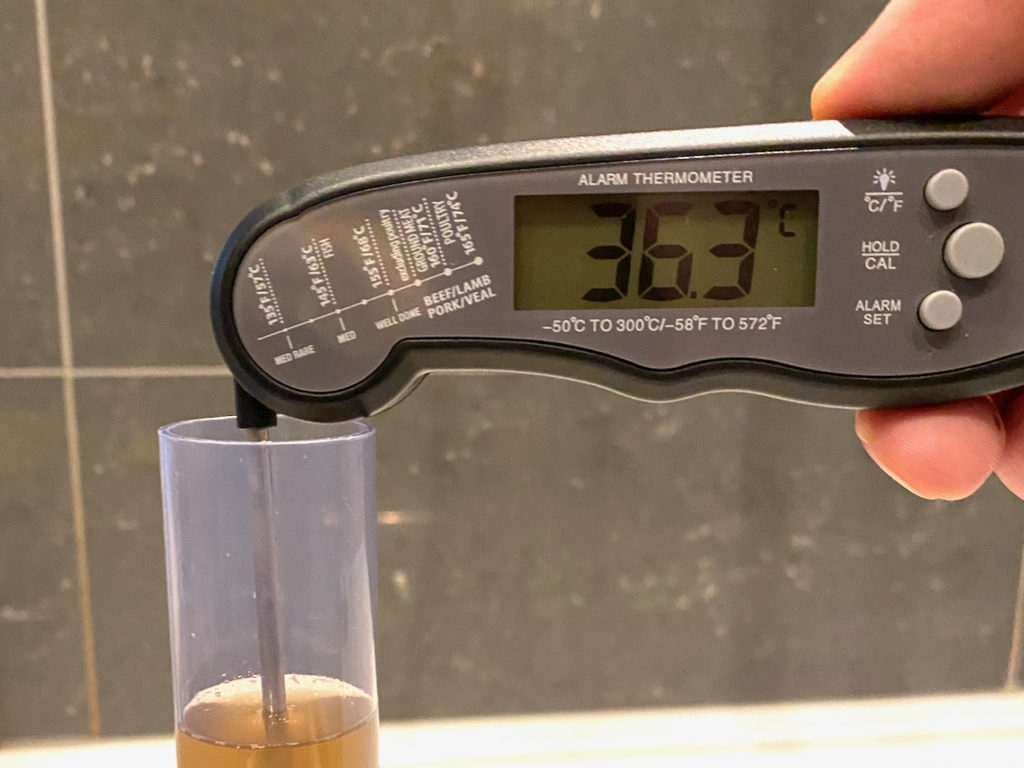
OG for my sample measured 1.040 at 364 ℃ which equates to 1.045 once you correct for temperature. Taking that value back to Brewfather I unticked the ‘calculate starter size’ box in order to allow me to input not only the gravity but also the amount of water, and I saw that with my one pack of M44 and 1.5 litres at 1.045 I’d be looking at around 408 billion cells – 11 billion over my target. That’s not too shabby at all; I’m not concerned about over-pitching 3 or 4%, 5 points over the ideal gravity shouldn’t stress the yeast too much, and I’ve got some extra head room in my flask for safety.
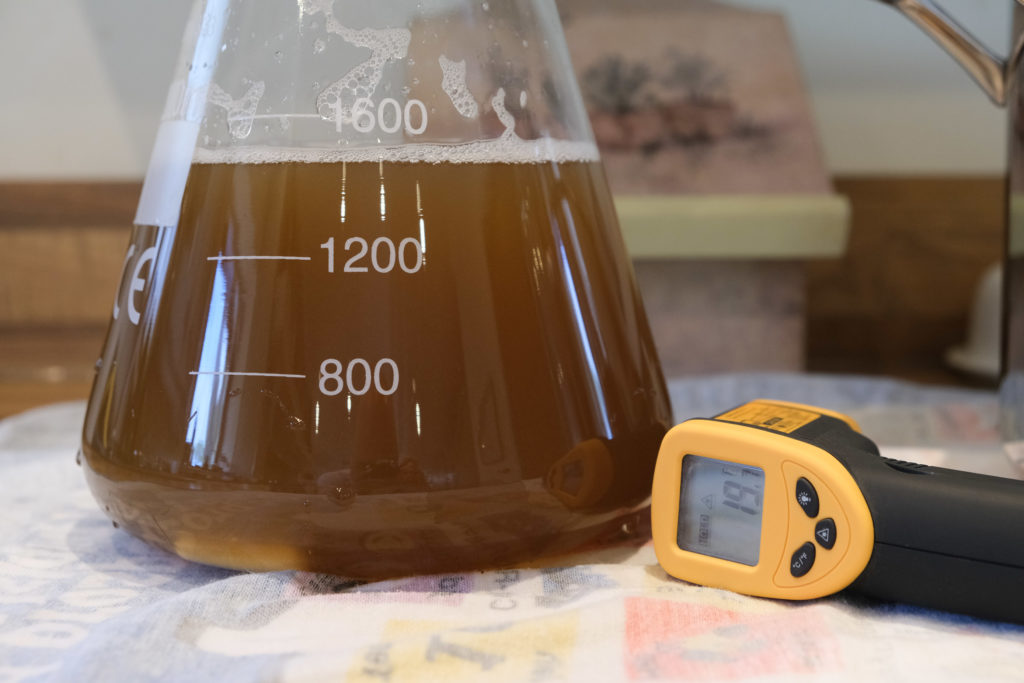
The stir bar was already in the flask from when that was sanitised by boiling a couple of inches of water (worked just fine on the halogen hob) so it was just a question of getting it down to temperature before pitching that M44. Not wanting to bet everything on borosilicate’s supposed resilience to thermal shock, I started off by putting the flask in a saucepan ¼ filled with cool water, then added cold water and left it to drop for 10 minutes before replacing the water with fresh, ice-cold water. Even so it was only 17.5 ℃ and therefore going to take ages to reach my target of 18, so I poured in two trays of ice cubes and checked in every couple of minutes using the infrared thermometer. Didn’t take long at all before I was at 18.1 ℃ so I threw in the yeast, refitted the tin foil lid, and gave it a good swirl before placing the flask on the stir plate at 13:17.
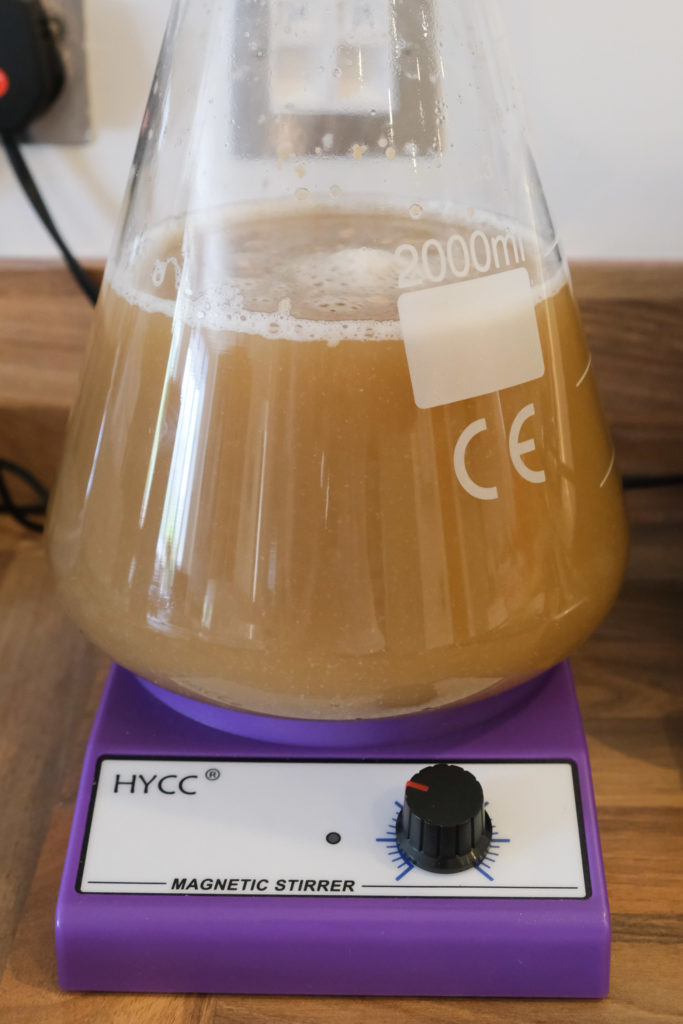
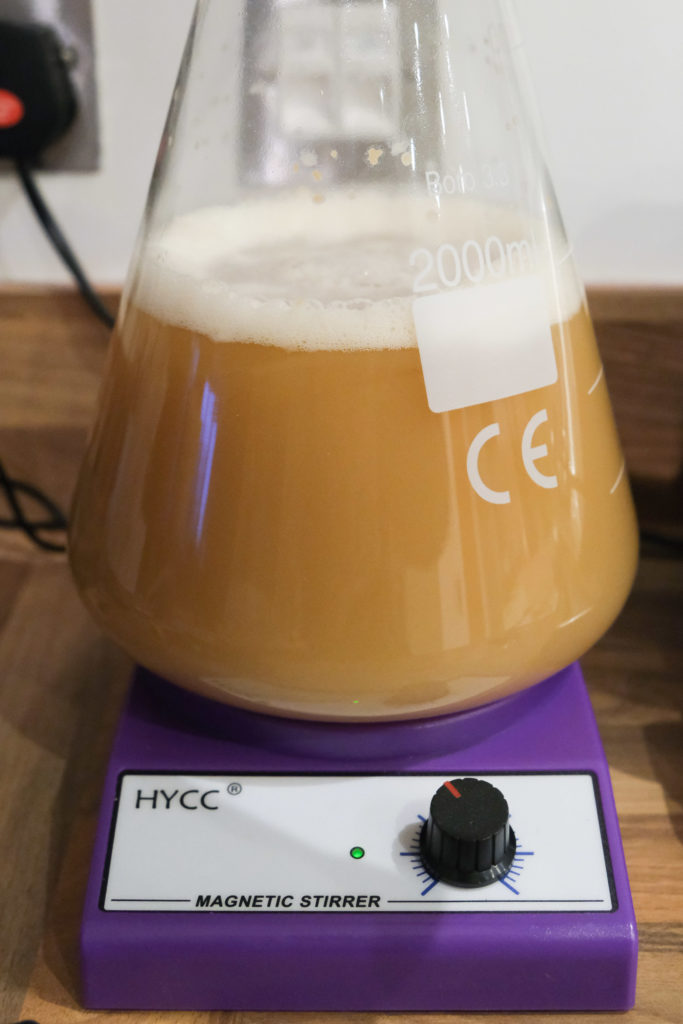
Over the next few hours my starter lightened considerably in colour and gained a layer of froth, which had stopped spinning when I checked in at 21:00. It also seemed as though the wort immediately below the foam was slightly darker, which I took to mean that the yeast was congregating in the lower part of the flask and a few mm of darker wort (spent?) had floated to the top. On giving the flask a good shake the colour evened out again and the foam head rose up quite dramatically, but soon settled down. On increasing the rate of spin to just below 50% I’m now seeing the foam mobile again. Only one last thing to do before turning in for the night: put the flask in a thin plastic bag. I don’t know what the Krausen’s going to get up to over the next few hours and I don’t want to find out if my stir plate is waterproof any more than I want to find out if our smoke alarms are loud enough.
This brew was originally started as a low-cost experiment to see if I could do something with WLP001yeast harvested from Twisty Listy, and judging by the way it’s been fermenting these past 13 days that seems to have worked well, so now my thoughts turn to the next steps.
I’ve decided to split the batch, and dry-hop one half the traditional way in a regular bucket as opposed to a conical so as to get maximum exposure to the hop pellets instead of compacting them into small footprint. The other half will be exposed to the HFR method, or Hot French Randall. More on that later.
First it’s time to cold-crash so that I can get virtually all the yeast to drop out, and I’m doing this for two reasons; I want to harvest the yeast so that I can try this particular strain of WLP001 a third time, and I want the half of the experiment which will be traditionally cold-crashed to have as little yeast as possible. I heard somewhere that yeast interacts with the hops in a negative way (not just by venting hop oils along with any CO2 produced) and I haven’t tried it this way around before, so it’s worth a shot.
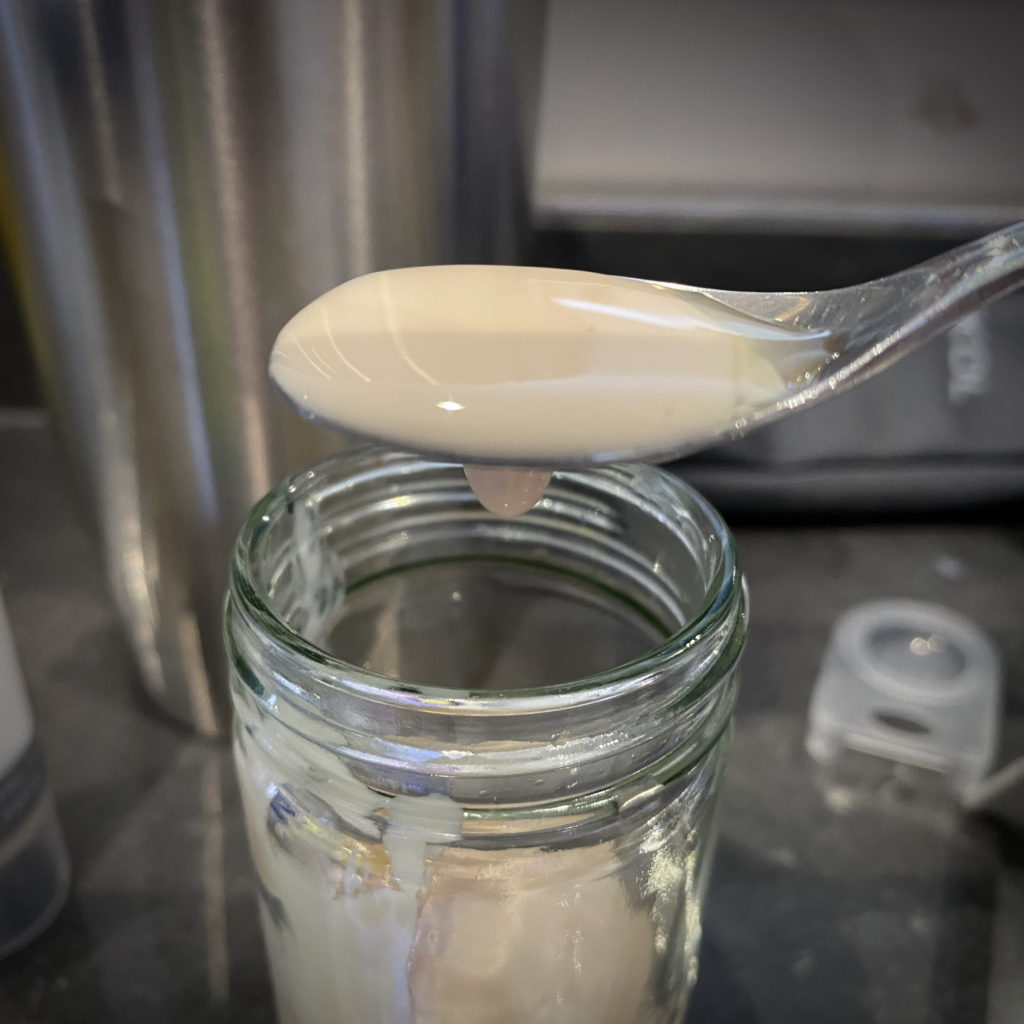
Having racked from the SS Brewtech conical bucket to a regular plastic bucket I fitted it with Bag Thing (recently revived with some duct tape after the tube came loose) and put her in the brew fridge, Inkbird set at 4 ℃. Meanwhile I used the turkey baster to remove the last dregs of beer from between the conical’s dip tube and the top of the yeast cake, before spooning some gorgeous, clean yeast into a sanitised glass jar, previously home to 453g of Manx honey. The jar filled in no time and there were probably another two jars left behind in the fermenter, which is pretty amazing considering that I originally received this yeast as two sachets of mayonnaise and had already used that to brew 22 litres of amazing IPA. If only hops could be persuaded to reproduce like that …
A final note on the state of the brew so far, and I must say that I was surprised at the darkness and the clarity, if to the aroma. There’s a definite umami quality to the nose, something between nuttiness and yeastiness, as well as a thin film that stays behind when the beer is swirled in a glass. I’m putting this down to the simply ridiculous amount of yeast that was in the bottom of the FV – over 3 lb – and I’m tempted to say that the yeast may not have fully finished clearing up after itself. I’ve had the filminess (and, to a lesser degree, the yeasty taste) in other brews which turned out fine, so I’m not worried. Cold-crashing will do its thing, and the hops are sure to mask whatever’s left over.
In terms of alcohol, in 13 days we’ve gone from 1.045 to 1.012 which equates to 4.3% ABV against Brewfather’s expected 5.0%, so not quite there yet. Those values are as measured using my traditional hydrometer – if we go by Tilt then we’re looking at 1.007 from 1.041, giving 4.5%. Also a bit short of the mark. Should I have left this in the FV longer? According to recipe I was supposed to dry-hop yesterday but we had a late night on the shooting range, and besides, I wanted to try cold-crashing and harvesting that yeast, so I figured an extra day wouldn’t have hurt. Going forward maybe I should have taken a manual gravity sample and based on the outcome waited a bit longer, but hey, it’s a learning curve.
After giving her a couple of days in the cold (aiming for 4 ℃) I’ll split the batch for traditional dry-hopping and HFR, with each half filling a 5 litre keg and, hopefully, around 10 x 500 ml bottles.
Pretty much the same story as when I started Blueberry Orgy earlier this evening; a continuation of Type 25c, tastes nice, probably too much fruit juice. In this concoction:
- 2 litres Cherry Good juice drink (BBE July 2021)
- Water
- Cherry Juice from Concentrate
- Sour Cherry 20%
- Montmorency Cherry 5%
- Sugar
- Malic Acid
- Fruit & Vegetable Concentrates (Carrot and Cherry)
- Vitamin C
- Flavourings
- Sweetener (Sucralose)
- 300g Brewing Sugar + warm water to 400ml mark
- ½ teaspoon wine yeast
- ¼ teaspoon wine nutrient
- 2.5 litres natural cider
This one is also starting off in a recycled Tesco 5 litre water bottle and will probably spend a couple of weeks in the brewery until the airlock activity stops. Though as yet it hasn’t started. Gravity came in at 1.028 which includes 2.5 litres of cider @ 4.73% – so I’m assuming that 1.028 includes 2.4% already. If we make it down to 1.000 again then we’ll be looking at 6.08% in total, and that’d be just fine.
First things first, I decided on a change of approach when trying to keep track of our cider experiments. From now on I’m treating each stage in the evolution of a brew as it’s own brew. For example, if we press 200 litres and they ferment in 4 barrels, then one of those barrels is split into 5 demijohns each of which has a different amount of flavouring / yeast then each of those 5 variants will start, as a brew, at the point where it’s split, and not at the point where we’re pressing. I can use links between those brews, but trying to represent the lifecycle of each bottle right back to pressing leads to a logical tree with a ridiculously thick trunk, and I’d rather have a series of branches tied together with links. I hope this works out … hell, I hope it even makes sense six months down the line. Anyway …
This evening I kicked off our experiment into fruit cider using the last demijohn from our Type 25c batch. I’m calling this one Blueberry Orgy in honour of the original Orchard Orgy Type 25c that provided the cider component, approximately 2.5 litres. Also along for the ride:
- 2 litres of Blueberry juice from Tesco (BBE May 2021)
- Water
- Blueberry Juice from Concentrate (17%)
- Sugar
- Citric Acid
- Flavourings
- Vitamin C
- Sweetener (Sucralose)
- 300g Brewing Sugar + warm water to 400ml mark
- ½ teaspoon wine yeast
- ¼ teaspoon wine nutrient
After measuring the OG at 1.032 (I can call it Original Gravity since I’m starting a new brew, right?) and tasting the sample from the trial jar I confirmed the suspicion that first surfaced when I tipped 2 litres of blueberry juice into the 5 litre Tesco water bottle which I’m using as FV: there’s too much juice, and not enough cider. It didn’t taste overpowering or sickly, but it didn’t taste of cider either. If I do this again I’m going to start with one litre of fruit juice instead of two, i.e. ⅕ instead of almost half.
24 hours after adding more sugar and nothing’s happening – no bubbling in the airlock, no bubbles or foam to be seen. Adding 1 level teaspoon of wine yeast straight to liquid in demijohn in an effort to get things going again.
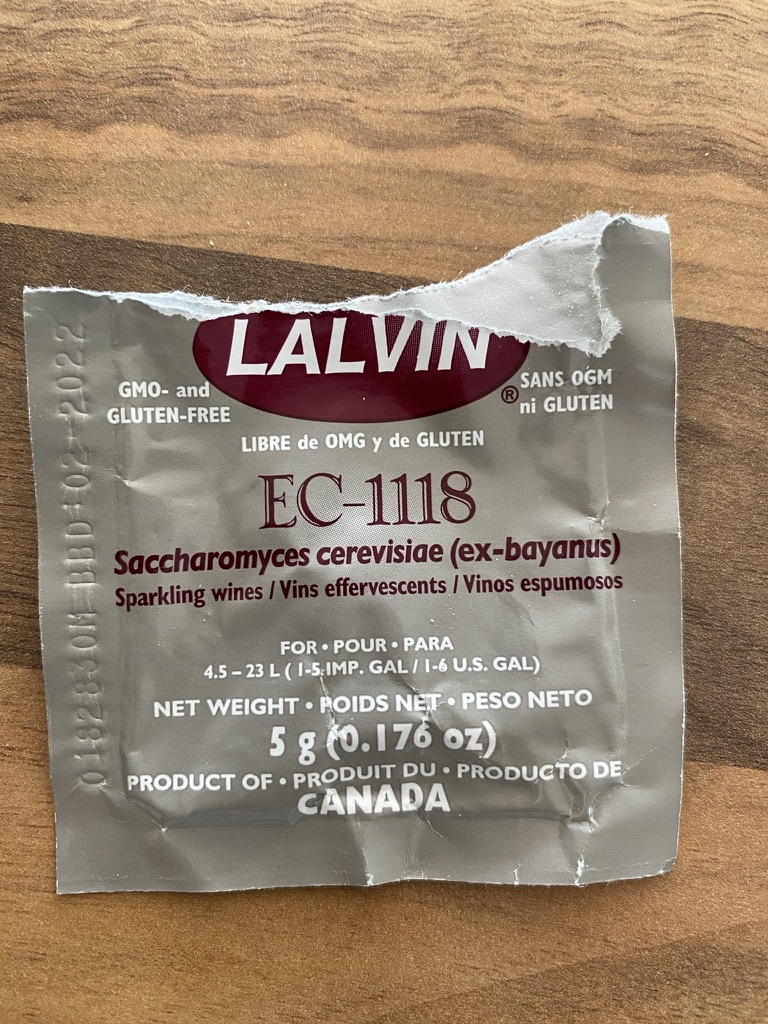
Bobbling stopped, trying to encourage secondary fermentation by transferring to a fresh demijohn via glass jug and paper coffee filter in funnel to remove sediment. Gravity measured at 1.005. Added 25g brown sugar dissolved in warm water, about half a gram of wine nutrient, and a whole sachet of EC-1118 champagne yeast, first revived in warm water. Lost a little bit from the old demijohn due to sediment and filter issues, maybe just over half a pint. Gravity at the end was around 1.009, started bubbling at a rate of 1 in 25 seconds pretty much as soon as the airlock was on, so hopefully we’ll get a good fermentation. New demijohn now store in Mark’s office, where it’s around 22 degrees.
