The instructions for this kit recommend to add the finishing hops on day four, but fermenting under pressure speeds things up a notch so I decided to take a gravity reading and add the hops if we’re nearing our target FG of 1.014 or below.
Gravity Reading
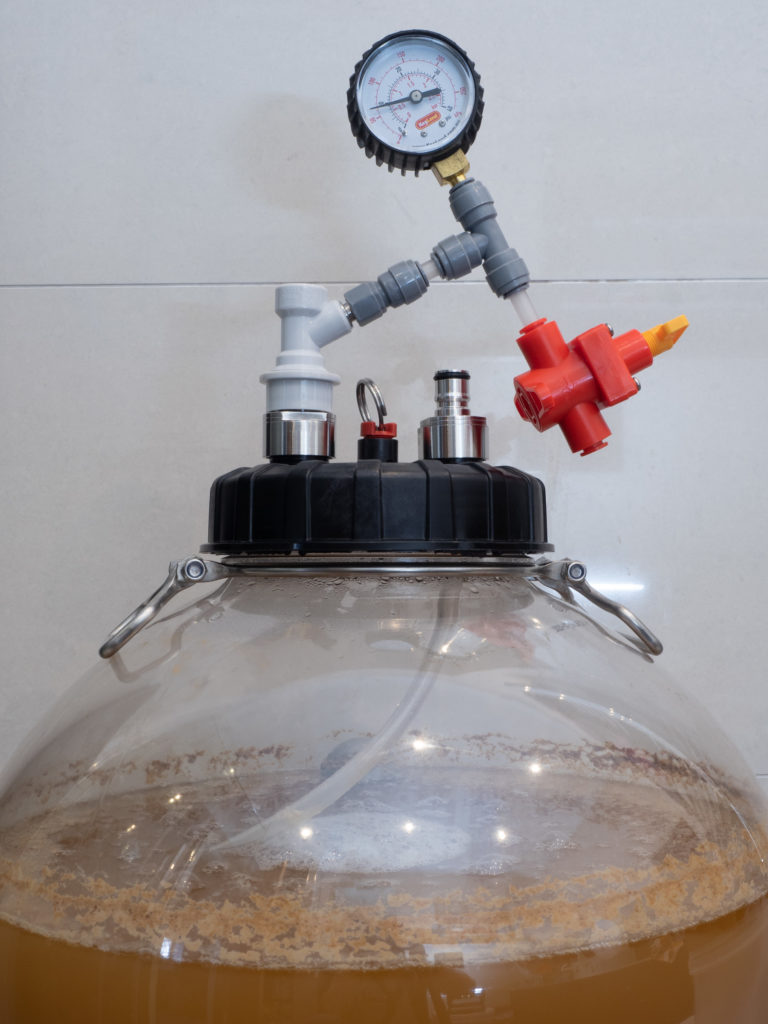
Taking a sample via my new picnic tap was an experience – turns out that a gentle squeeze at 10 PSI gives you a very effective foam cannon! Dropping the pressure a couple of notches and opening the tap all the way allowed me to fill an empty beer bottle about ¼ full and then decant that to the trial jar, where taking a reading was also interesting on account of the pleasant carbonation. My first go registered 1.014 but three subsequent dips gave 1.015, so I’m going with that for now. The taste from the trial jar was very good; no off-flavours and a lovely velvety texture thanks to the carbonation, but obviously limited bitterness and no ‘bite’ since I’ve yet to add finishing hops.
Trub-Dump
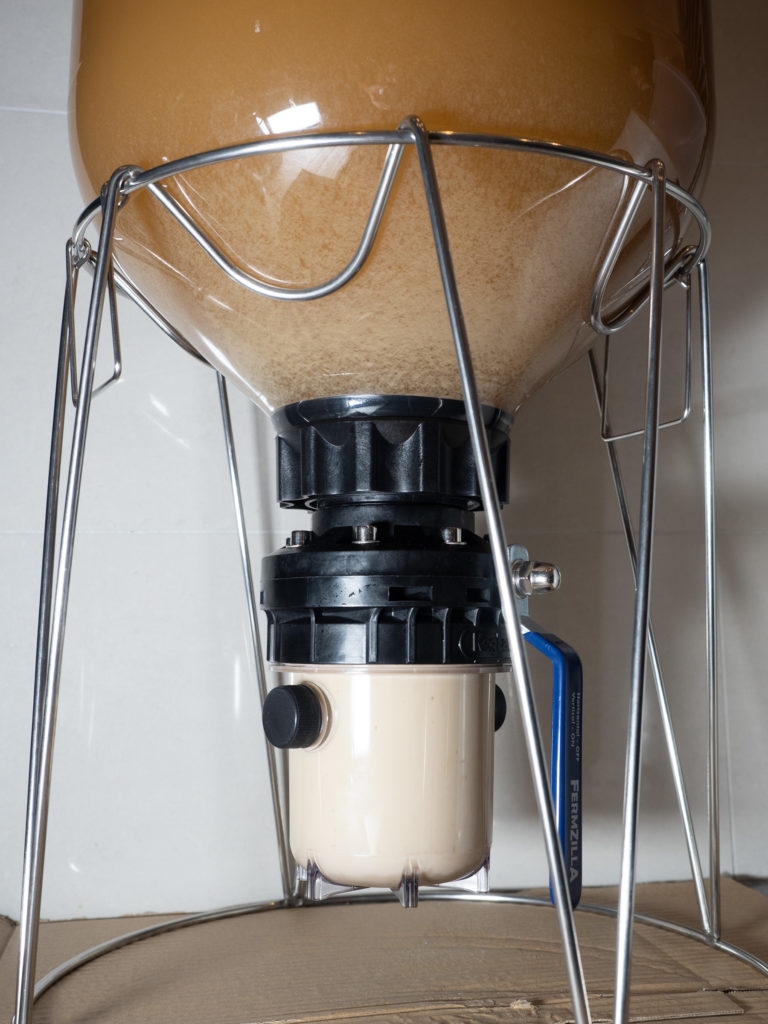
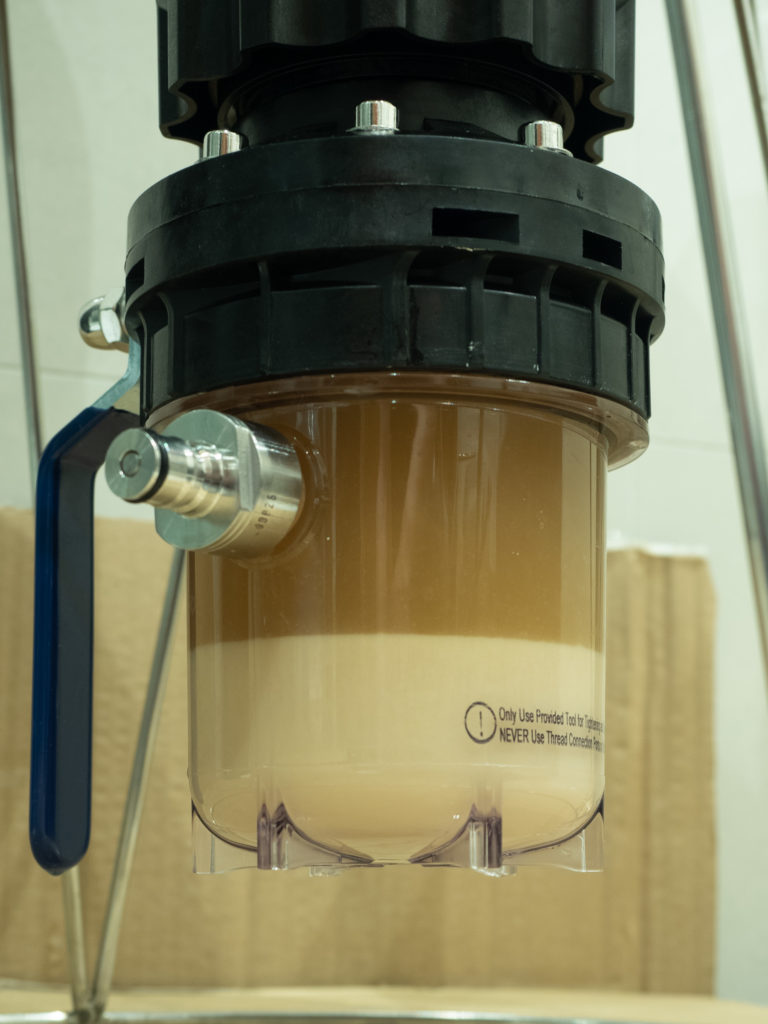
Since we’re nearing the end of fermentation and I wanted the hops in there while the yeast was still slightly active in order to carry on making CO2 I decided to dump the crud out of the trial jar and then use that for dry-hopping. There was certainly a load in there – for some days I’d not seen the top of the sediment stack and guessed it was probably way up past the butterfly valve.
Fermzilla’s instructions are quite clear on the fact that the butterfly valve must remain open during fermentation and should not be closed while there’s pressure in the vessel, something I’ve seen repeatedly ignored in just about every how-to video on YouTube. I decided to de-pressurise the whole vessel before attempting to remove the collection jar because doing so with the jar under pressure would almost certainly be messy, and I didn’t have a way of de-pressurising just the jar even if I did feel like ignoring the manufacturer’s advice and betting the brewery floor on that butterfly valve. Letting the gas out of the vessel even gently caused some large lumps of crud to float up from the trial jar before bobbing about a bit and settling back down, a bit like some primordial aquatic monster.
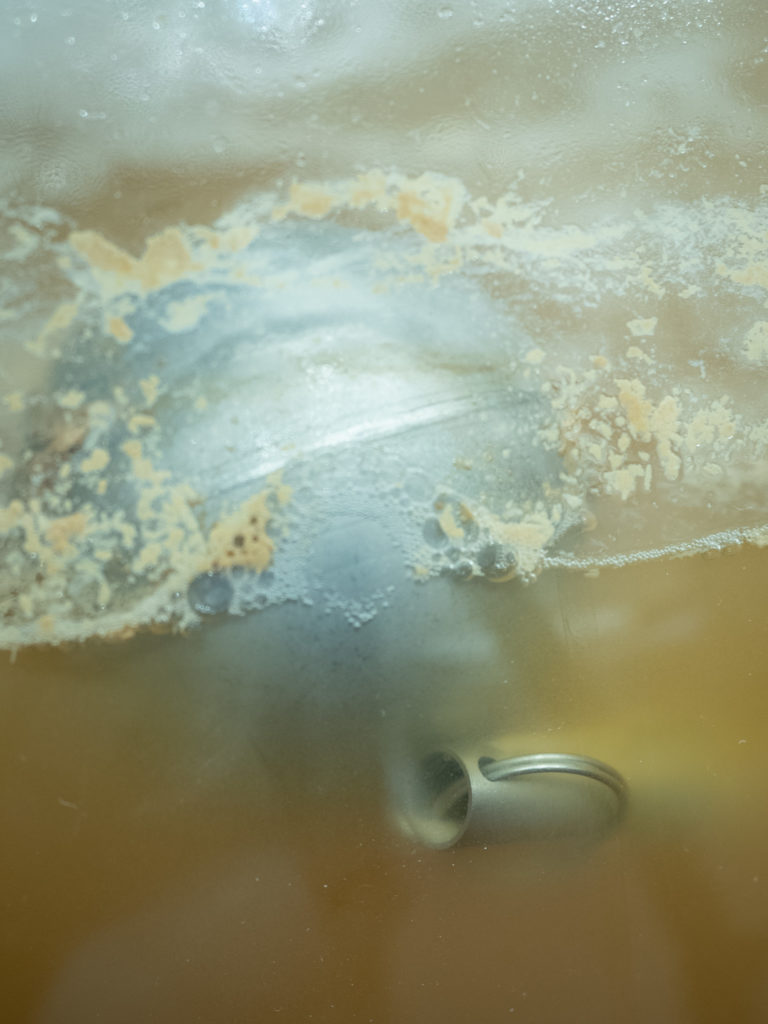
Once depressurised and with the valve closed the jar was quite tricky to remove, definitely need to invest in some food grade tap lubricant before next time. When it did go there was a small, controlled explosion of beige phlegm covering an 18” radius which included my knees, and with considerable disappointment I noticed that most of what was in that trial jar was yeast, with only about a quarter inch of actual trub underneath that. Was that bad? I thought this was a top-fermenting brew and therefore anything lying on the bottom would be dead, but the presence of foam in the middle of the surface, i.e. directly above the trial jar, told me that whatever was down there was still breathing, and now I’d effectively murdered it. Oh well, off it goes into the toilet trub disposal facility.
Dry Hopping
Once the collection jar was cleaned up and sanitised I removed one of the screw-tops from the side and replaced it with a stainless carbonation cap before dropping the hops in and reattaching it to the underside of the Fermzilla, also sanitised liberally with Star San. Purging oxygen was then a matter of attaching my CO2 tank to the carbonation cap, turning on the regulator to about 3 PSI, and opening / shutting the cap on the other side of the collection jar a number of times. Each of these bursts filled the collection jar with CO2, and each unscrewing of the release side filled the bathroom with hoppy aroma. It’s not a perfect method since each cycle just dilutes the O2 in the jar and doesn’t fully purge it, though I suppose with enough repetition the oxygen would be reduced to near enough zero levels.
But what about the hops? I heard somewhere that if you can smell their pungent aroma it’s because those precious oils are being diffused into the air, which is why you keep them in vacuum sealed bags, in a fridge. Repeatedly blasting them with CO2 and then purging that to the atmosphere probably isn’t the best thing that could happen to the hops, even if each hit decreases the likelihood of oxygenation.
Going forward I’m going to try and improve this method a little bit so that each purge gets more oxygen out of the trial jar, reducing the need for more purges in total. This Home Brew Network video speculates on the possibility of fitting an elbow to the inside of the carbonation cap which then channels the incoming CO2 towards the bottom of the collection jar, but if you think about it, CO2 is already heavier than O2 and will find its way to the bottom naturally, pushing the oxygen towards the butterfly valve where there’s no exit since the exit port is halfway up the opposite side to the incoming port. It would make much more sense to have an elbow tube on the inside of the exit port which ends somewhere near the butterfly valve, since that’s where the majority of the oxygen will be hanging out. Definitely one to try. I do like the guy’s suggestion of using the ‘waste’ CO2 from the Fermzilla to do the purging of the collection jar instead of using external CO2, but that means leaving the butterfly valve closed for extended periods with the vessel under pressure – again contrary to the manufacturer’s recommendations.
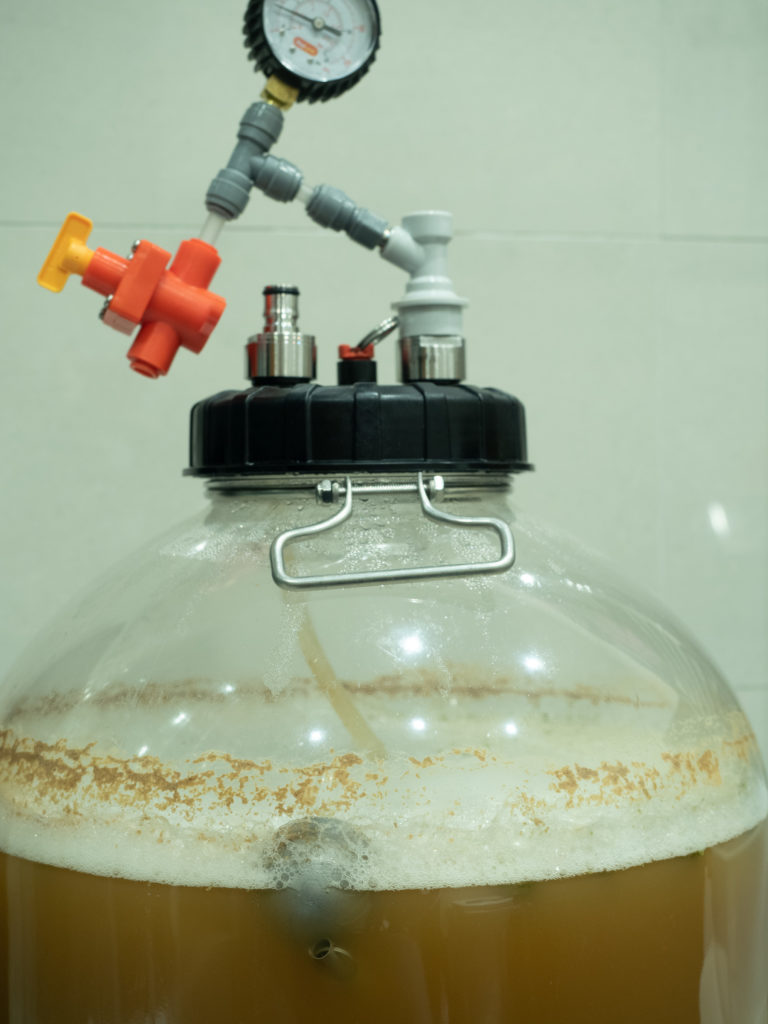
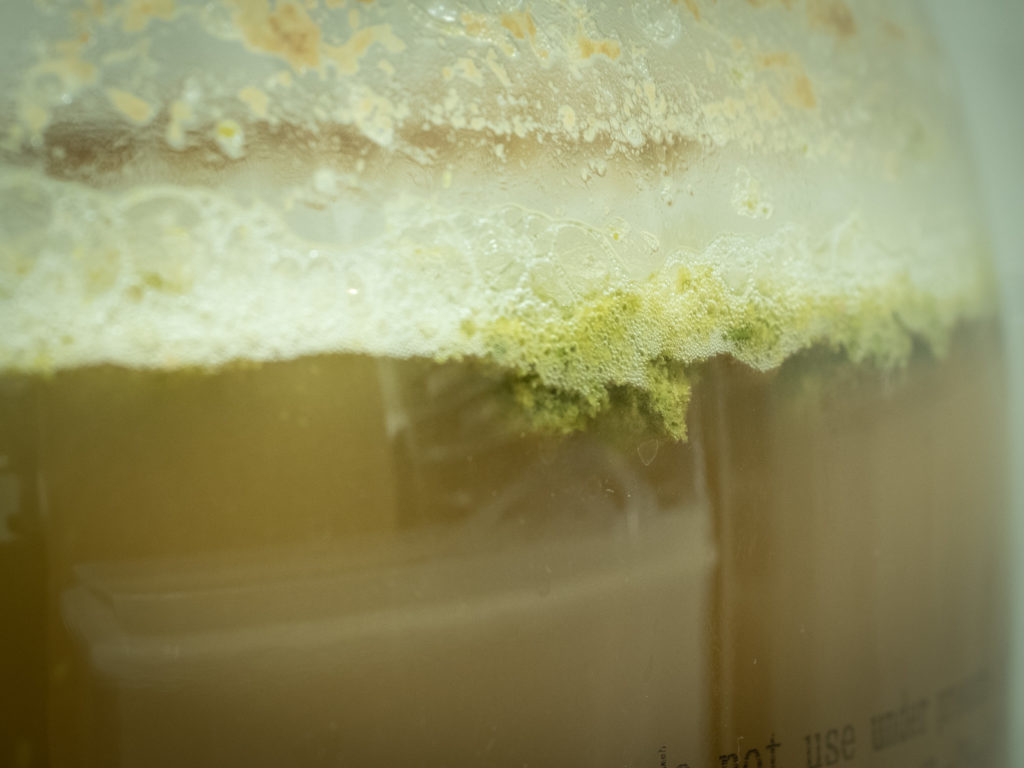
Anyway, with the hops suitably purged of oxygen and the jar firmly connected it was time to open that butterfly valve, and boy did those pellets head for he sky. Almost immediately the collection jar was purged of hops and filled with the rest of my yeast, which had settled on top of the butterfly valve while I was messing about with the jar. The rush of CO2 though the brew (I hope it was just CO2) also produced a nice foamy head on top, which was punctuated here and there by dissolving hop pellets. There was just about 1½” of yeast in the bottom of the jar now but it still looked active. In order to test this I pressurised back up to 8 PSI (the dry hopping procedure boosted things to 5 PSI already, mostly through agitation) and let the yeast contribute the final 2 PSI to get me back to my original 10, though at 30 minutes it did take quite a bit longer than it would have before the trub dump. It’s now about 4 hours later and there’s still some foam on top, a lovely green colour, with the brew itself also a shade darker. Let’s hope there’s enough yeast left to finish the job.
