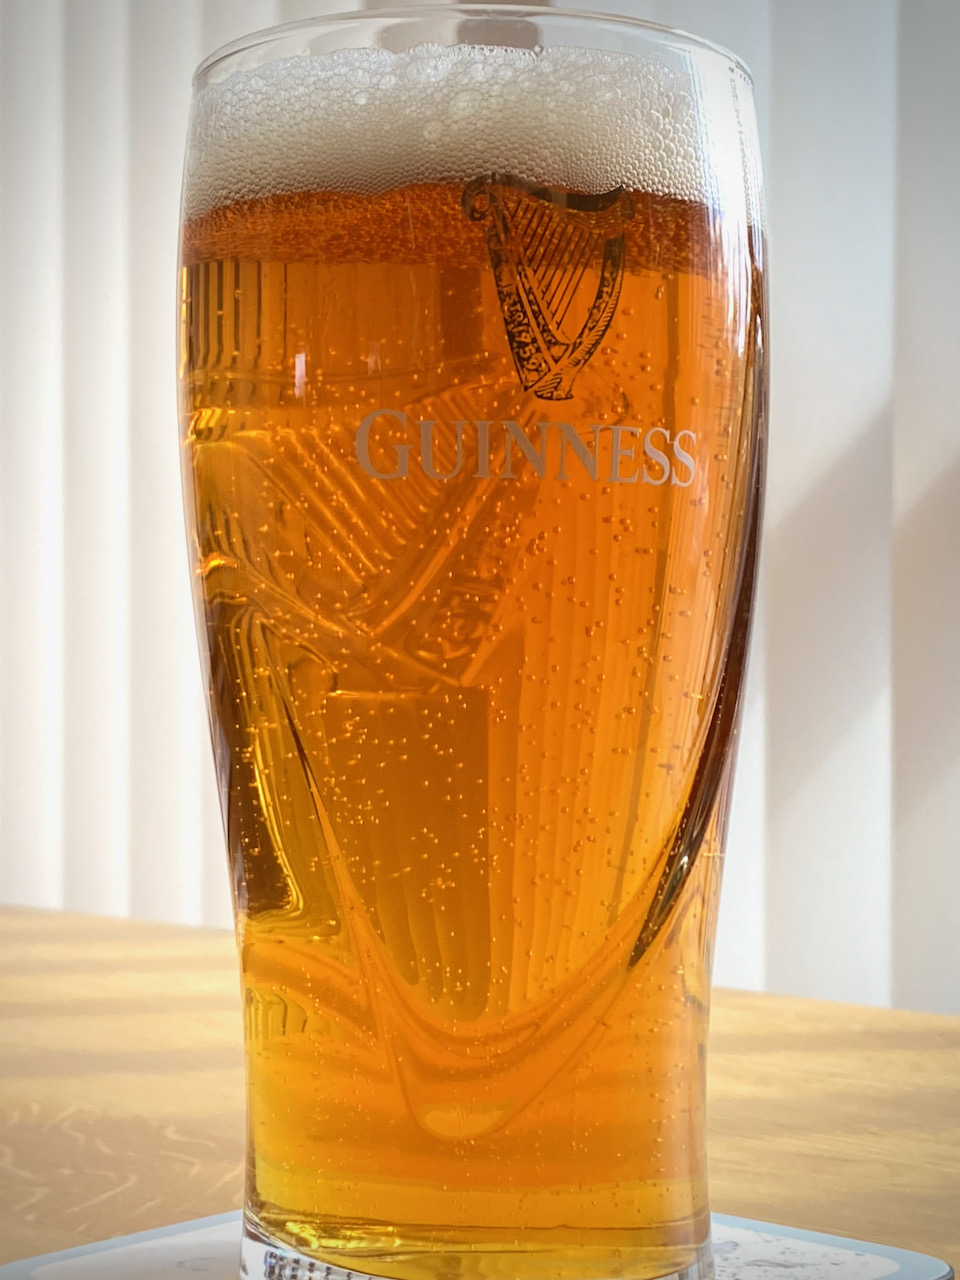
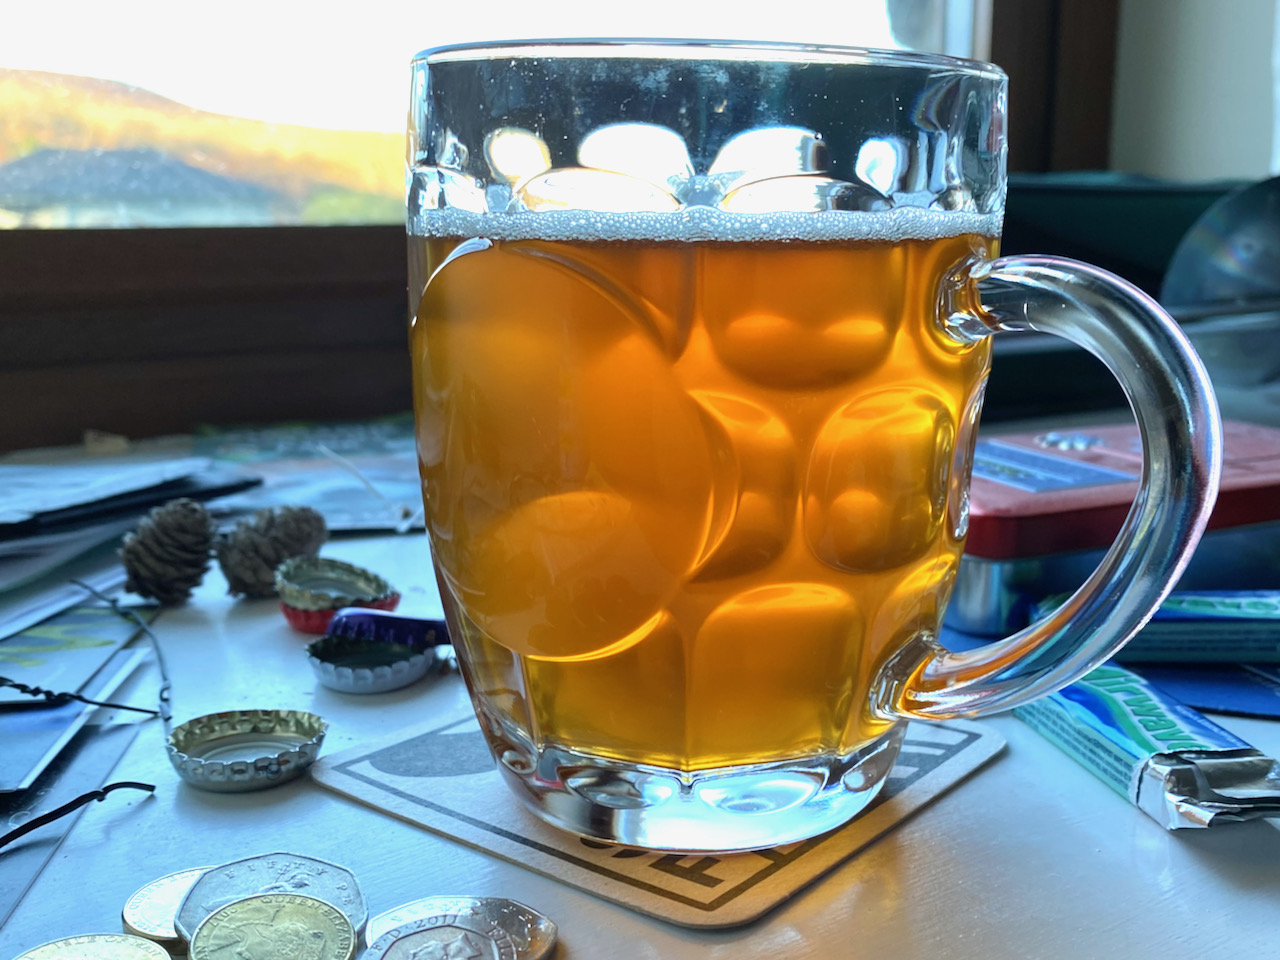
Taste is very nice; no trace of twang and still some good hop flavours. Carbonation is a little high for the style, but has kept very well in the flip-top bottle – almost six months. Will have to repeat this one someday.
Aug 202131Tue
| Ref | 2021-03 Second Extract Blonde | Brewer | Pain & Patience |
|---|---|---|---|
| Style | Blonde Ale | Type | Beer, extract |
| Started | Wed 3rd Mar 21 | Status | Archived, |
| Packaged | Thu 18th Mar 21 | Fermenter | SS 10 litre Bucket |
| Handle | 2021-03 Second Extract Blonde |
|---|---|
| Brewer | Pain & Patience |
| Style | Blonde Ale |
| Type | Beer, extract |
| Fermenter | SS 10 litre Bucket |
| Status | Archived, ABV |
| Started | Wed 3rd Mar 21 |
| Packaged | Thu 18th Mar 21 |
 I’m taking the learnings from my first extract recipe and having another go, this time dialling down the bittering hops by 2g and dry-hopping with Citra. I’m also switching to Brewfather from Brewer’s Friend since that was heavily recommended by Brewtools and looks to be a slightly better experience. This batch won’t be split for fermentation, which will take place in my SS Brewtech mini bucket.
Taste is very nice; no trace of twang and still some good hop flavours. Carbonation is a little high for the style, but has kept very well in the flip-top bottle – almost six months. Will have to repeat this one someday.
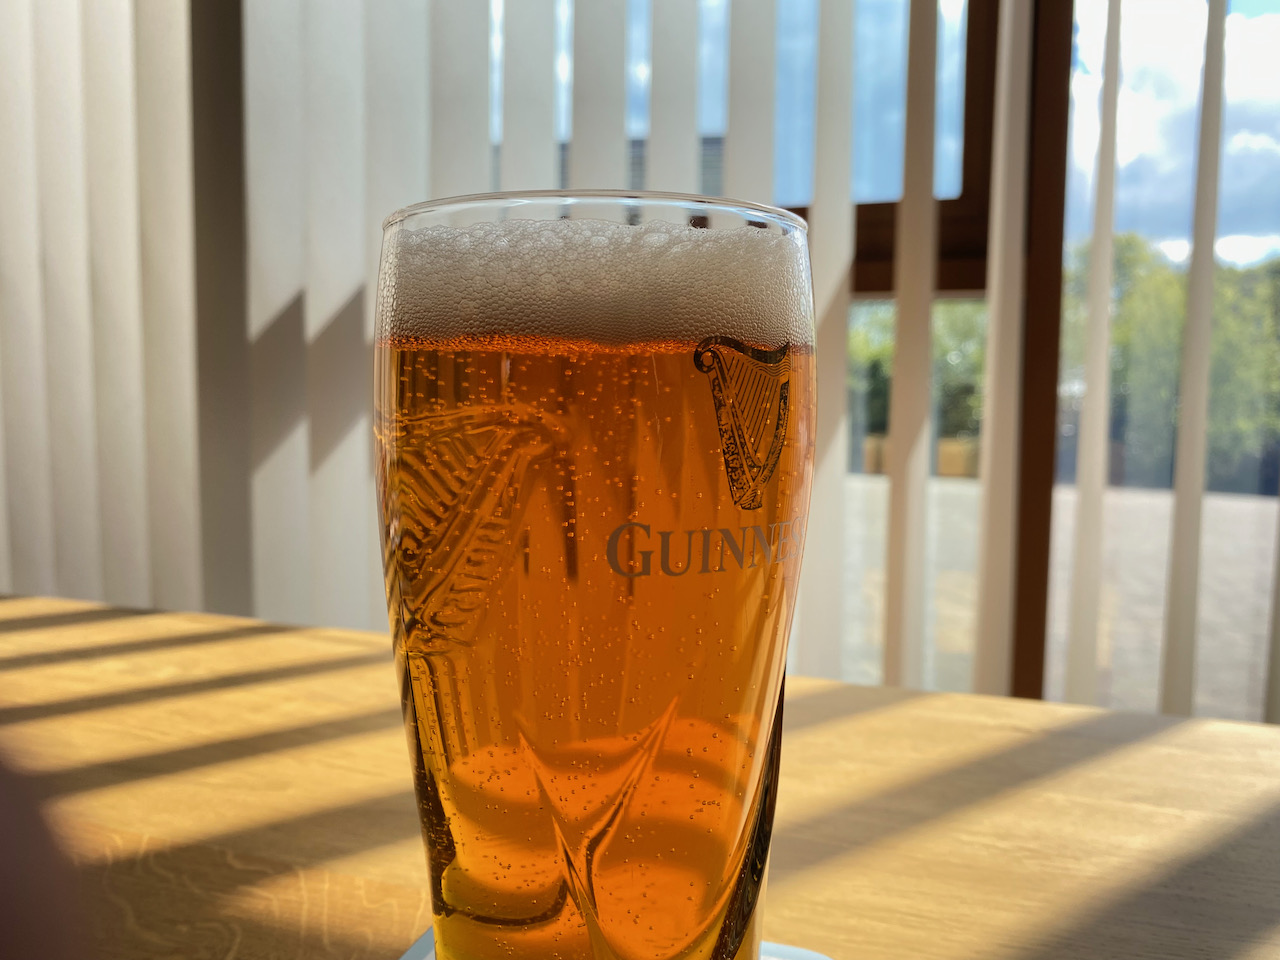
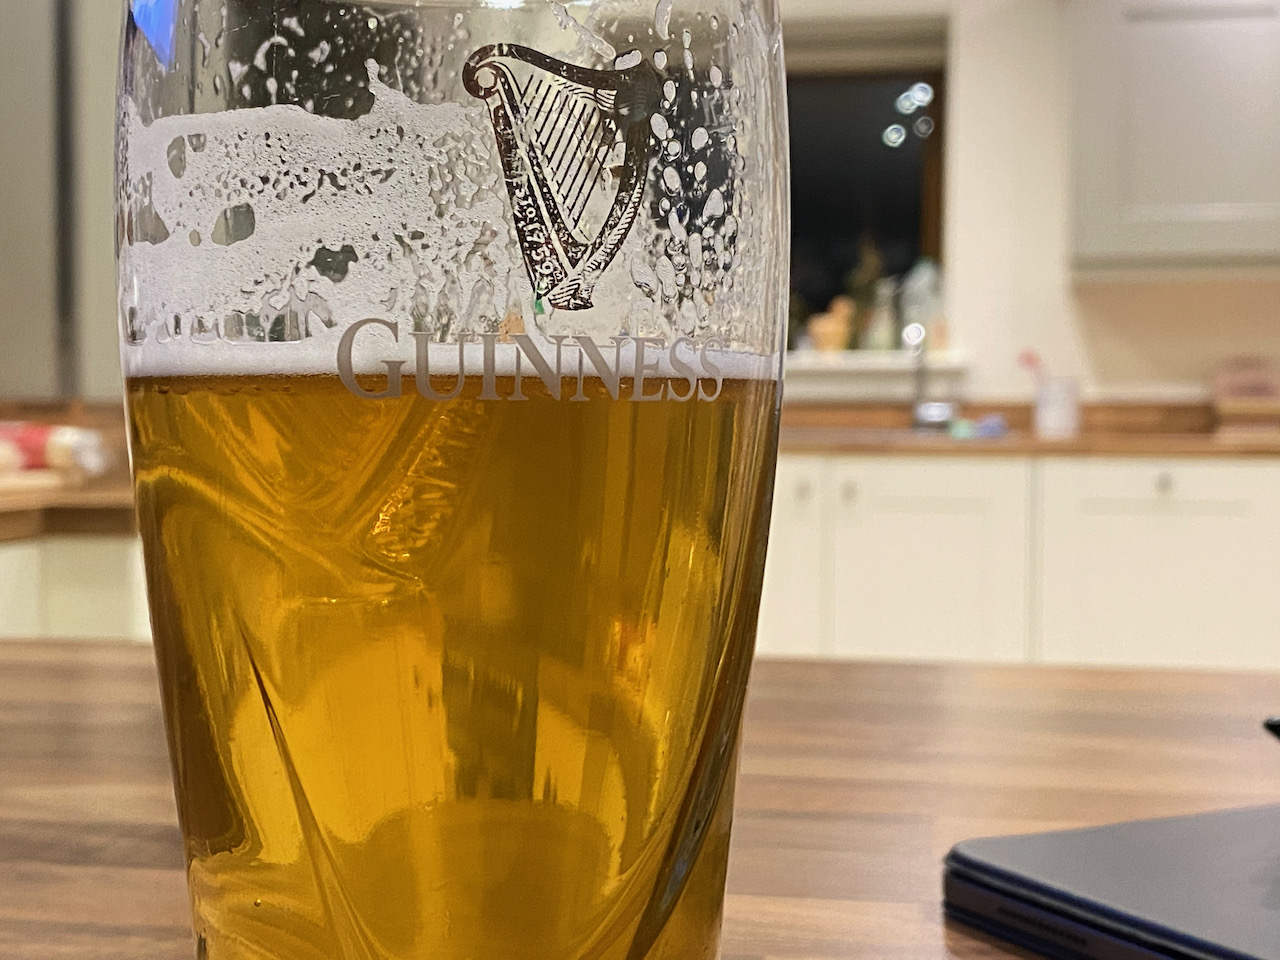
Had another Second Extract Blonde just now and today the carbonation seems spot-on, with absolutely no twang at all. Not sure what the temperature is but it was straight from garage on a day when it’s around 11 ℃ outdoors. I would have liked just a touch more hops, but as it stands this would be a good ale for somebody who normally likes lager.
Not sure if this is the first taste since I seem to be one bottle shorter than I remember (oops!) but after starting First Scratch this afternoon I felt I needed a reward.
Long story short: 20% too much carbonation (although it wasn’t fully chilled) and a great taste, with just a tiny hint of green twang shining though. I recon that will be more hidden if served properly chilled, and will likely subside with time anyway. Everything considered it’s a good copy of the kegged version, but not quite as good as draught. Will see what the others are like in a couple of weeks.
Extract Blonde #2 has moved to the garage for conditioning. I’m not sure if this is really needed since the beer was cold-crashed before being bottled, but there is some sediment on the bottom so I guess it might benefit from a few days in the cold.
Good to see actually, since I was worried that cold-crashing would have removed the yeast that I need to give this carbonation. At any rate the carbonation drops have been eaten and there’s sediment, so I’m hoping that I don’t end up with sweet, flat beer.
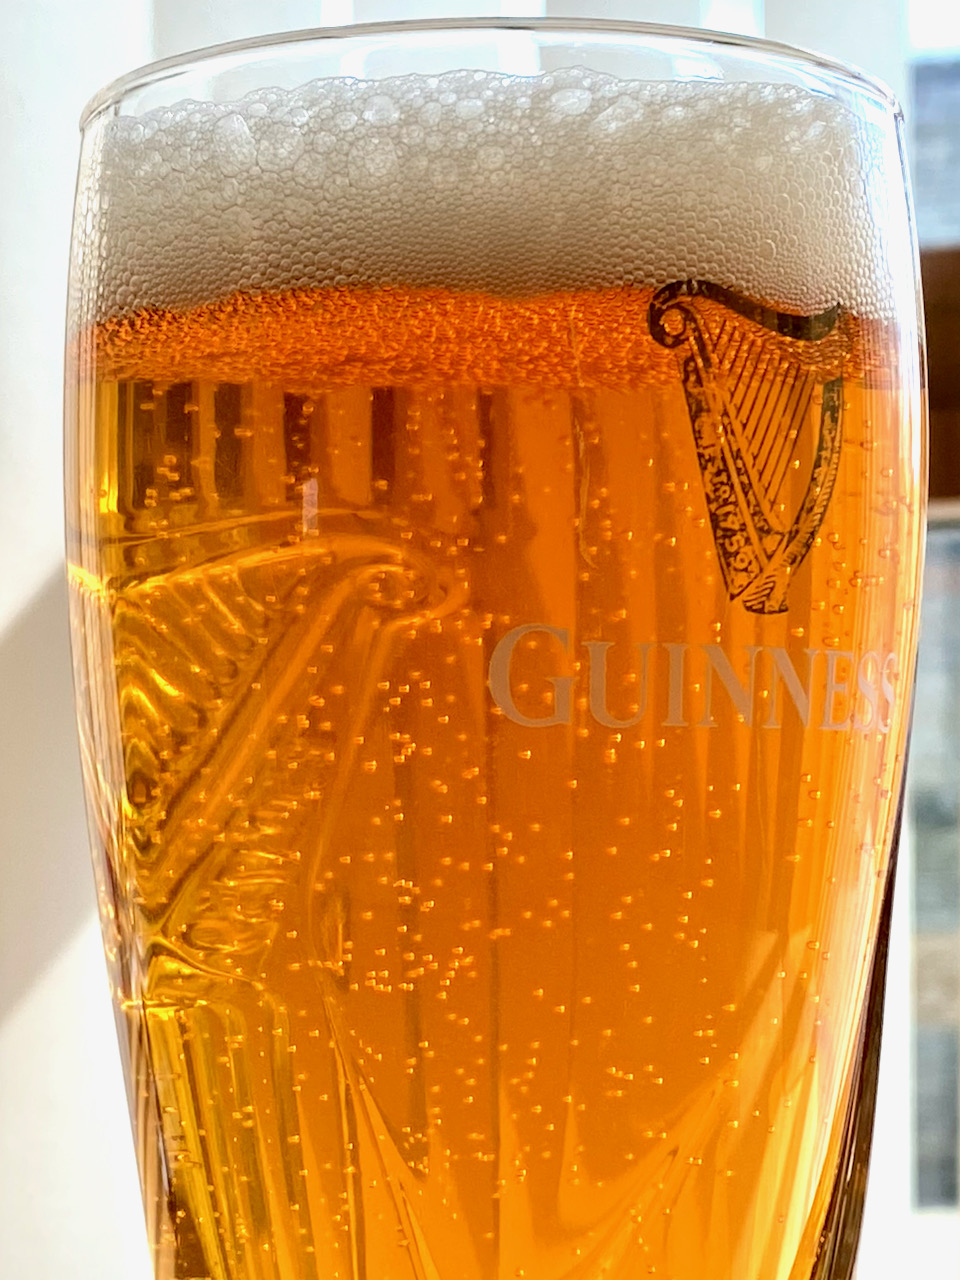
Damn that was fine beer! The clarity improved remarkably after Sunday’s first pull, as did the taste. Carbonation was OK too after a few days at 30 PSI, then back down to 10 PSI serving pressure.
I started this keg at 30 PSI three days ago, and when I checked the pressure just now it was down to just under 10. I’m putting this down to there not being a great deal of head-space in the keg and to it not being connected up to anything in that time.
The beer tasted OK. Not fantastic but certainly not bad; reasonable amount of bitterness and a good whiff of hops, but not as strong in the citrus department as I’d have liked. Clarity also was a little way behind where it should have been given the period spent cold-crashing (and subsequently carbonating at the same temperature) but then again this was the first pour from that keg so there may have been some deposits in there.
It did seem a little bit flat, so I upped the pressure again to 30 PSI now that there’s another pint of head space, will check back in a couple of days.
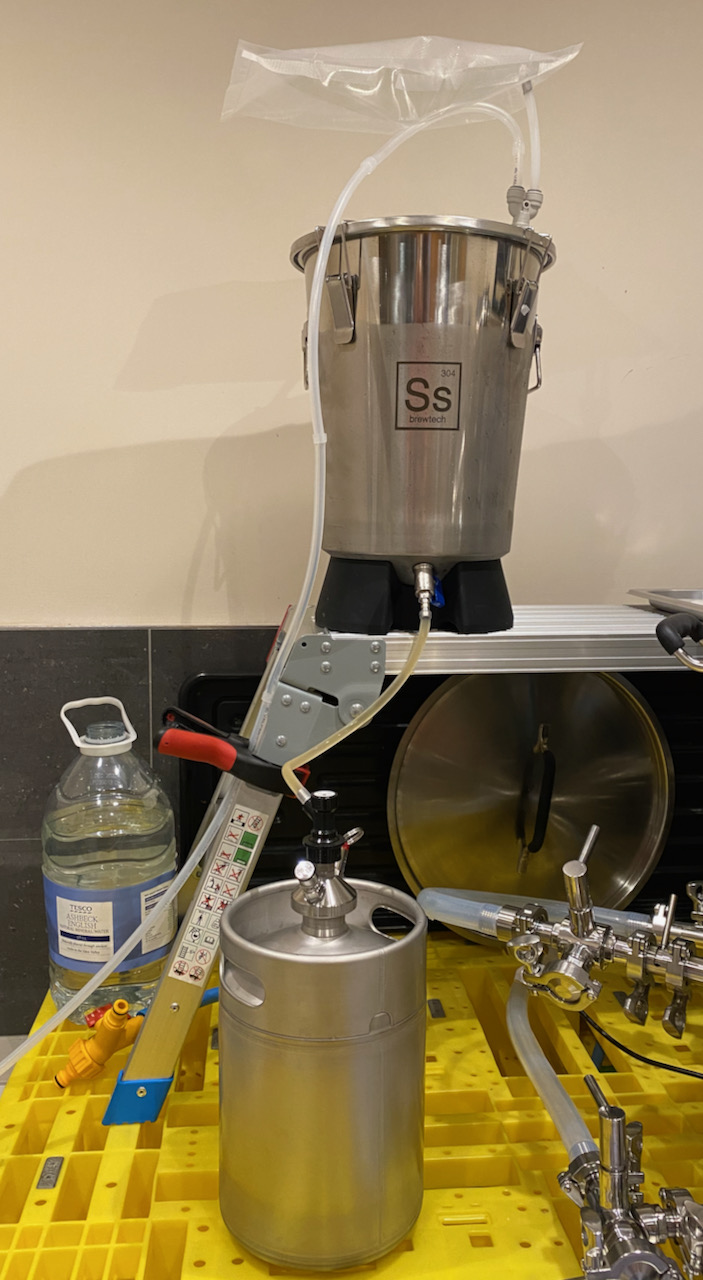
After eight days in the chiller it’s time to put this one away, and I decided to fill one of my 5 litre kegs with the rest going into bottles, hopefully letting me form a comparison not only between this brew and my first extract blonde, but also between keg and bottle versions of the same batch.
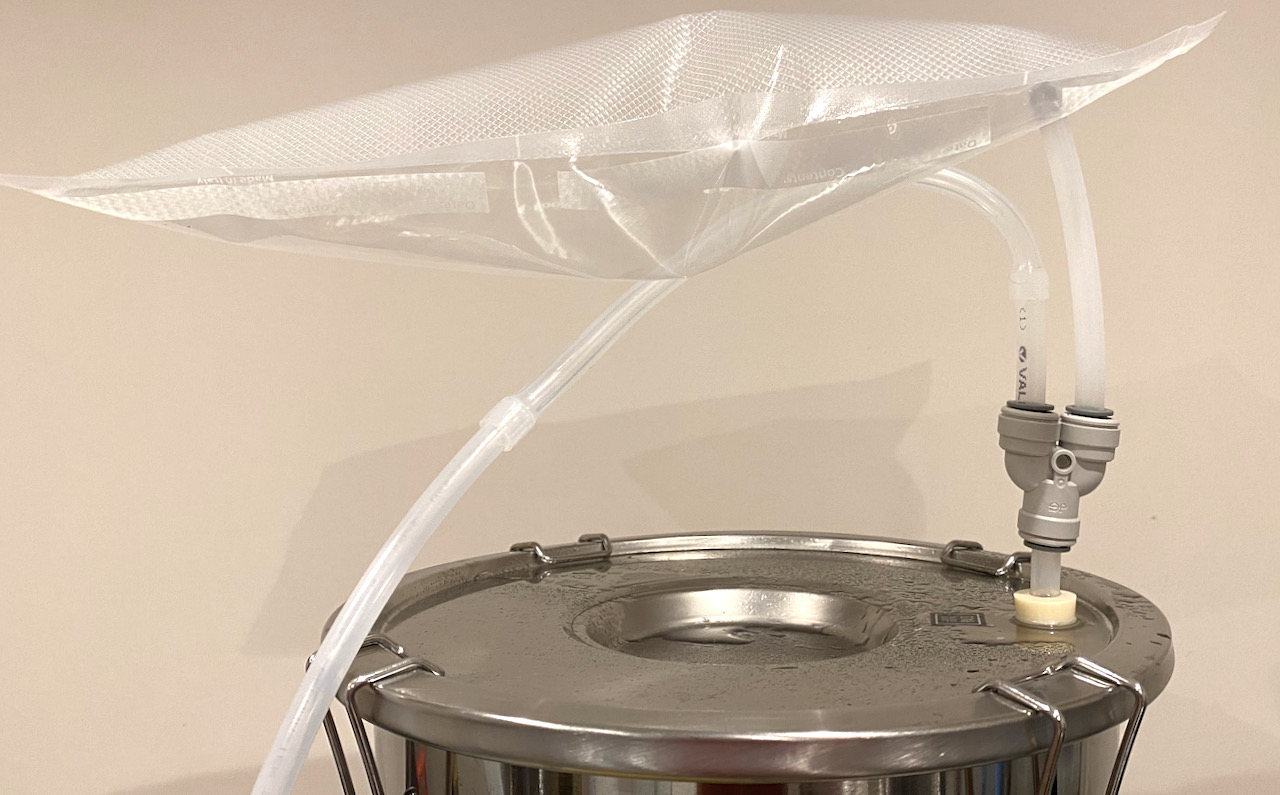
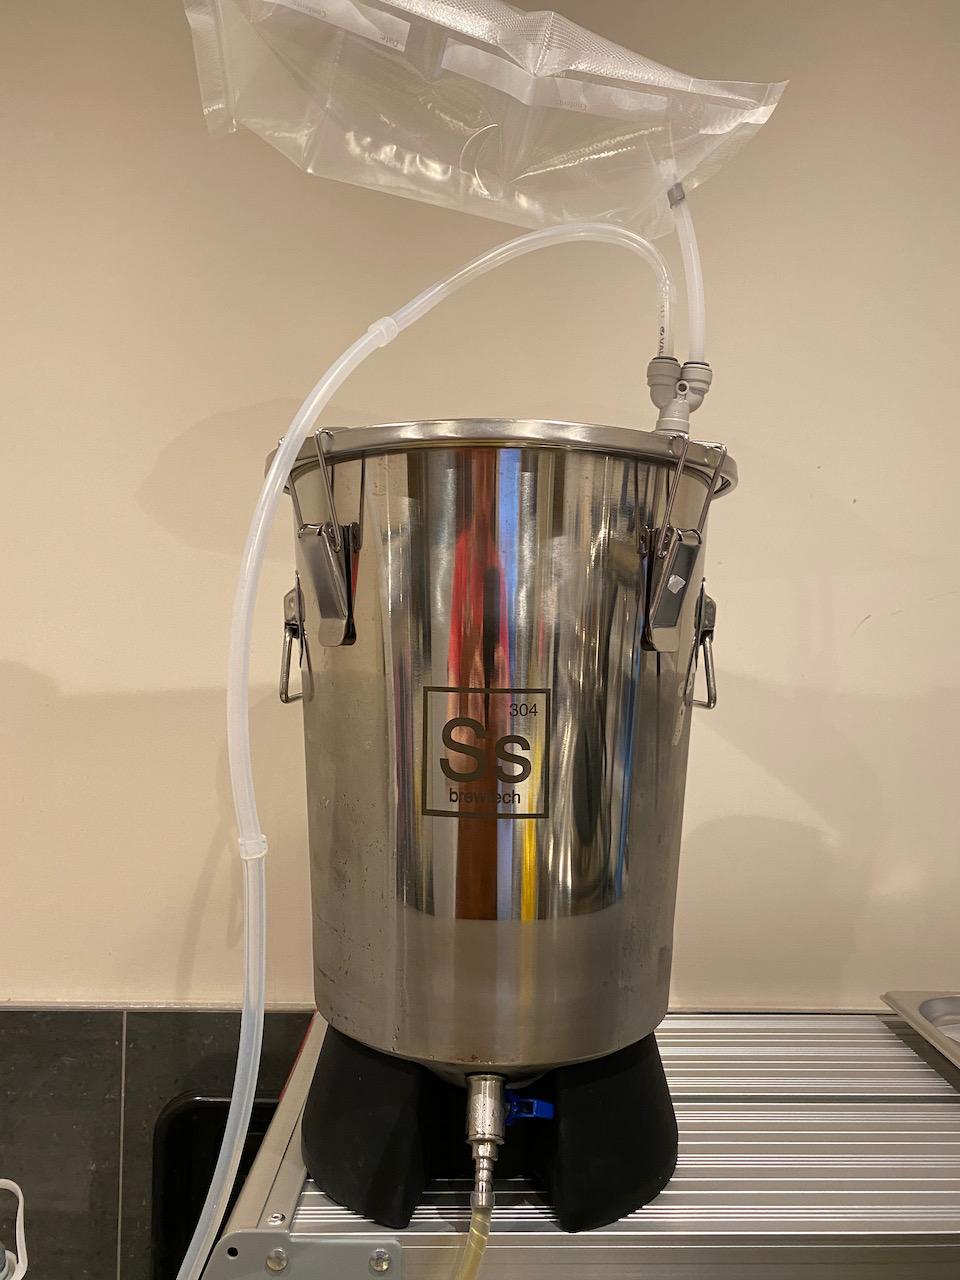
Keg or bottle regardless, I was keen to prevent as much oxygen from getting at the beer as I possibly could. Bag-Thing was already rigged up to the mini bucket while it cold-crashed in the fridge (used between ¼ and ⅓ of a filled bag over the week, for the record) so it was just a matter of topping up the carbon dioxide bag as I drained the beer. This was easily achieved by fitting a John Guest splitter between the bag and the bucket and splicing it to the CO2 regulator so that it could be manually topped up as needed.
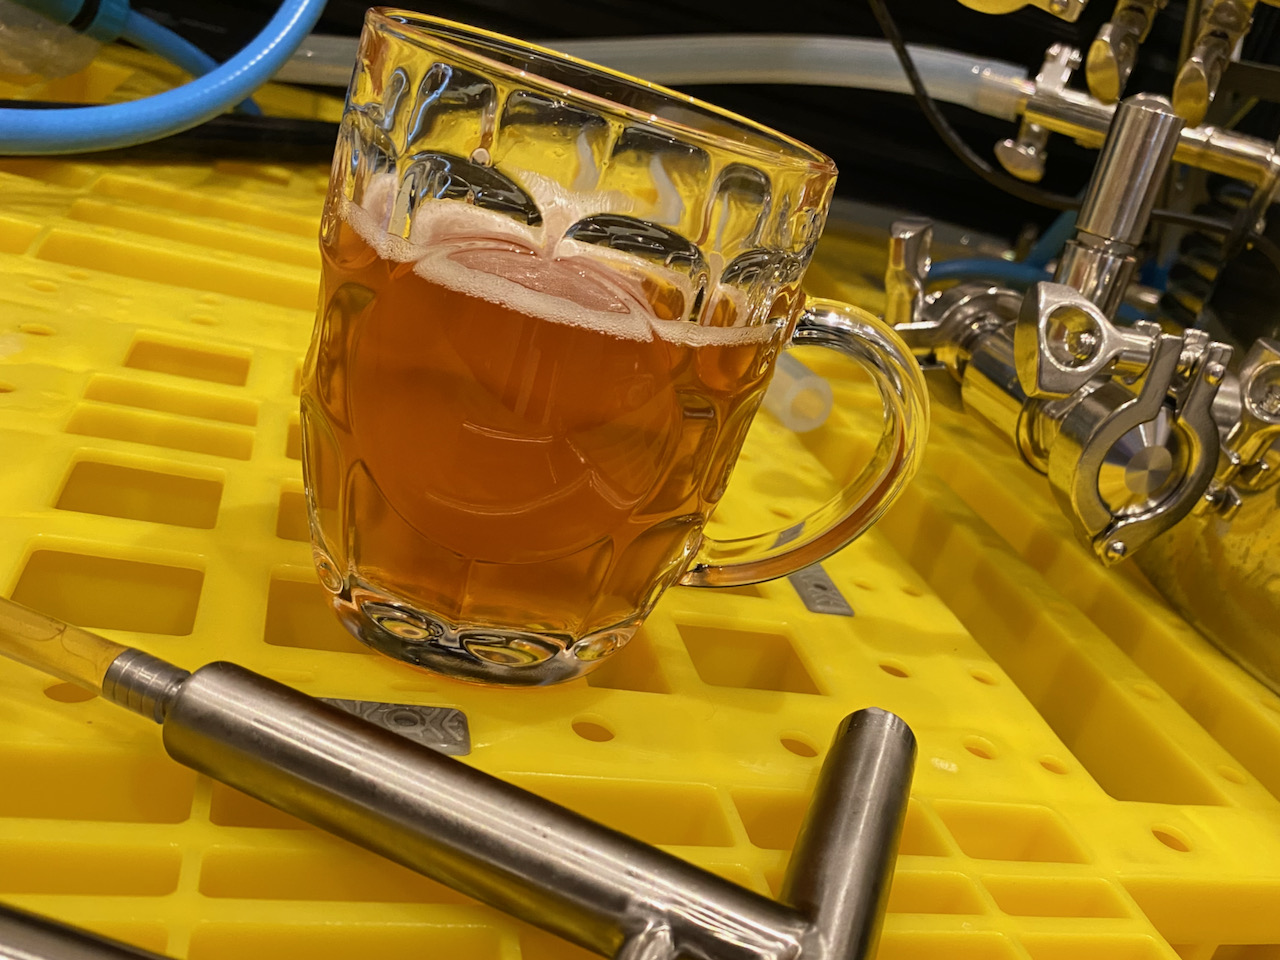
Before I started drawing off beer into the keg I wanted to make sure that my dip tube wasn’t about to suck up dead hops and other trub, which took some leap of faith since I had no way of telling how much was in there and nor any means to filter the output. In the end I decided that cold-crashing should have settled everything as much as it was ever going to be settled, so I rotated the dip tube to its highest setting by turning the spigot clockwise – a neat feature to have.
But I still didn’t know if the tube would be clear of the sediment, so the only way to find out was to fill a cheeky tumbler. Immediately I started getting bits of hops but the stream soon cleared up, must have just picked up some random particles while adjusting the tube. The beer wasn’t anywhere near as clear as Bure Gold – the first one I ever cold-crashed – but then again that was too was cloudier during kegging than nearer the end. This did however taste wonderful, not as bitter as the first extract attempt and with slightly more hop punch. Time for one last check of the bag setup and let’s get it done.
Once I was confident that no oxygen would enter via the top, putting this into a sanitised & purged keg was as simple as connecting a piece of silicone hose from the elevated bucket’s spigot to a barbed beer disconnect and popping the pressure relief valve now and then. That last step grew old very quickly so I fitted a gas disconnect as well and just kept topping up the CO2 at the bag end while the keg vented it to atmosphere. I realise now that with the bag being such an effective buffer I could easily have used the extraneous gas from the keg to top up the bag and made for a truly closed loop – definitely something to try next time.
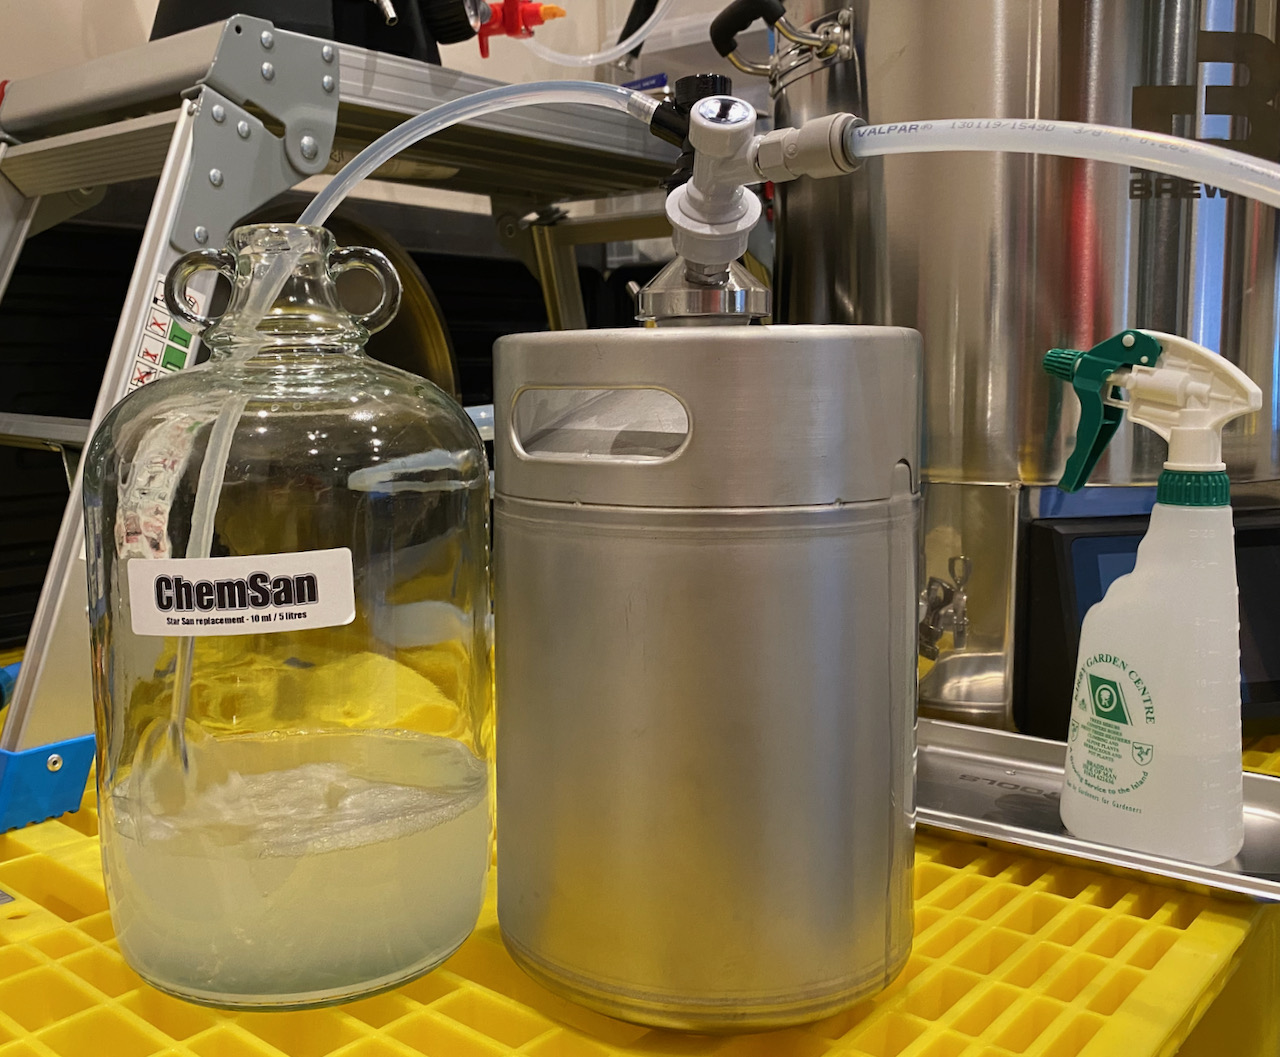

I used the “cold finger” method again and left the keg with about 2 inches of head space before pressurising it to 30 PSI and putting it in the chiller. I’ll reduce this gradually after 3 or 4 days to 10 PSI serving pressure, hopefully that should then be ready to sample.
I really wanted to use my Blichmann Beer Gun to continue the oxygen-free theme but there was one small problem: I needed the JG 2-way splitter in order to provide the gun with gas, but that piece was in use by Bag-Thing. (sorted for next time: an adapter is on the way)
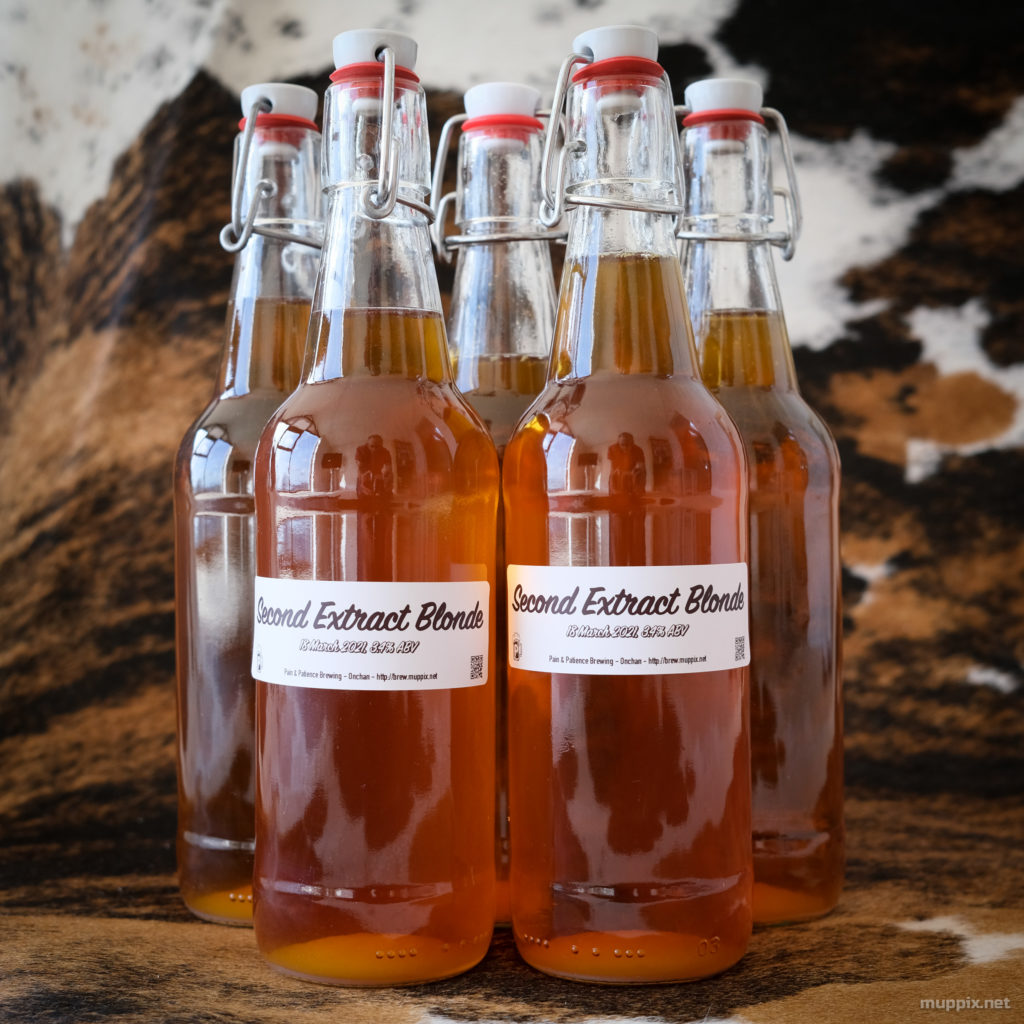
To overcome the equipment shortage I temporarily borrowed the CO2 supply and crudely purged some clear flip-top bottles by flushing them with carbon dioxide after I’d dropped in two carbonation drops in each, targeting 750 ml. Yes, overdoing it a bit there, but those drops were all I had left and I couldn’t be arsed to mess about weighing out loose dextrose for the sake of a couple of bottles. Once they were gassed and carbed it was easy to rest the flip-top stopper on the mouth of the bottle until each could be filled via the same silicone tube I used while kegging, just without the disconnect attached.
All this went fairly well until I started drawing bubbles halfway into the first bottle – guess that dip tube must be quite long after all. Seeing bubbles during filling is never good, but I kept telling myself that it should be OK since the bottles were filled with CO2, and it’s better to splash some gas about than set the tube too low and draw in unwanted rubbish. This method of constant adjustment saw me filling four 500 ml clear flip-tops while lowering the dip tube gradually before I hit the hops on the fifth bottle.

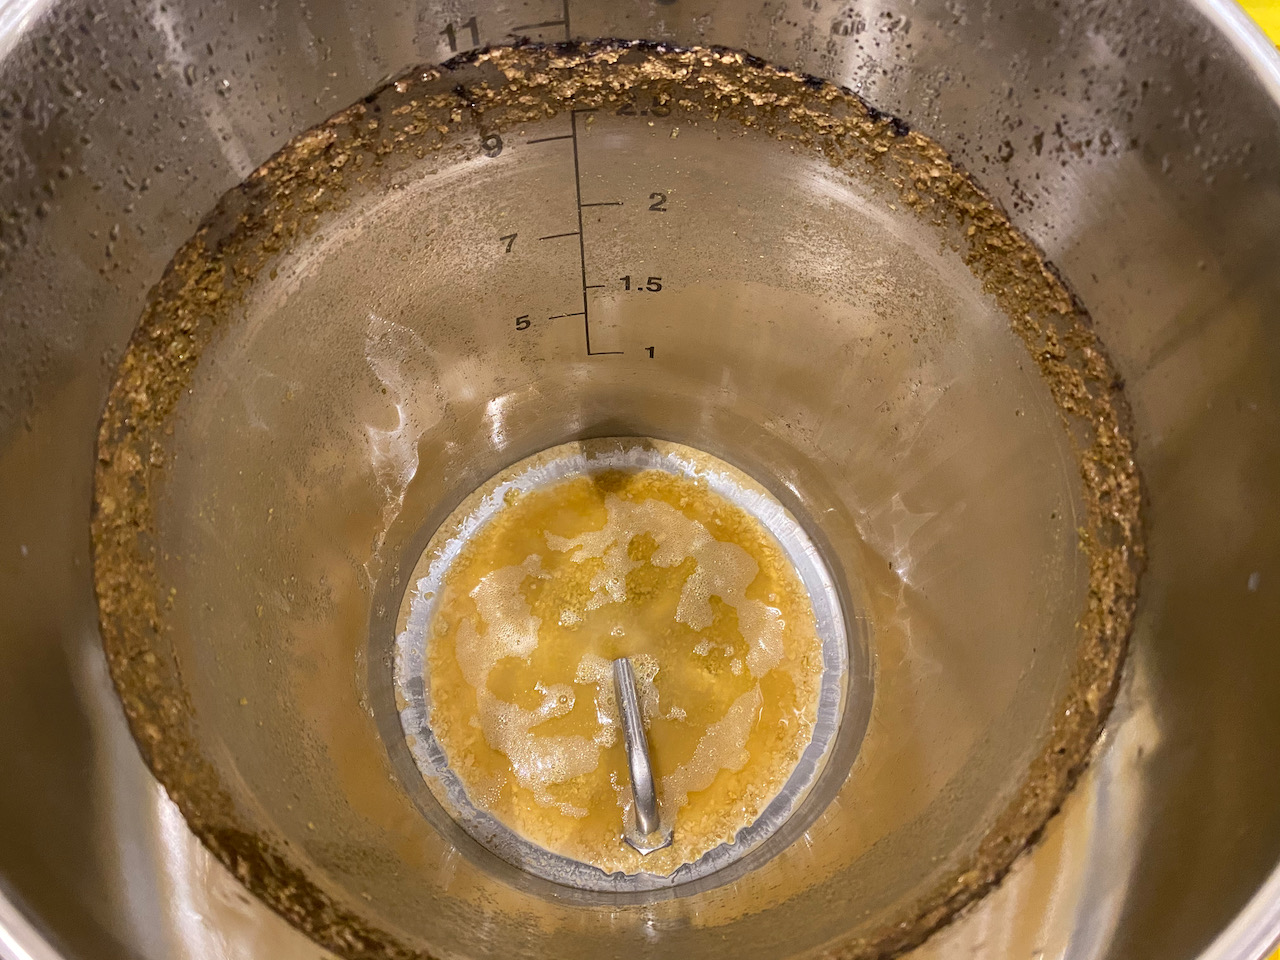
While cleaning the vessel after bottling I noted that the trub-line was roughly equal to the conical part. Obviously this will vary wildly depending on what’s added to the brew during fermentation, but it’s good to have this guide and reassuring to know that there’s quite a bit of adjustment on the dip tube – the guys at SS Brewtech have clearly done their homework.
In closing, one thing’s just occurred to me: by cold-crashing before bottling I may have removed the yeast that I need to turn my carbonation drops into carbonation. If these turn out to be flat then I need to learn from this, and draw off that part of the batch which is to be bottled before cold-crashing. As always, fingers crossed …
#wisdom: cold-crashing the mini bucket for a week uses between ¼ and ⅓ of a filled Bag-Thing, no need to worry about having to refill it partway.
#wisdom: if filling a purged keg from the brew bucket, use the gas that’s being driven out of the keg to refill the bag on top of the bucket.
Hops were added two days ago, time to get this cleared up and put away. I filled Bag-Thing with CO2 from the currently fermenting cider in around 15 minutes (it’s going like the clappers) and swapped it for the brew bucket’s airlock before drawing a gravity sample via the sampling spigot. The bag will stay connected throughout cold-crashing so that I don’t end up sucking in oxygen as the beer cools and shrinks.
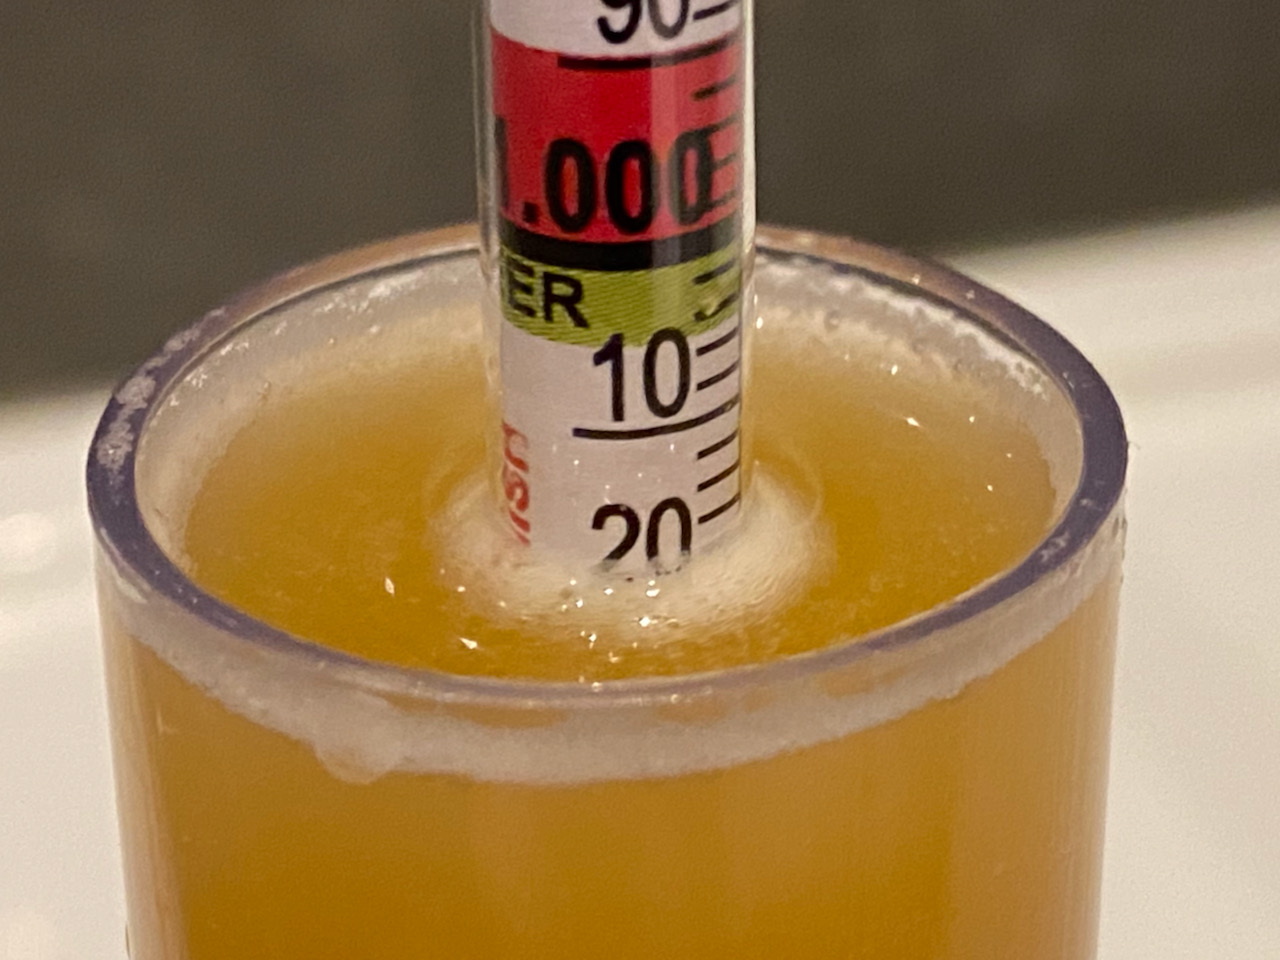
There was quite a lot of hop sediment in the trial jar which leads me to suspect that my dip tube is set too low and I’ll definitely adjust that before bottling. The gravity comes in at a smidgeon below 1.017 but I’m recording it as such because the amount of green stuff in the trial jar must surely have some impact on the reading. On the other hand, there was some slight activity in the airlock when I added the hops two days ago, which makes me think that something in the Citra has restarted fermentation.
Taste was pretty good; nowhere near as bitter as the first blonde (I’m hoping that’s the Citra in place of Cascade) and some very slight carbonation, although there was no foam at all, unlike the last sample just before dry-hopping.
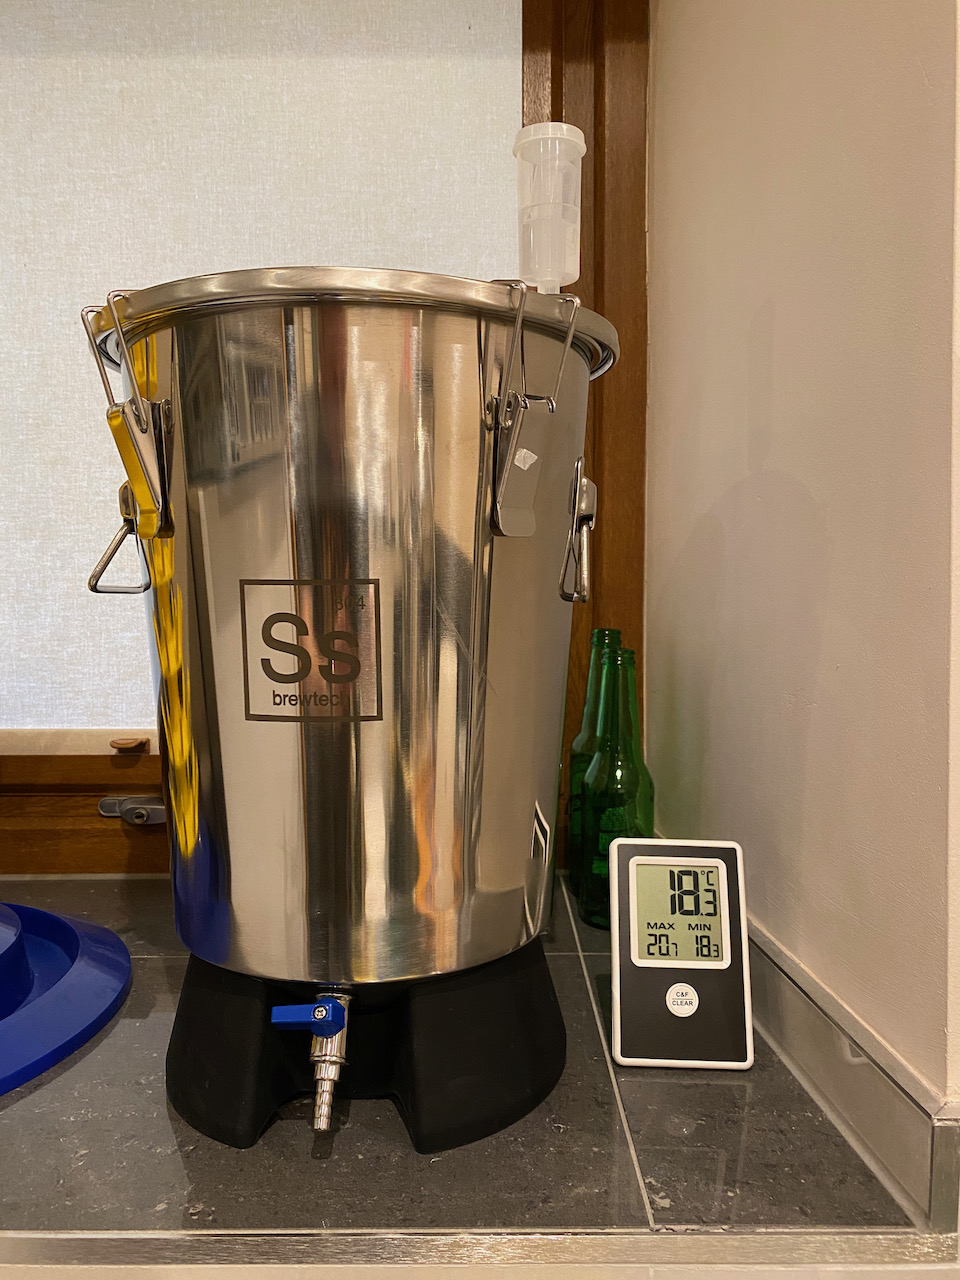
The mini bucket is now inside the fridge, temperature dialled to halfway between ‘mid’ and ‘max’. I transferred what’s left of the Bure Gold to my 5 litre keg (plus half a plastic bottle) and that’s also in there. I’m hoping that the plastic bottle will serve as an early indicator of things getting too cold so that I don’t have a repeat of the day that Bure Gold started to freeze in the FV.
The only question now is when to end cold-crashing and package? With no thermometer installed in the mini keg I’ll just have to rely on best guess and maybe a sample via the rotated dip tube. Let’s look at that in a week or so, with a couple of daily check-ins to make sure that Bag-Thing still contains some CO2 to cover thermal suck-in.
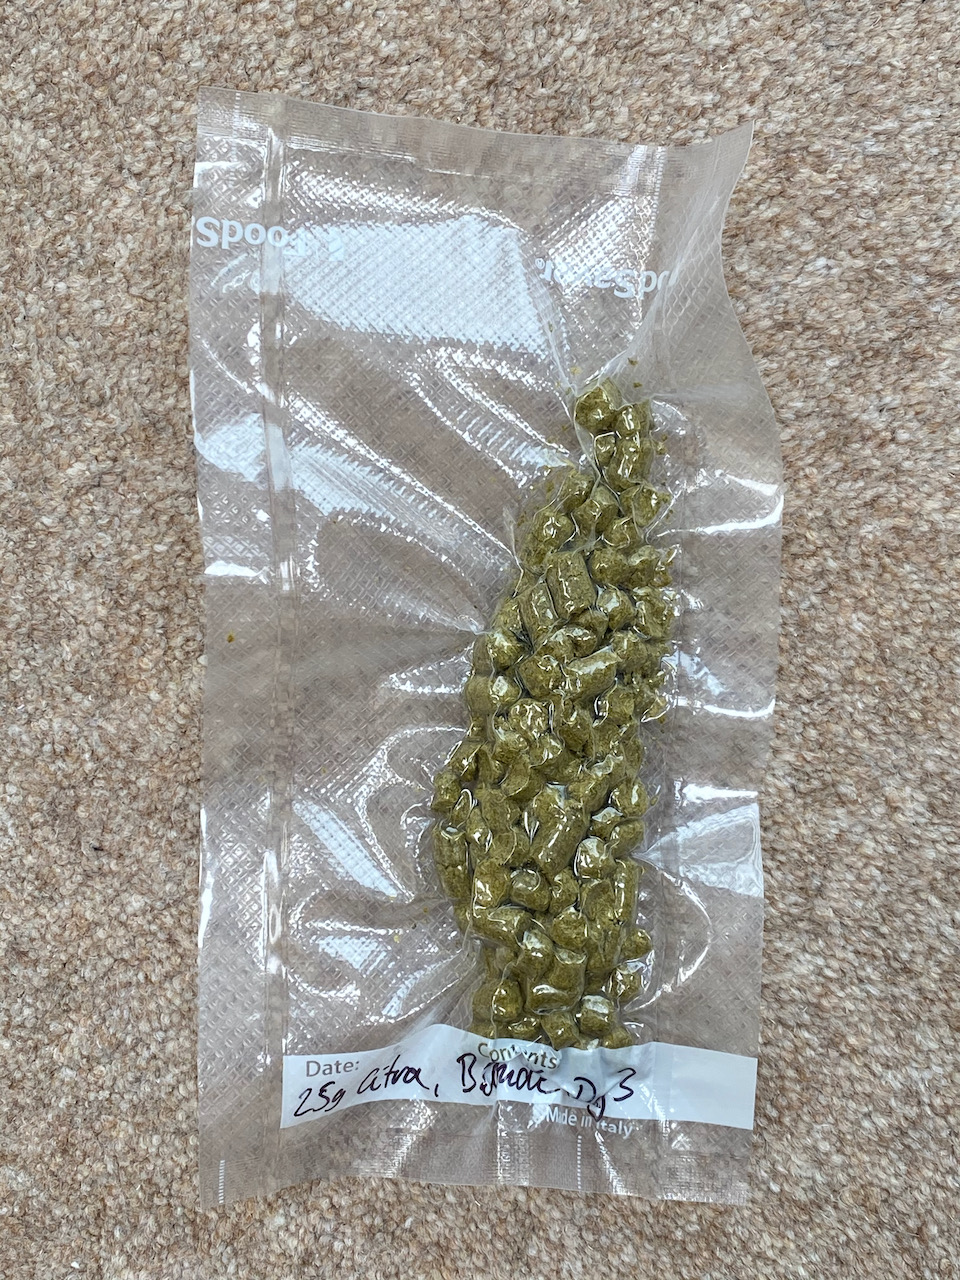
I couldn’t decide how to best avoid oxygen ingress during dry-hopping, so I carefully poured 25g Citra hop pellets through the airlock bung hole before flushing the headspace with CO2 via a plastic tube inserted a little way. It’s probably not 100% effective since doing so only dilutes the oxygen introduced with the hops, but it’s better than nothing.
Going forward I’m hoping to rig something to the inside of the lid which will allow me to insert the hops right at the start of fermentation. I’ve seen several devices which use magnets to keep the hops suspended in a kind of hammock at the top of plastic fermenters, but that’s not going to work with a metal bucket which you can’t see into. At any rate such a device needs to be airtight until deployment time if there’s any truth in the theory that the CO2 produced during fermentation can take away some of the hop oils as it vents out of the vessel.
SG hasn’t moved much at all in the past two days, maybe a point but really hard to tell so I’m recording it as 1.017 still. I’ve had Bag-Thing connected for 24 hours straight and it’s not trapped much CO2, maybe 50% capacity, so I’m wondering if things are slowing up and I’ll possibly never make the predicted OG of 1.011.
Then again, there’s still that yeasty, slimy suspension in the sample jar so maybe I’ve not left enough nutrients for the yeast to do it’s work? This time around I’m fermenting at the lower end of the yeast’s recommended range (16 – 25 ℃) and it’s possible that more time is needed, but I’ve been at roughly this temperature the whole fermentation period and it’s unusual to not have moved in 2 days when it’s dropped 26 points in the previous two.
Oh well, gonna dump those hops tomorrow and then bottle. I’m still not sure of the most oxygen-free way of doing this, will need to give it some thought between now and then.
Airlock activity has slowed during the past 24 hours so I thought I’d check in and see how this one’s getting along.
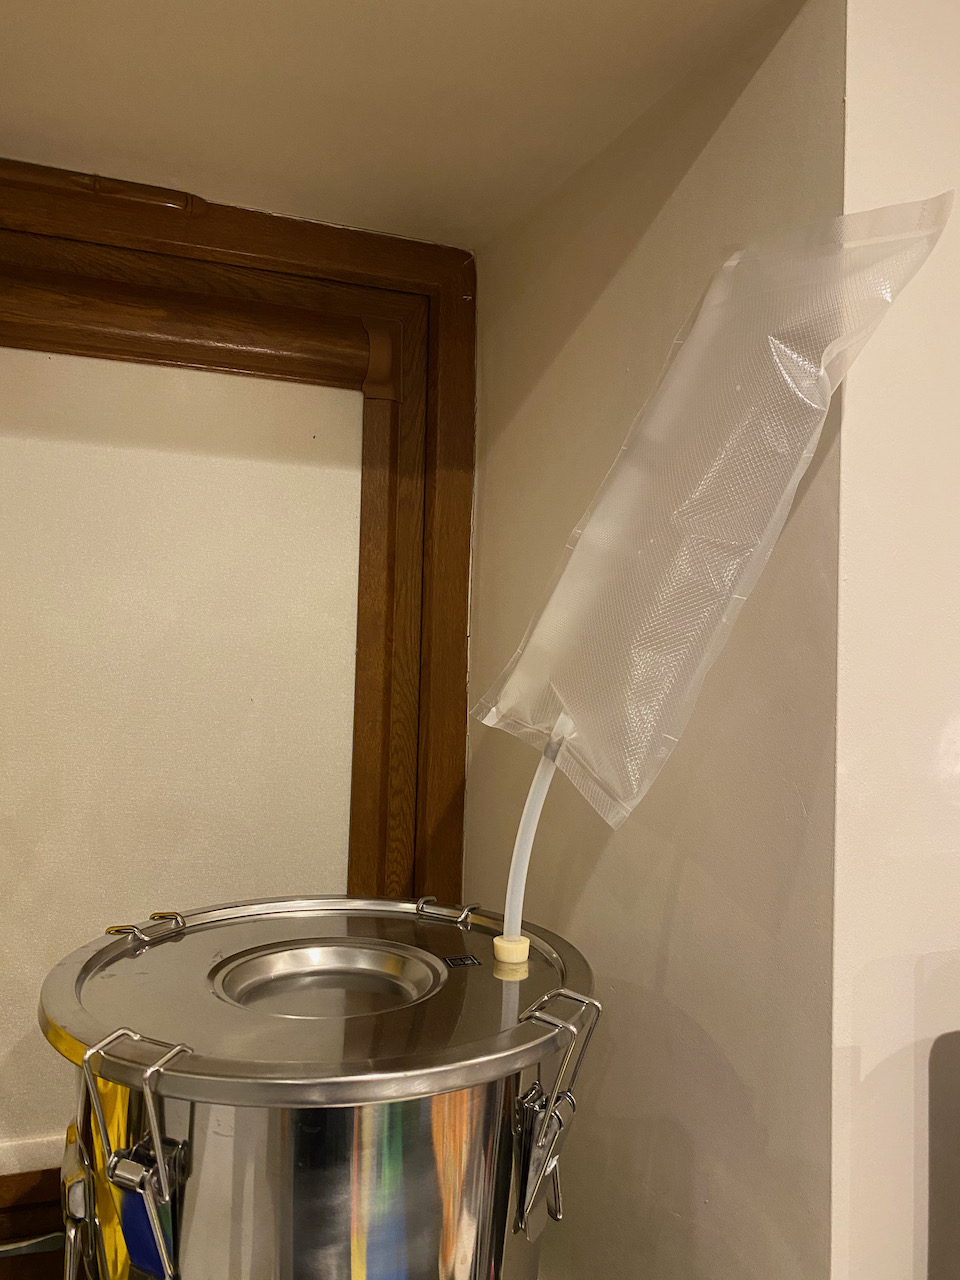
In order to prevent oxygen exposure I had a trial run with a little gadget I made today; a length of 3/8 gas line glued to a food saver bag and filled with CO2. Seemed to work really well, as did drawing a sample from the stainless brew bucket’s spigot.
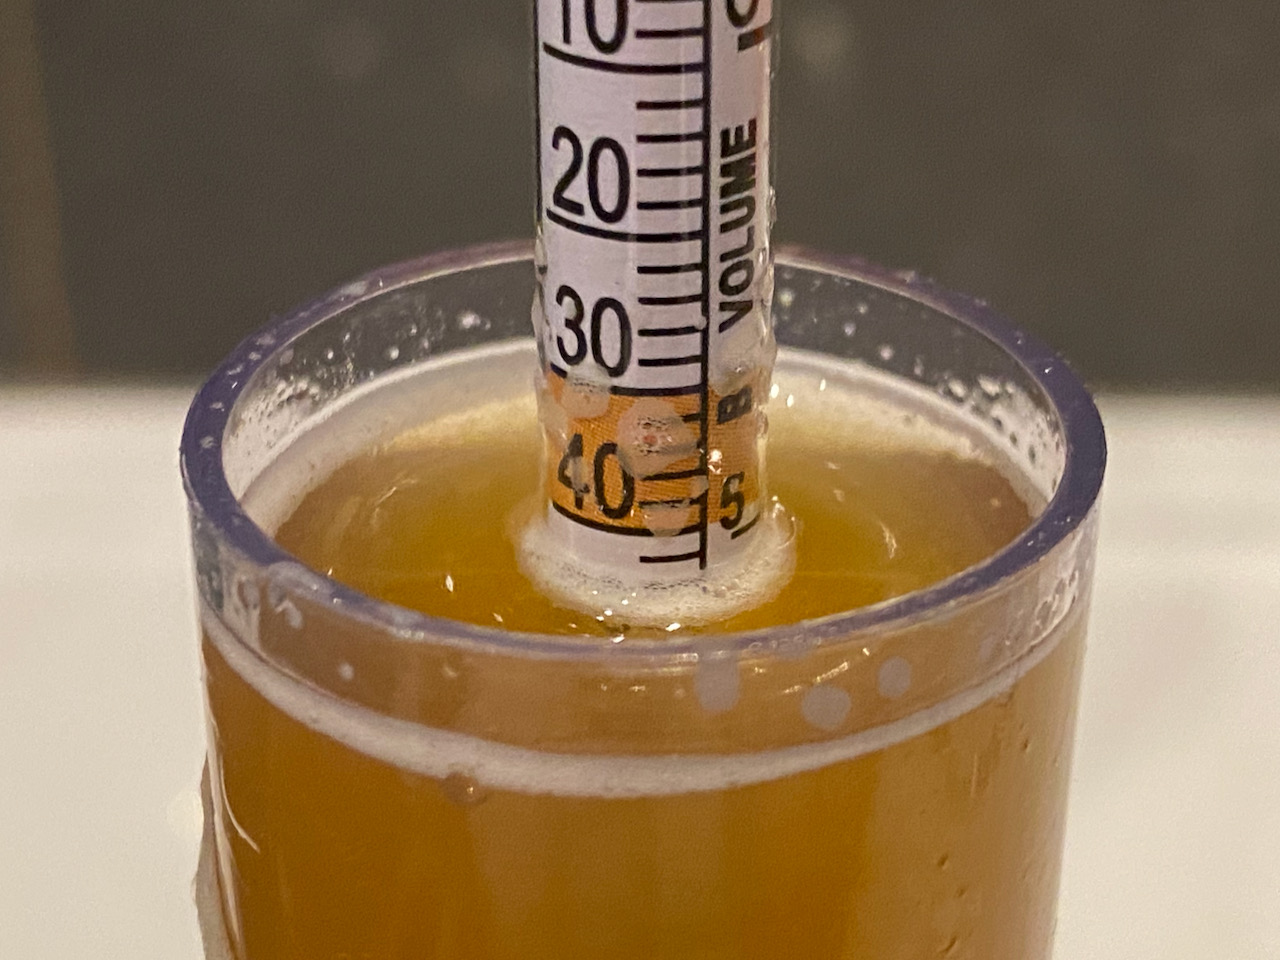
I’ve been tracking this batch using Brewfather and when I plugged the values in I was pleasantly surprised to see we’re already 81% done (compared to expected FG of 1.011) and currently at 3.4% ABV.
Flavour is not too bad considering there are no finishing hops, and there’s a whiff of alcohol too. The brew is still very cloudy and leaves behind a thin layer of filmy slime when sloshed in the glass, which is probably traces of yeast still active in suspension. So far, so good.
Having another go based on my last extract attempt, this time using Brewfather for guidance instead of Brewer’s Friend. Things I’m doing differently:
Nothing unexpected happened this time, no panic at all. I used the Brewfather app on iPhone to guide me through the boil additions and keep track of time, and it worked flawlessly. Topping the saucepan up to 3 litres after adding just over half the DME proved to be a good move, but trying to keep a relatively small amount of liquid at a constant temperature using an electric hob proved to be a challenge, with me bouncing between 88 and 93 ℃. In the end I lost almost exactly half a litre due to boiling.
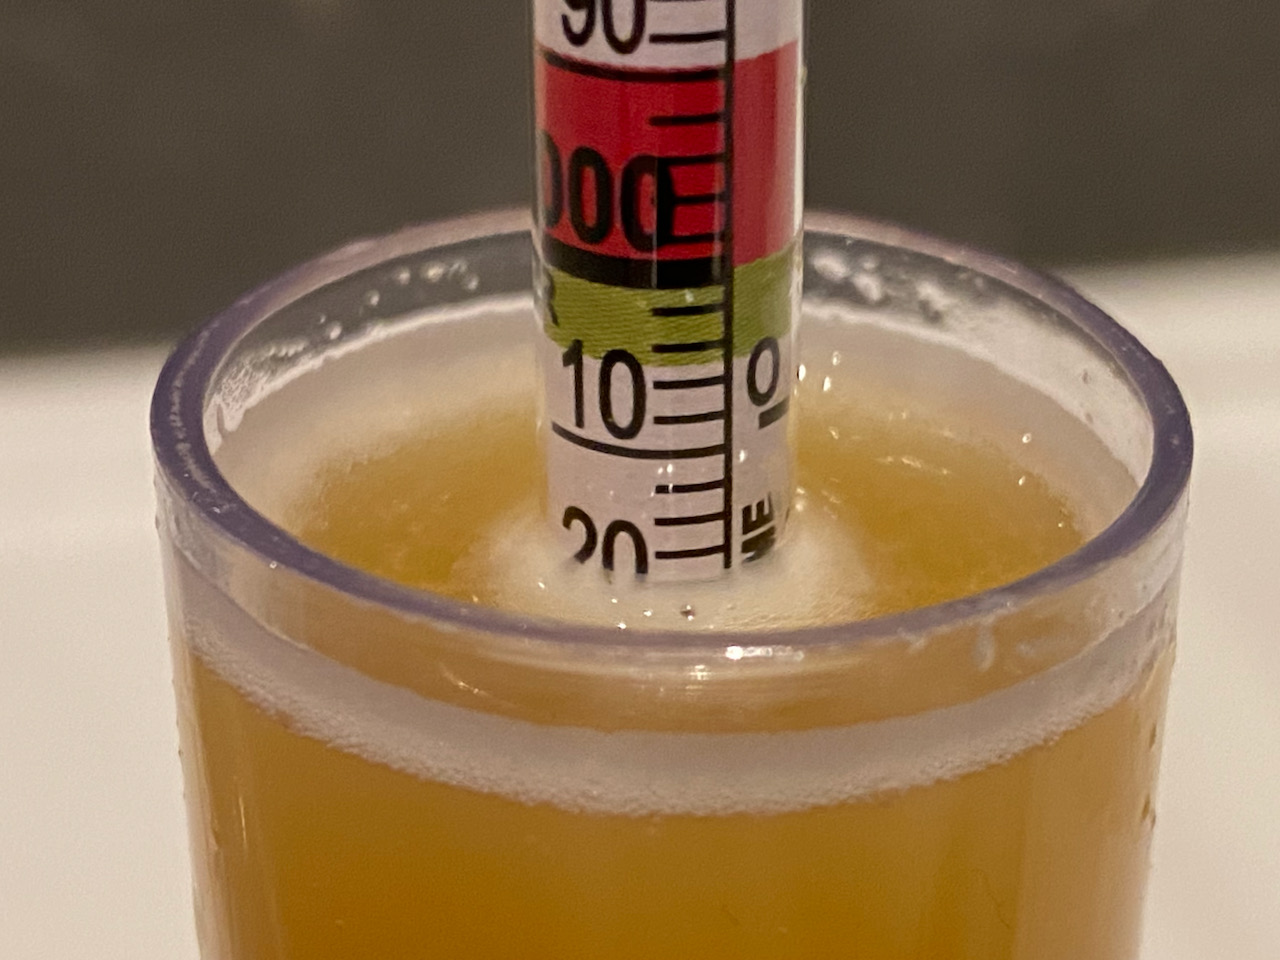
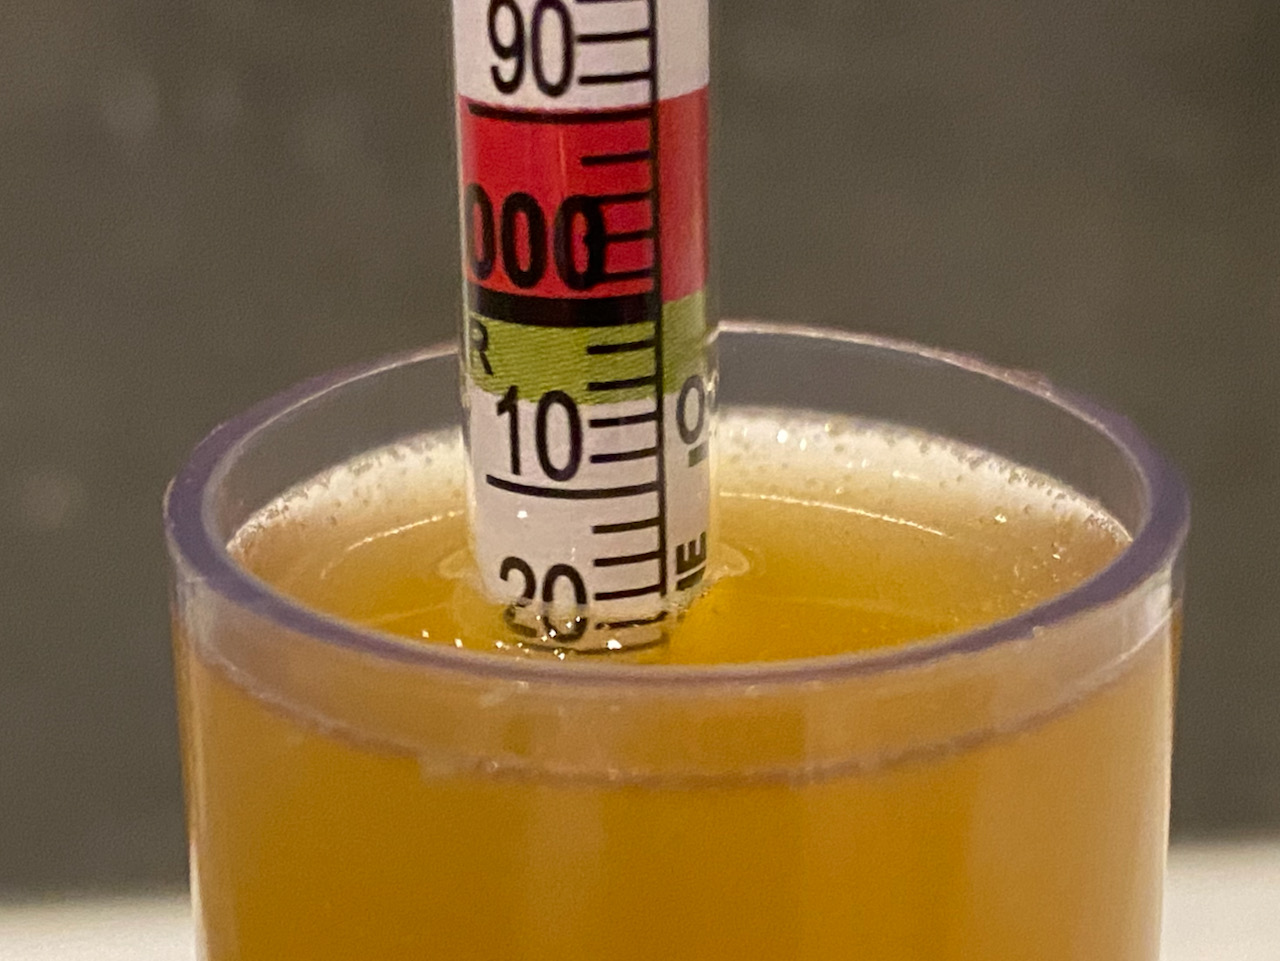
When it came to throwing the wort into a fermentation bucket for mixing I first dumped in 5 litres of Tesco Ashbeck mineral water which had been in the outside freezer until it was slush, barely making it out of the widemouthed bottle. Even so I was slightly high at 25 ℃ and ended up throwing in 1.5 trays of ice cubes and another litre of chilled tap water. This brought the temperature down to 16.5 ℃ – more than I expected – and raised the volume to 8.5 litres according to my shoddy marking on the bucket, and dead on 9 litres according to the markings in my SS Brewtech mini bucket.
OG was measured at 1.043 (exactly as per batch recipe, once I adjusted it to 9 litres from 8, and I pitched the jar of yeast + nutrient at 17 ℃. There was already a small island of bubbles in the jar, so I’m hoping for a rapid start to fermentation. Shame I can’t see into the stainless bucket though, definitely an advantage with the Fermzilla.